Image Editing: Face Migration
Feature Description
Face migration refers to transferring a specific human face to a generated image based on the image generation capability of the image model. When a user provides an image containing a person's face, the model will extract that person's facial features and embed them into the generated image during the image creation process according to the prompt.
Models Supporting Face Migration
Using the API
The following explains how to use the face migration interface through code.
Step 1: Input API Key and Define Request Function
First, obtain your access token, then define the request function as follows:
import requests
import base64
from PIL import Image
from io import BytesIO

API_URL = "https://api.moark.ai/v1/images/face-migration"
headers = {
    "Authorization": "Bearer <add your token>"
}

def query(payload):
    files = {
        "image": (payload["image"], open(payload["image"], "rb"))
    }
    data = {key: payload[key] for key in payload if key not in files}
    response = requests.post(API_URL, headers=headers, files=files, data=data)
    return response.json()
Step 2: Make a Request and Get Results
The request method is as follows:
output = query({
    "model": "flux-1-schnell",
    "image": "liuyifei.png",
    "size": "1024x1024",
    "guidance_scale": 4,
    "num_inference_steps": 4,
    "id_weight": 1,
    "id_timestep_start": 0,
    "prompt": "Portrait painting, delicate sketch style, colored painting, ultra-high-definition, ultra-high pixel count"
})
The prompt in the above code Portrait painting, delicate sketch style, colored painting, ultra-high-definition, ultra-high pixel count requires generating a high-definition, ultra-high pixel count colored sketch portrait.
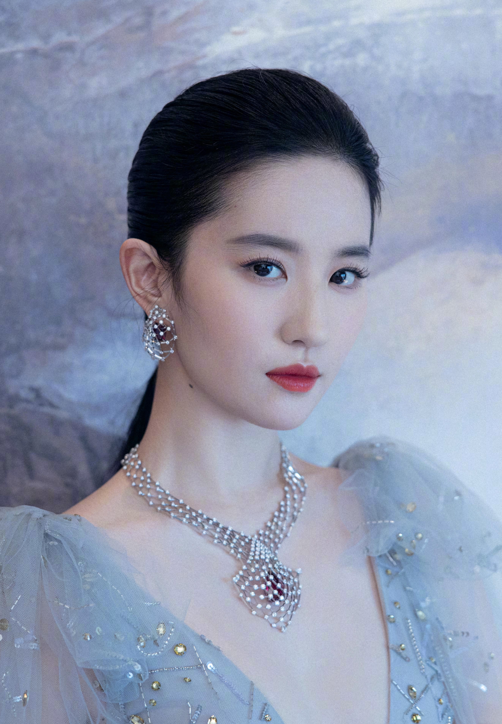
The tutorial uses the following id image:
Parameter Explanations:
- model: Model name, fixed here.
- image: Local image path; as can be seen in the function, it is transmitted in binary form.
- size: Dimensions of the generated image.
- guidance_scale: Prompt guidance coefficient; larger values mean the generated image adheres more closely to the prompt.
- num_inference_steps: Number of steps for image generation; this model can produce excellent results in just 4 steps.
- id_weight: The degree of influence of the ID reference image on the generated image; larger values result in a more accurate facial resemblance, which can be adjusted appropriately.
- id_timestep_start: The step at which face embedding begins during image generation; smaller values mean face generation starts earlier, resulting in a more accurate resemblance, which can be adjusted appropriately.
- prompt: Prompt for image generation; Flux supports long, complex prompts. The more detailed, the better—feel free to be specific.
Step 3: Decode and Save Results
The resulting output is in JSON format as follows:
{
  "data": [
    {
      "b64_json": "<b64_data>"
    }
  ],
  "created": "<id>"
}
The result is a Base64-encoded image, so it needs to be decoded before saving. Unpack and decode as follows:
b64data = output['data'][0]['b64_json']
img = Image.open(BytesIO(base64.b64decode(b64data)))
img.save("/path/to/save/res.jpg")
img.show()
The result is shown below, which generated a colored sketch portrait of the specific face as requested:

The complete example code is as follows:
import requests
import base64
from PIL import Image
from io import BytesIO

API_URL = "https://api.moark.ai/v1/images/face-migration"
headers = {
    "Authorization": "Bearer <add your token>"
}

def query(payload):
    files = {
        "image": (payload["image"], open(payload["image"], "rb"))
    }
    data = {key: payload[key] for key in payload if key not in files}
    response = requests.post(API_URL, headers=headers, files=files, data=data)
    return response.json()

output = query({
    "model": "flux-1-schnell",
    "image": "liuyifei.png",
    "size": "1024x1024",
    "guidance_scale": 4,
    "num_inference_steps": 4,
    "id_weight": 1,
    "id_timestep_start": 0,
    "prompt": "a woman holding sign with glowing green text \"Gitee AI\"",
})

data = output["data"][0]["b64_json"]

stream = BytesIO(base64.b64decode(data))
img = Image.open(stream)
img.save("output.png")
img.show()