Codex
Codex is an AI programming assistant tool based on the OpenAI API.
With this tutorial, you can easily install and use Codex on your own computer.
MoArk provides native support for Codex.
You can use any of MoArk’s coding models to enjoy better Chinese support and lower call costs.
1. Install Codex
You can install the Codex CLI using your preferred package manager:
Install via npm (Recommended)
npm install -g @openai/codex
Install via Homebrew (macOS)
brew install codex
Verify Installation
After installation, open your terminal and run the following command:
codex --version
If the version number is displayed, the installation was successful!
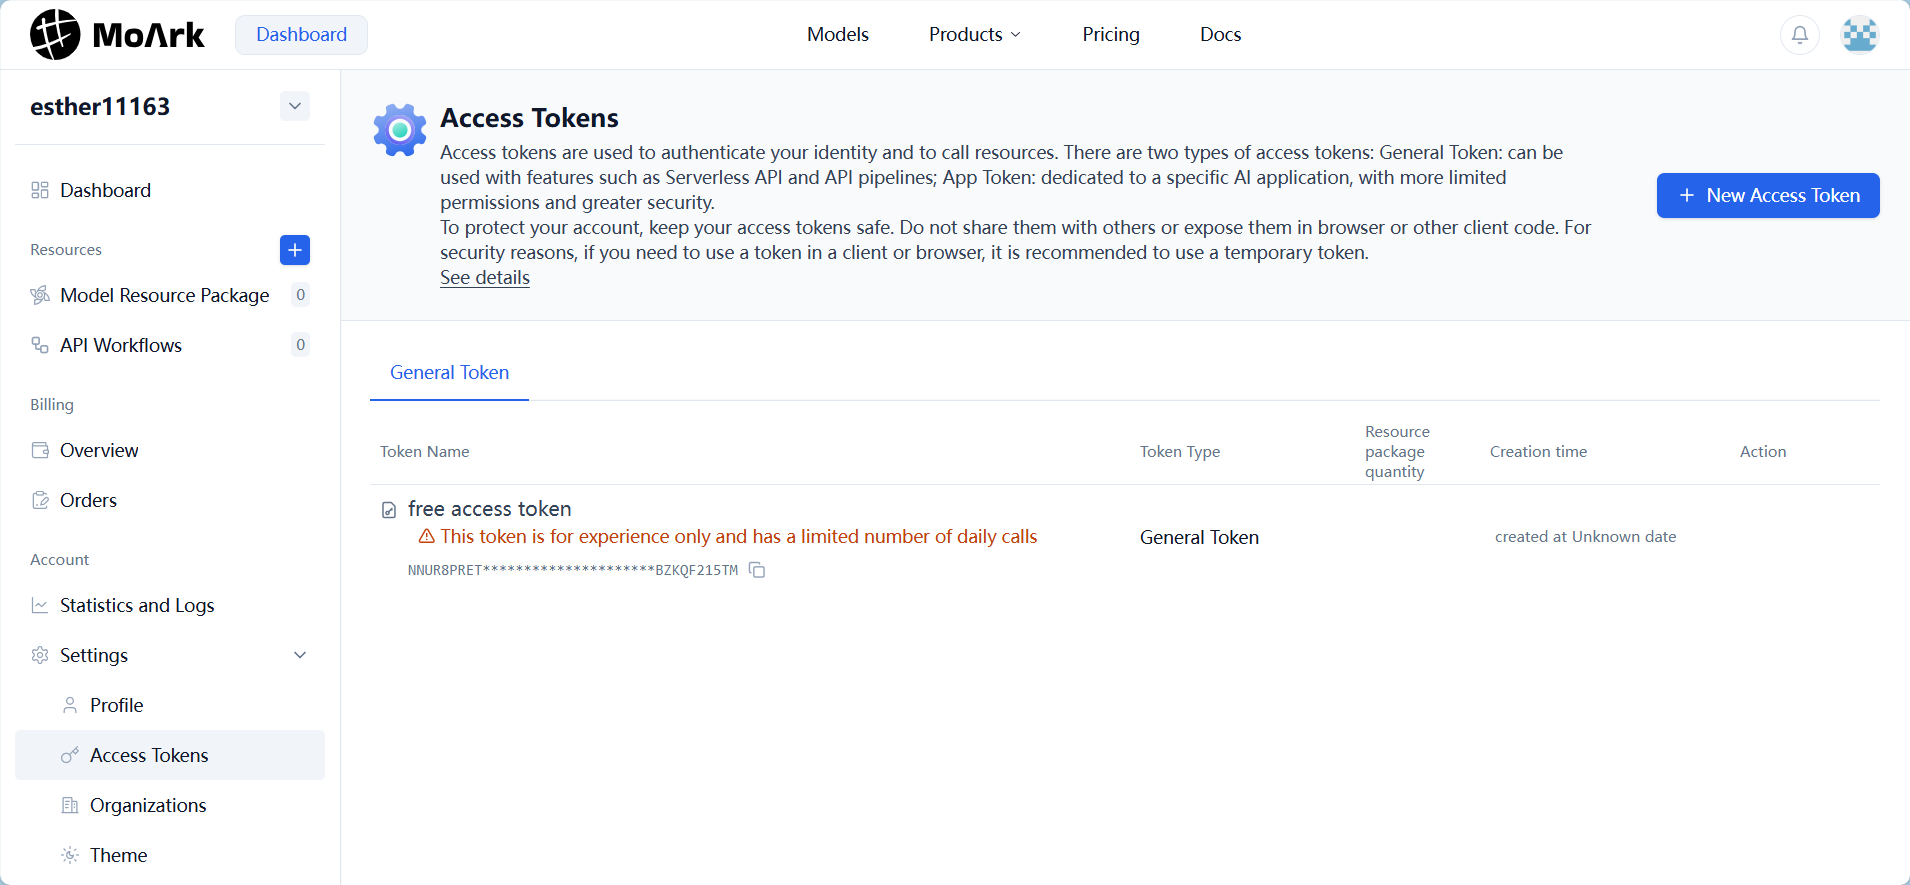
2. Obtain Access Token
Developers first need to visit Workbench -> Settings -> Access Tokens to obtain an access token.
Developers who have not purchased the Serverless API can use a free trial access token (for testing purposes only, with limited daily calls).
Simply copy the token you wish to use.
3. Configure Codex
To connect Codex to MoArk’s service, you need to set up configuration files and environment variables.
Configuration File Setup
Add the following configuration to the file ~/.codex/config.toml:
model_provider = "moark"
model = "GLM-4_5"
model_reasoning_effort = "high"
disable_response_storage = true
preferred_auth_method = "apikey"

[model_providers.moark]
name = "moark"
base_url = "https://api.moark.ai/v1"
wire_api = "chat"
requires_openai_auth = true
env_key = "GITEE_AI_KEY"
Configure your API key in the file ~/.codex/auth.json:
{
  "OPENAI_API_KEY": null
}
Set OPENAI_API_KEY to null, and then set the environment variable GITEE_AI_KEY to your API key.
4. Configure Environment Variables
Windows (PowerShell)
Temporary Setting (Current Session)
$env:GITEE_AI_KEY = "your_API_key"
Permanent Setting (User Level)
# Set user-level environment variable (permanent)
[System.Environment]::SetEnvironmentVariable("GITEE_AI_KEY", "your_API_key", [System.EnvironmentVariableTarget]::User)
macOS / Linux / WSL2
Temporary Setting (Current Session)
export GITEE_AI_KEY="your_API_key"
Permanent Setting
Add the following content to your shell configuration file:
# For zsh (default on macOS)
echo "export GITEE_AI_KEY=your_API_key" >> ~/.zshrc
source ~/.zshrc

# For bash
echo "export GITEE_AI_KEY=your_API_key" >> ~/.bash_profile
source ~/.bash_profile
Important: Remember to replace "your_API_key" with the actual key obtained in the “Obtain Access Token” step above.
Verify Environment Variable Setup
Windows (PowerShell)
echo $env:GITEE_AI_KEY
macOS / Linux / WSL2
echo $GITEE_AI_KEY
Expected output example:
your_API_key
If the output is empty or shows the variable name itself, the environment variable setup has failed.
Please reset it, and restart your terminal for changes to take effect.
5. Start Using Codex
After configuration, you can start using Codex! In any directory, run:
codex
This will launch the Codex interactive interface, where you can begin chatting with your AI programming assistant.