

WorkBuddy
WorkBuddy is a next-generation AI agent development platform that supports integrating any OpenAI-compatible API service via custom model configuration. By configuring MoArk's model resources, you can use various large language models in WorkBuddy for conversations, code generation, file operations, and more.
Obtain Your Access Token
- Log in to the MoArk official website (or register an account if you don't have one).
- Navigate to the Dashboard, click Settings in the top-right corner, and select Access Tokens.
- Generate a new token and copy it for later use.
Configure Custom Model
1. Open Model Settings
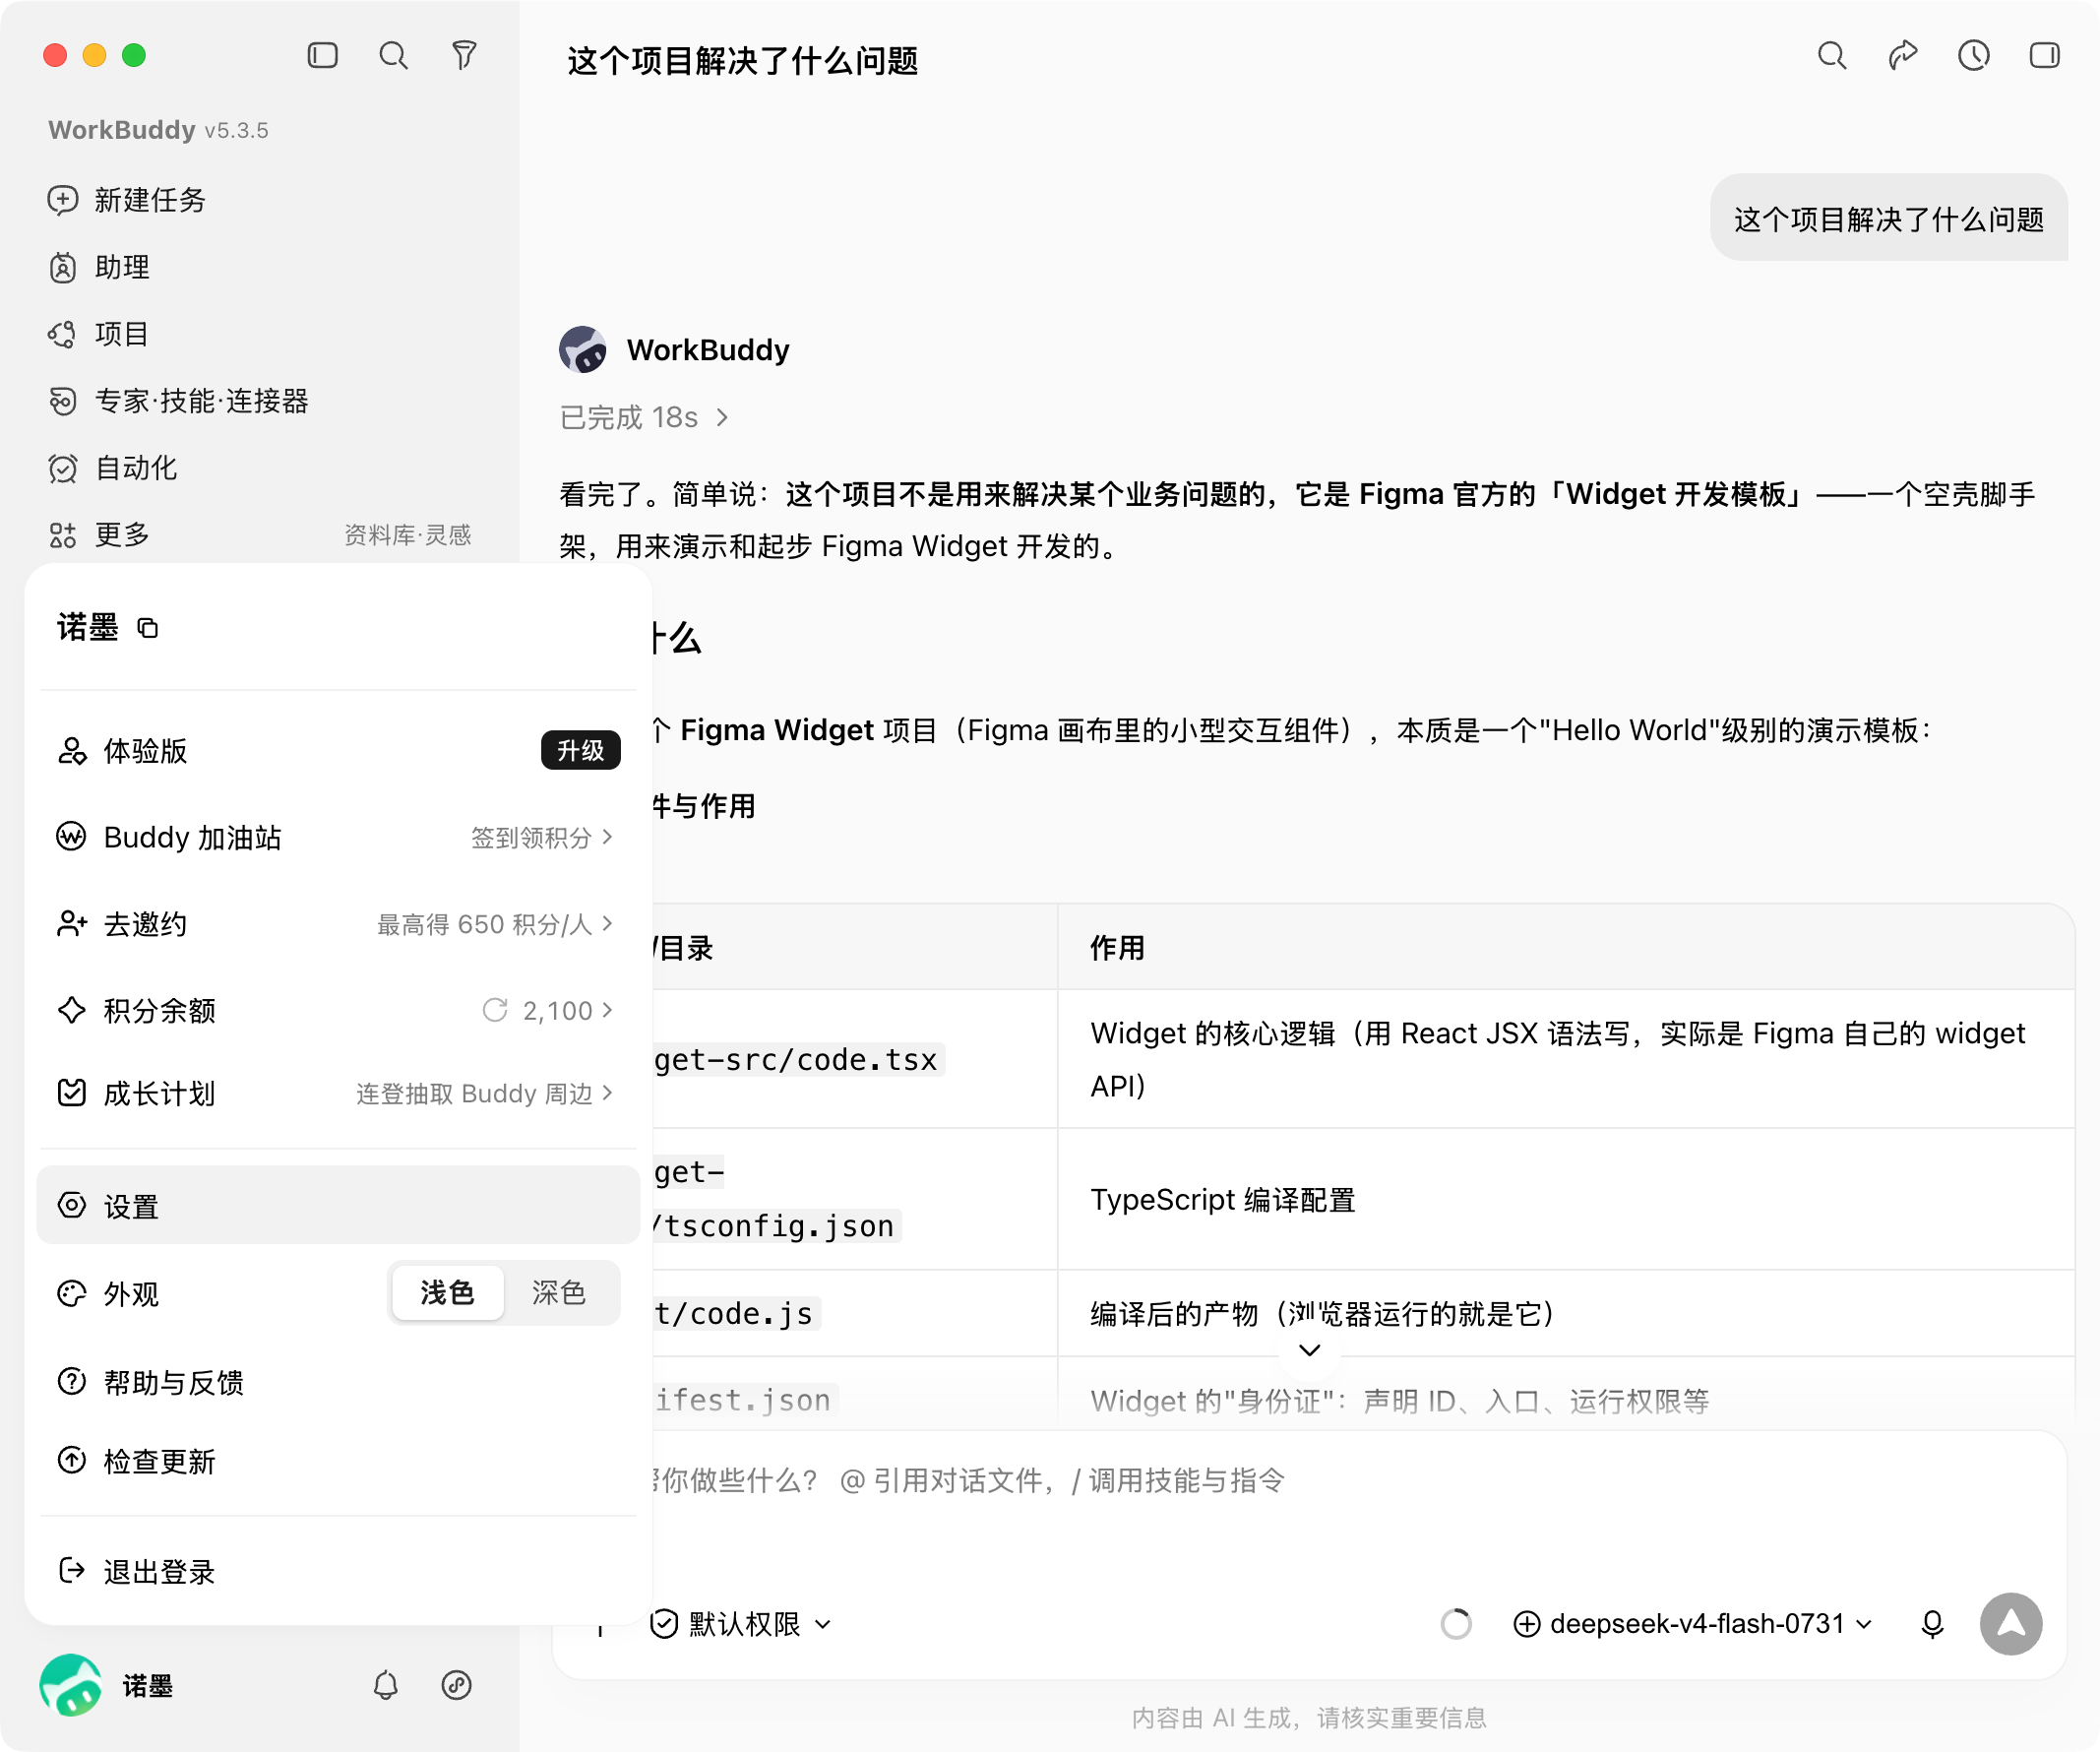
Click your avatar in the bottom-left corner, select "Settings" from the popup menu, then find and click "Models" in the left sidebar.
2. Go to Model Management
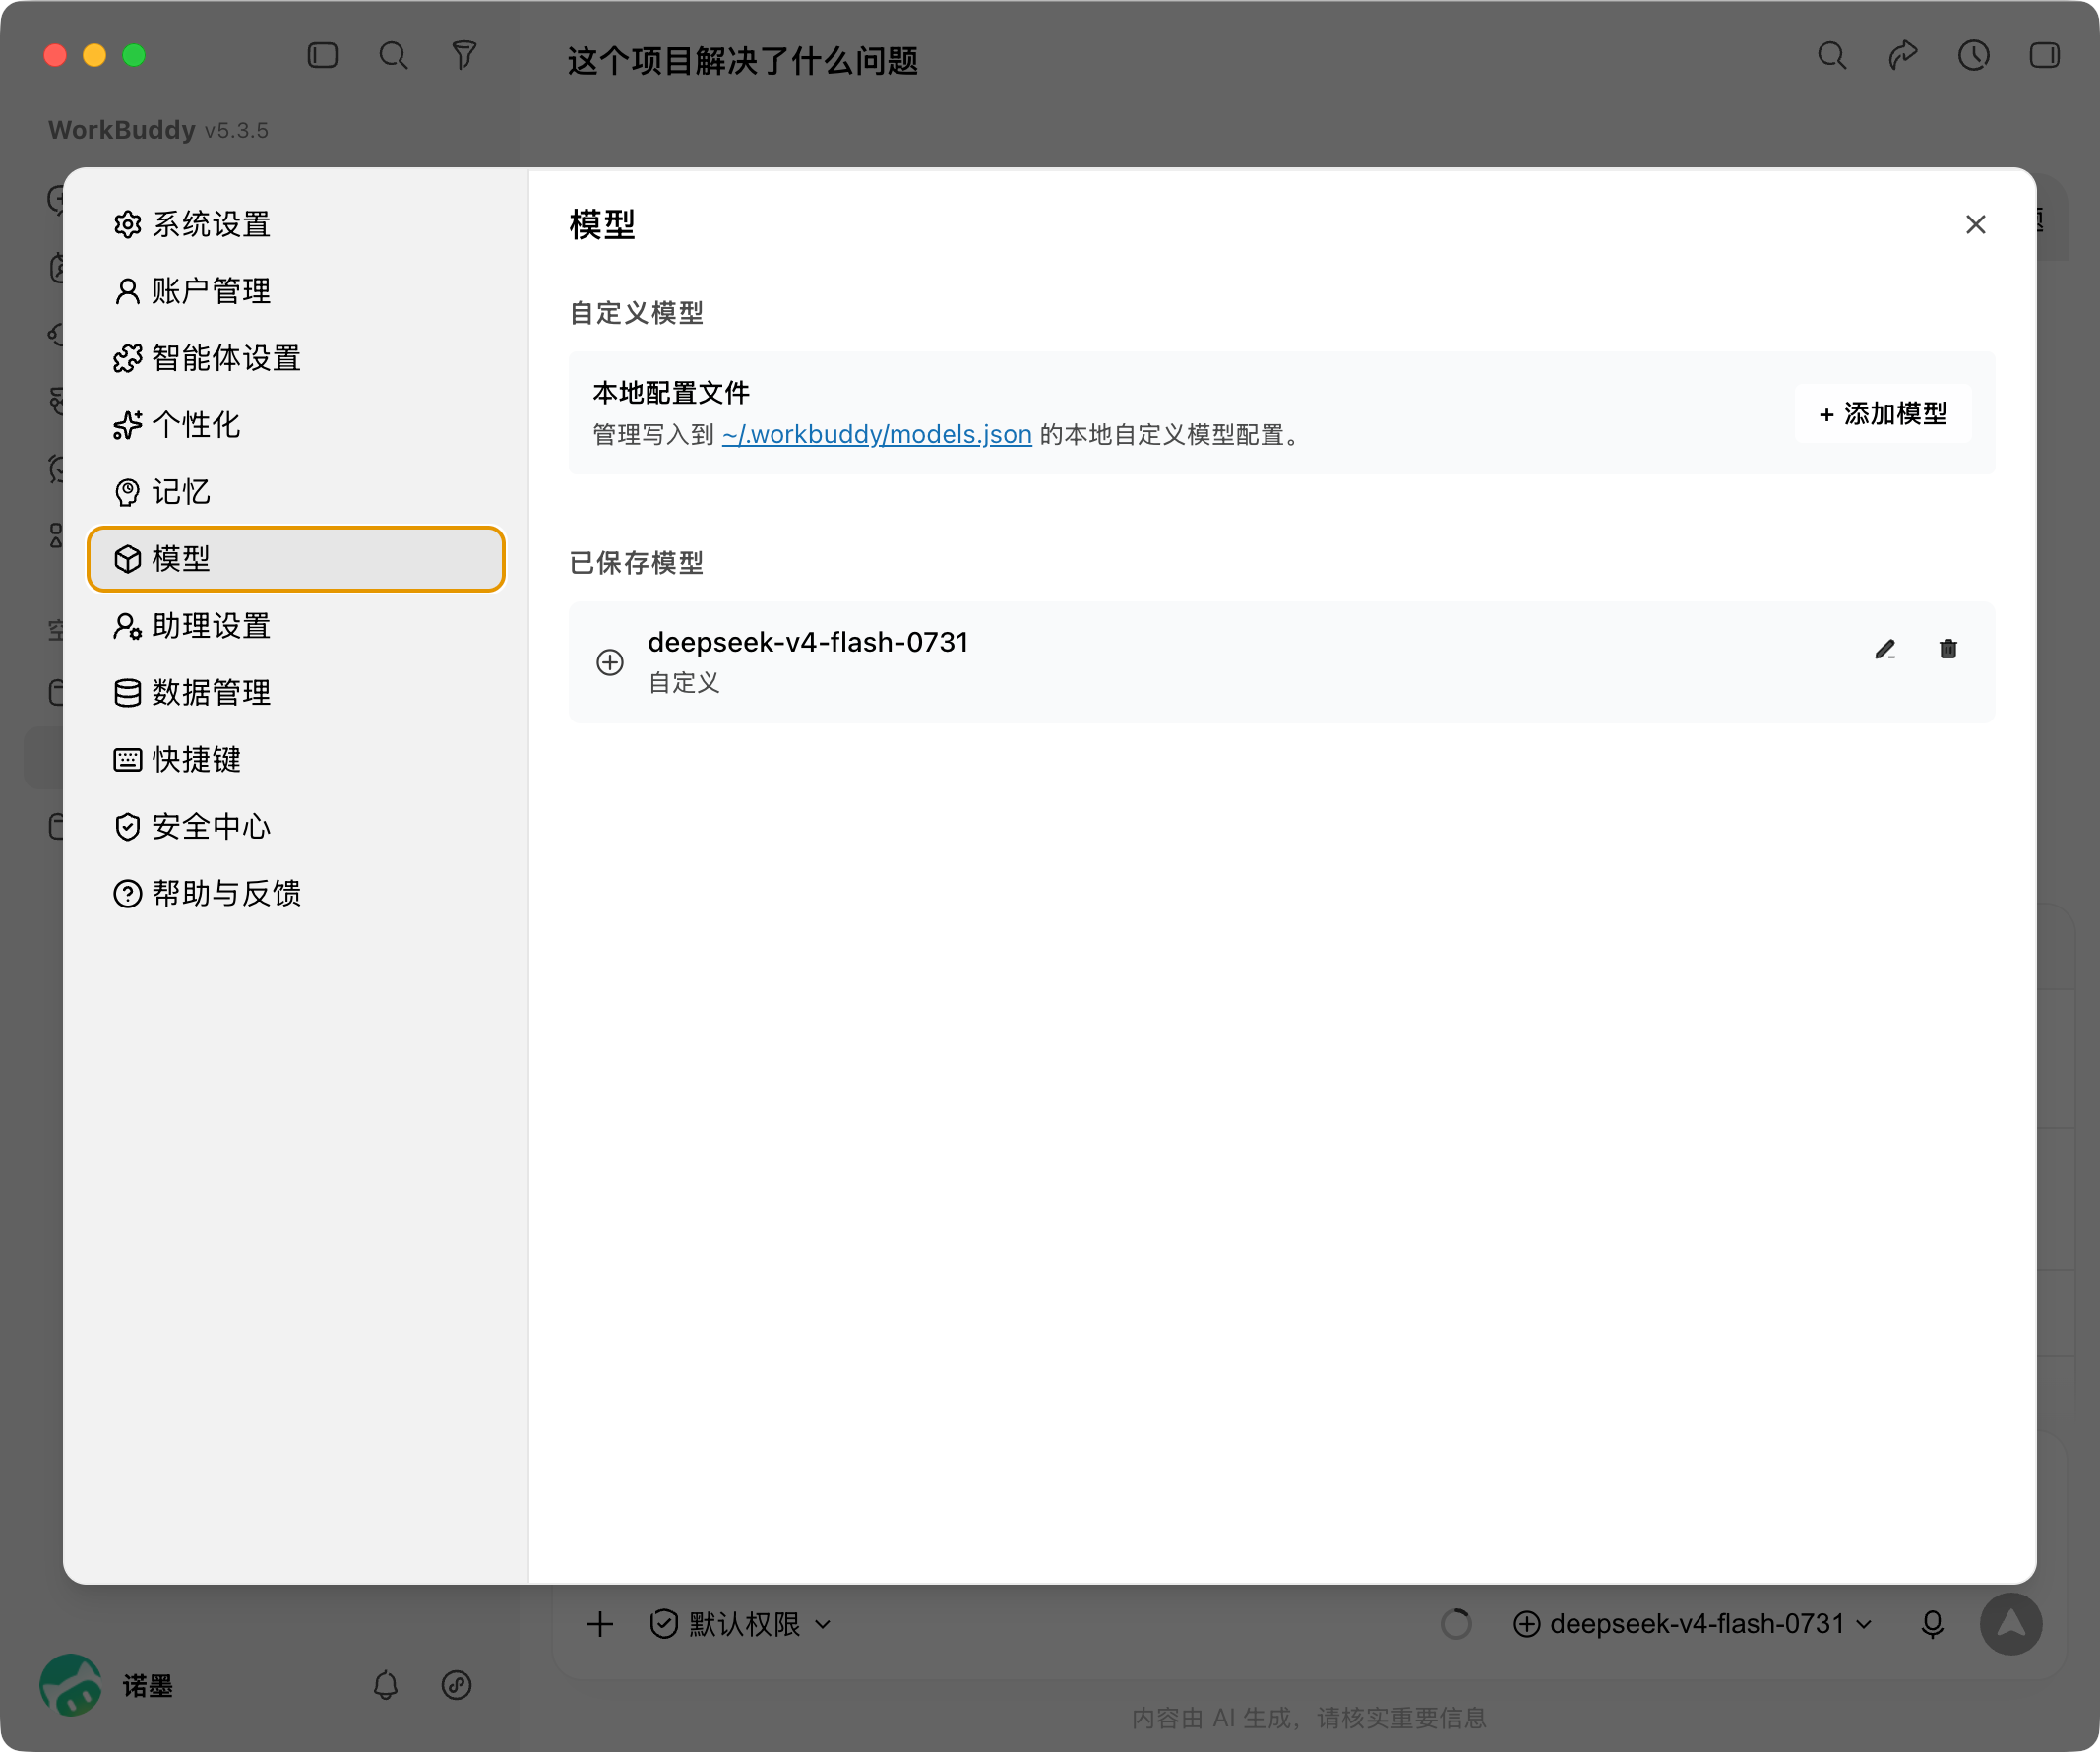
In the Settings page, select "Models" from the left menu to view your saved custom models. Click the "+ Add Model" button in the top-right corner.
3. Fill in Model Configuration
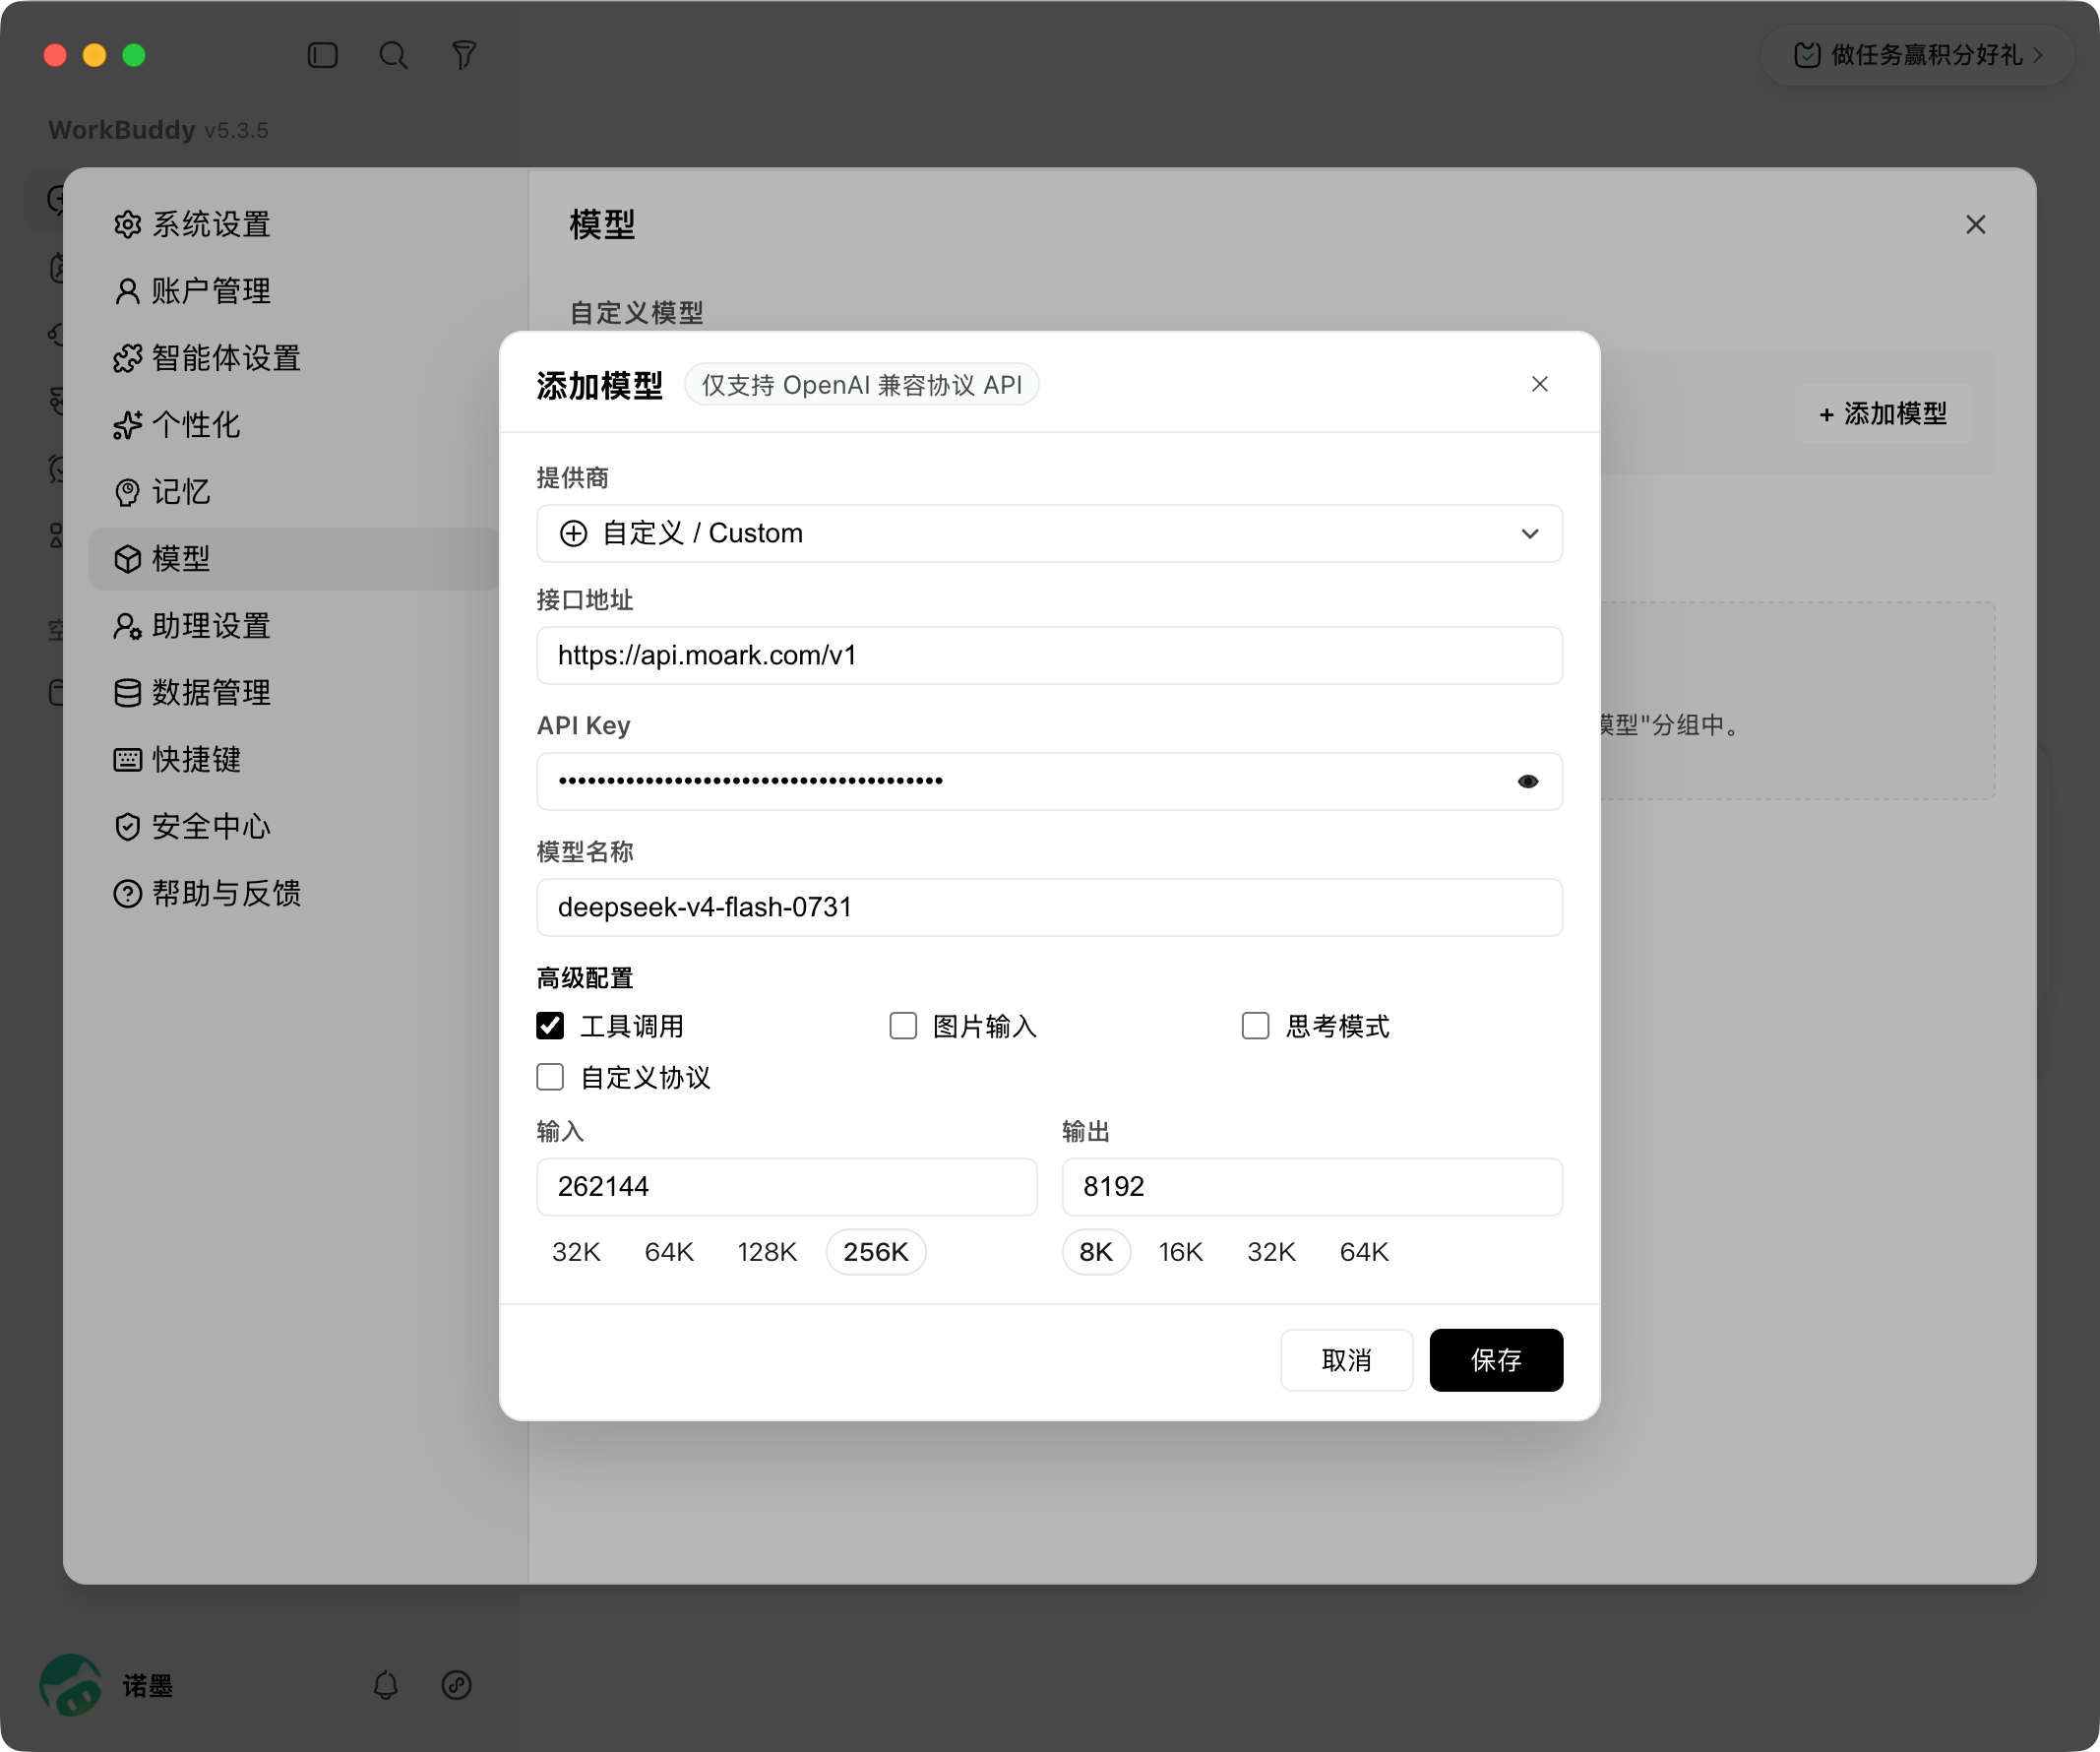
In the "Add Model" dialog that appears, fill in the following details:
| Field | Value |
|---|---|
| Provider | Select Custom |
| API Base URL | https://api.moark.com/v1 |
| API Key | Paste the access token from Dashboard -> Settings -> Access Tokens |
| Model Name | Copy the desired Model ID from the AI Model Hub |
4. Advanced Configuration (Optional)
Depending on the capabilities of your chosen model, you can toggle the following options:
- Tool Calling: Enable Function Calling to allow the model to invoke external tools (recommended for most use cases).
- Image Input: Enable if the model supports multimodal (vision) capabilities.
- Thinking Mode: Enable if the model supports chain-of-thought reasoning (e.g., DeepSeek-R1 series).
You can also adjust the input and output token limits for the context window as needed.
5. Save and Start Using
Click "Save" to complete the configuration. Return to the conversation interface, and you can switch to your newly added model via the model selector above the input area (or in the bottom-right corner).
WorkBuddy persists your custom model configuration locally in ~/.workbuddy/models.json, so there's no need to reconfigure.
 京公网安备11011502039387号