Text to Image
Overview
Image large models themselves have learned many general artistic styles and objects, but they cannot understand what specific people or things look like. Through fine-tuning, we can teach large models to draw specific people or things around you.
Currently supported fine-tuning models include: FLUX.1-Krea-dev, FLUX.1-Dev, Qwen Image, and SDXL 1.0.
This article will use a dataset of 5 specific dog photos and leverage the out-of-the-box model fine-tuning functionality provided by Model Power Ark to make the large model "remember" the characteristics of a specific dog.
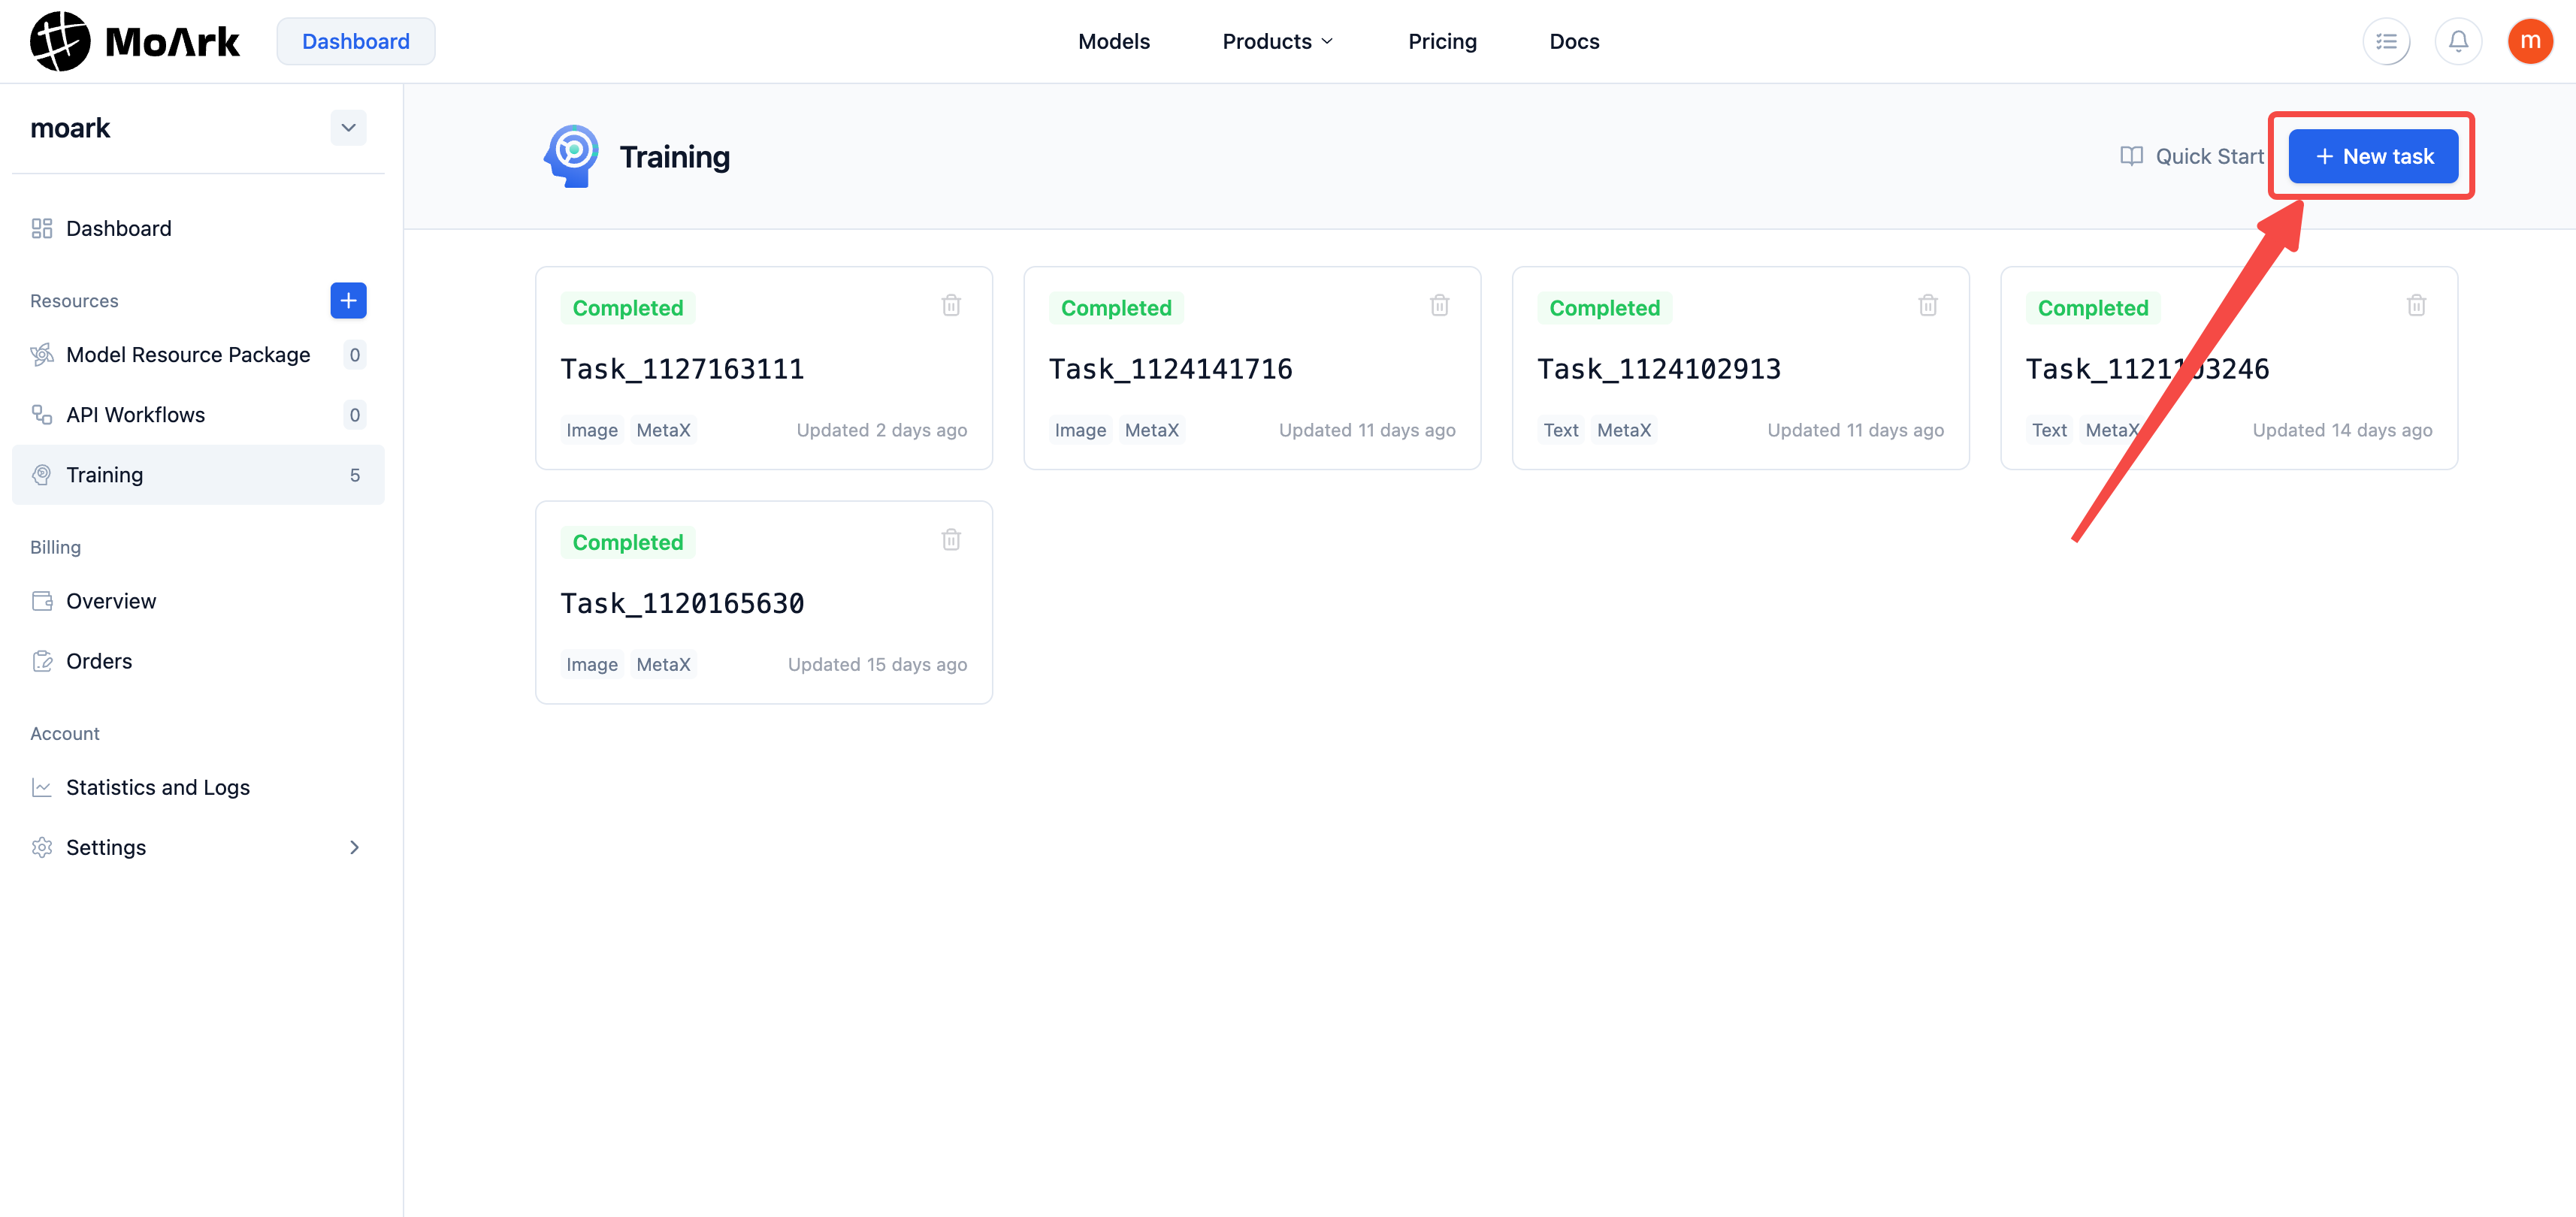
Step 1: Create Fine-tuning Task
Find Model Fine-tuning in the left sidebar of the Model Power Ark console, and click New Task in the upper right corner.
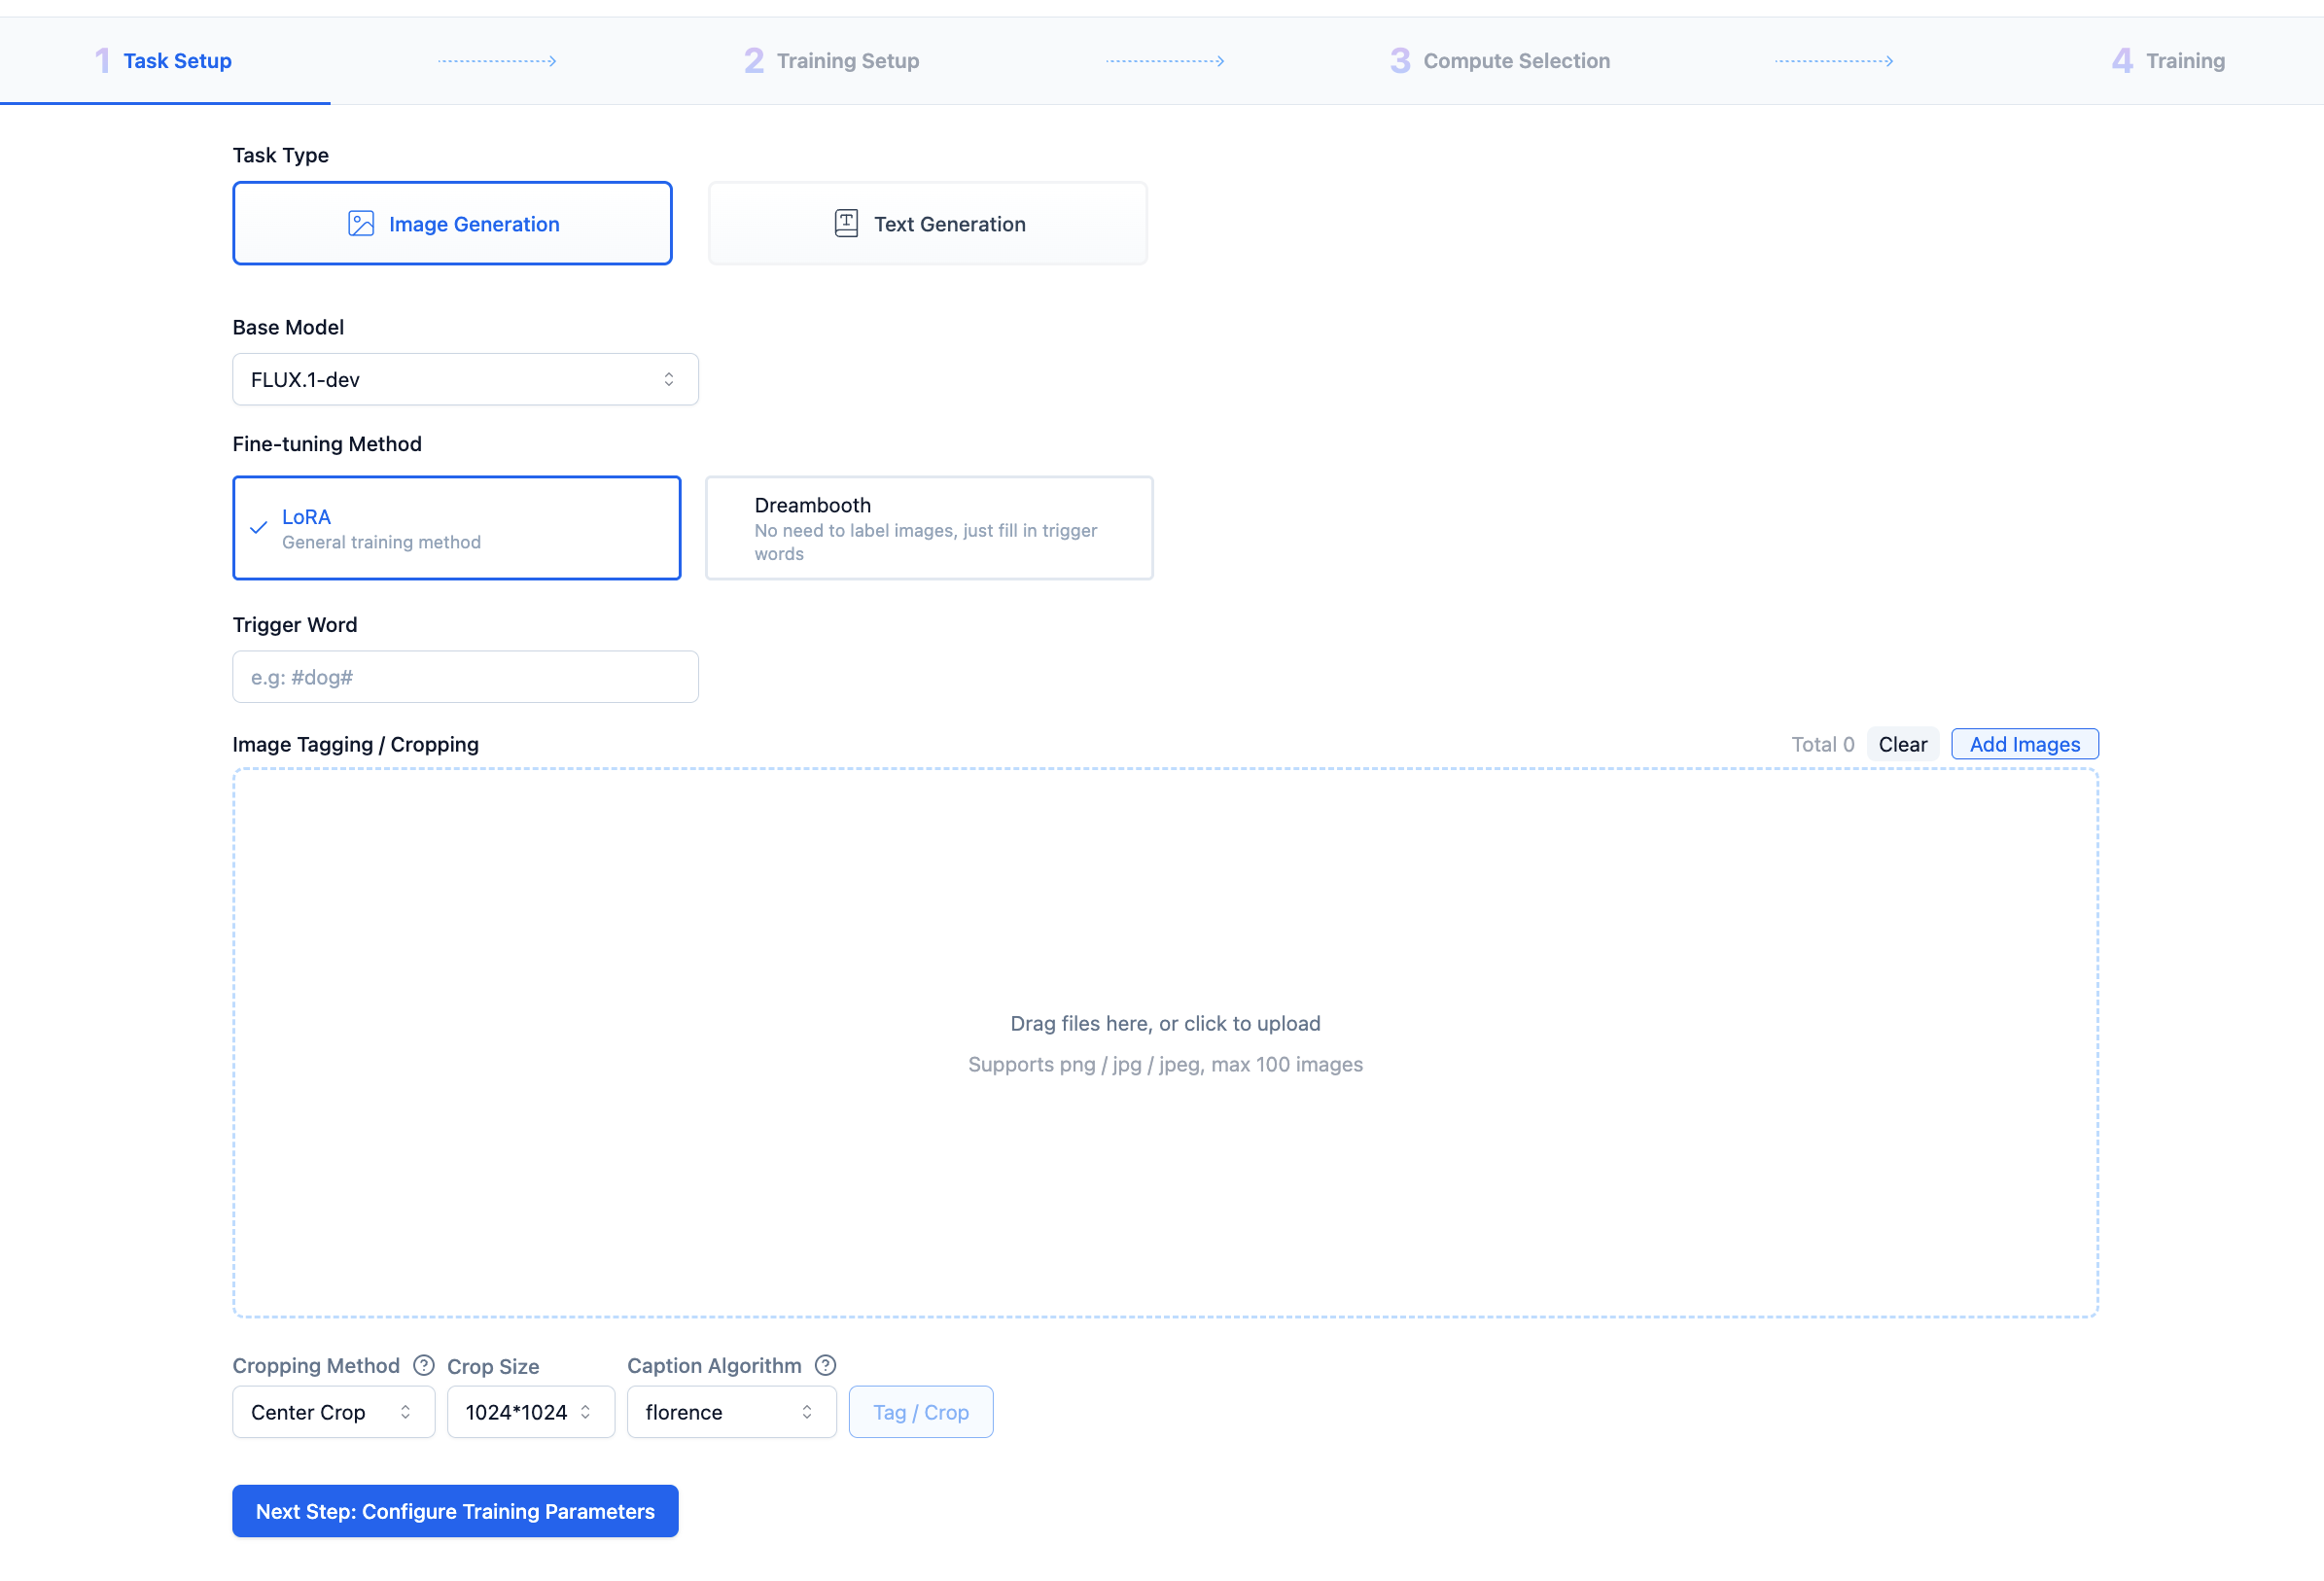
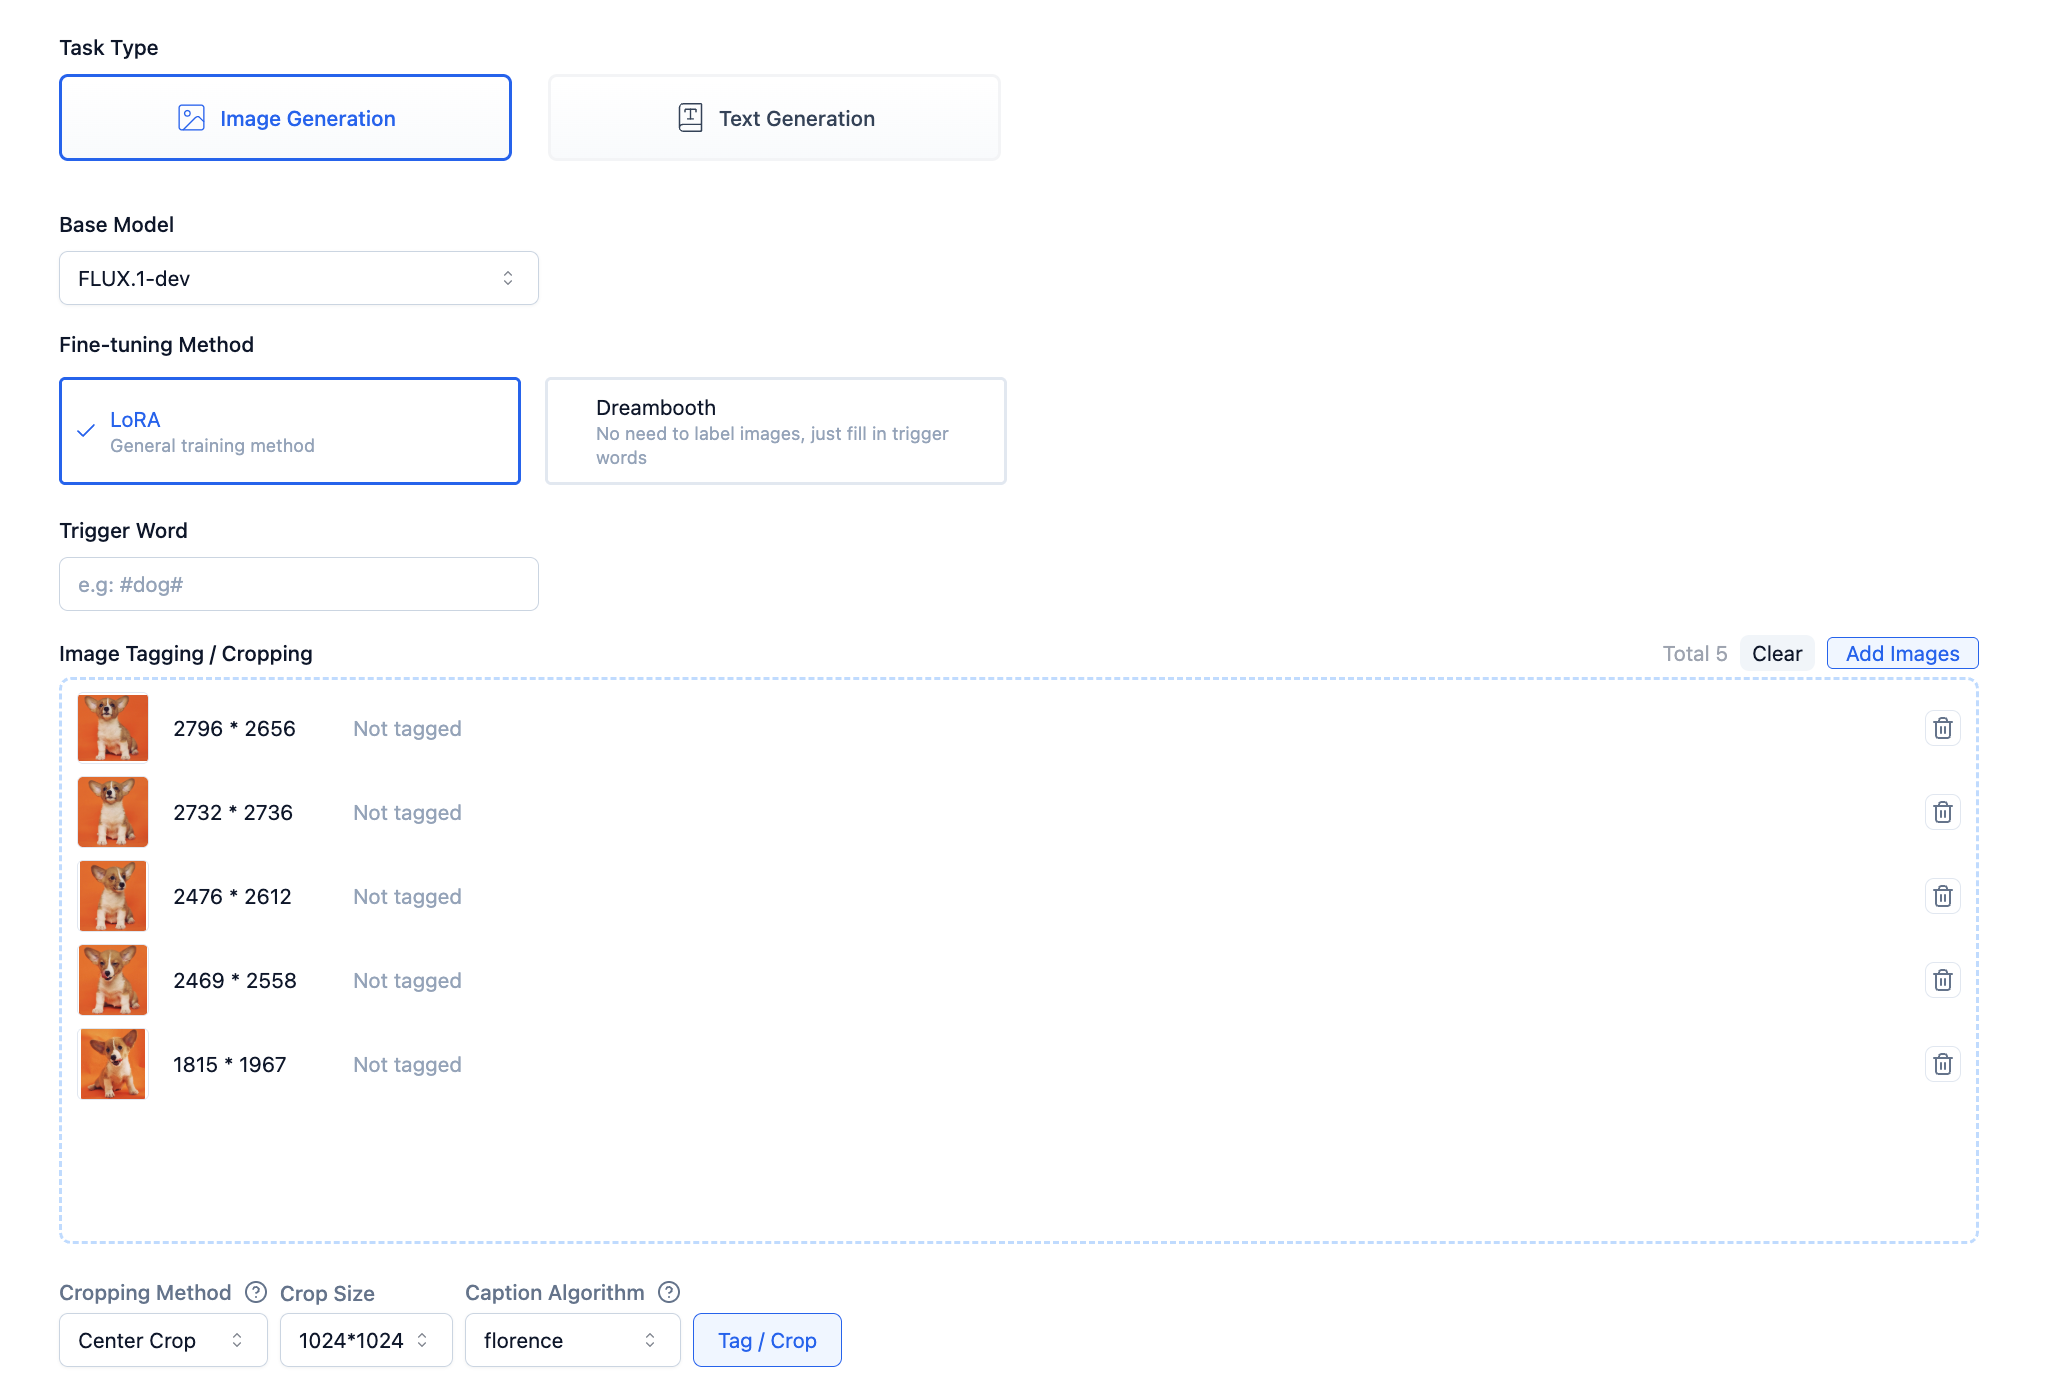
Fill in the task name and select task type, fine-tuning method, base model, etc.:
Step 2: Dataset Preparation
The dataset greatly affects fine-tuning results. The dataset includes both data and labeling.
It is recommended that dataset images contain multiple angles of the target object. Supported image upload formats include png, jpg, jpeg, with maximum supported image size of 5M, and no more than 100 images.
Example images for this tutorial
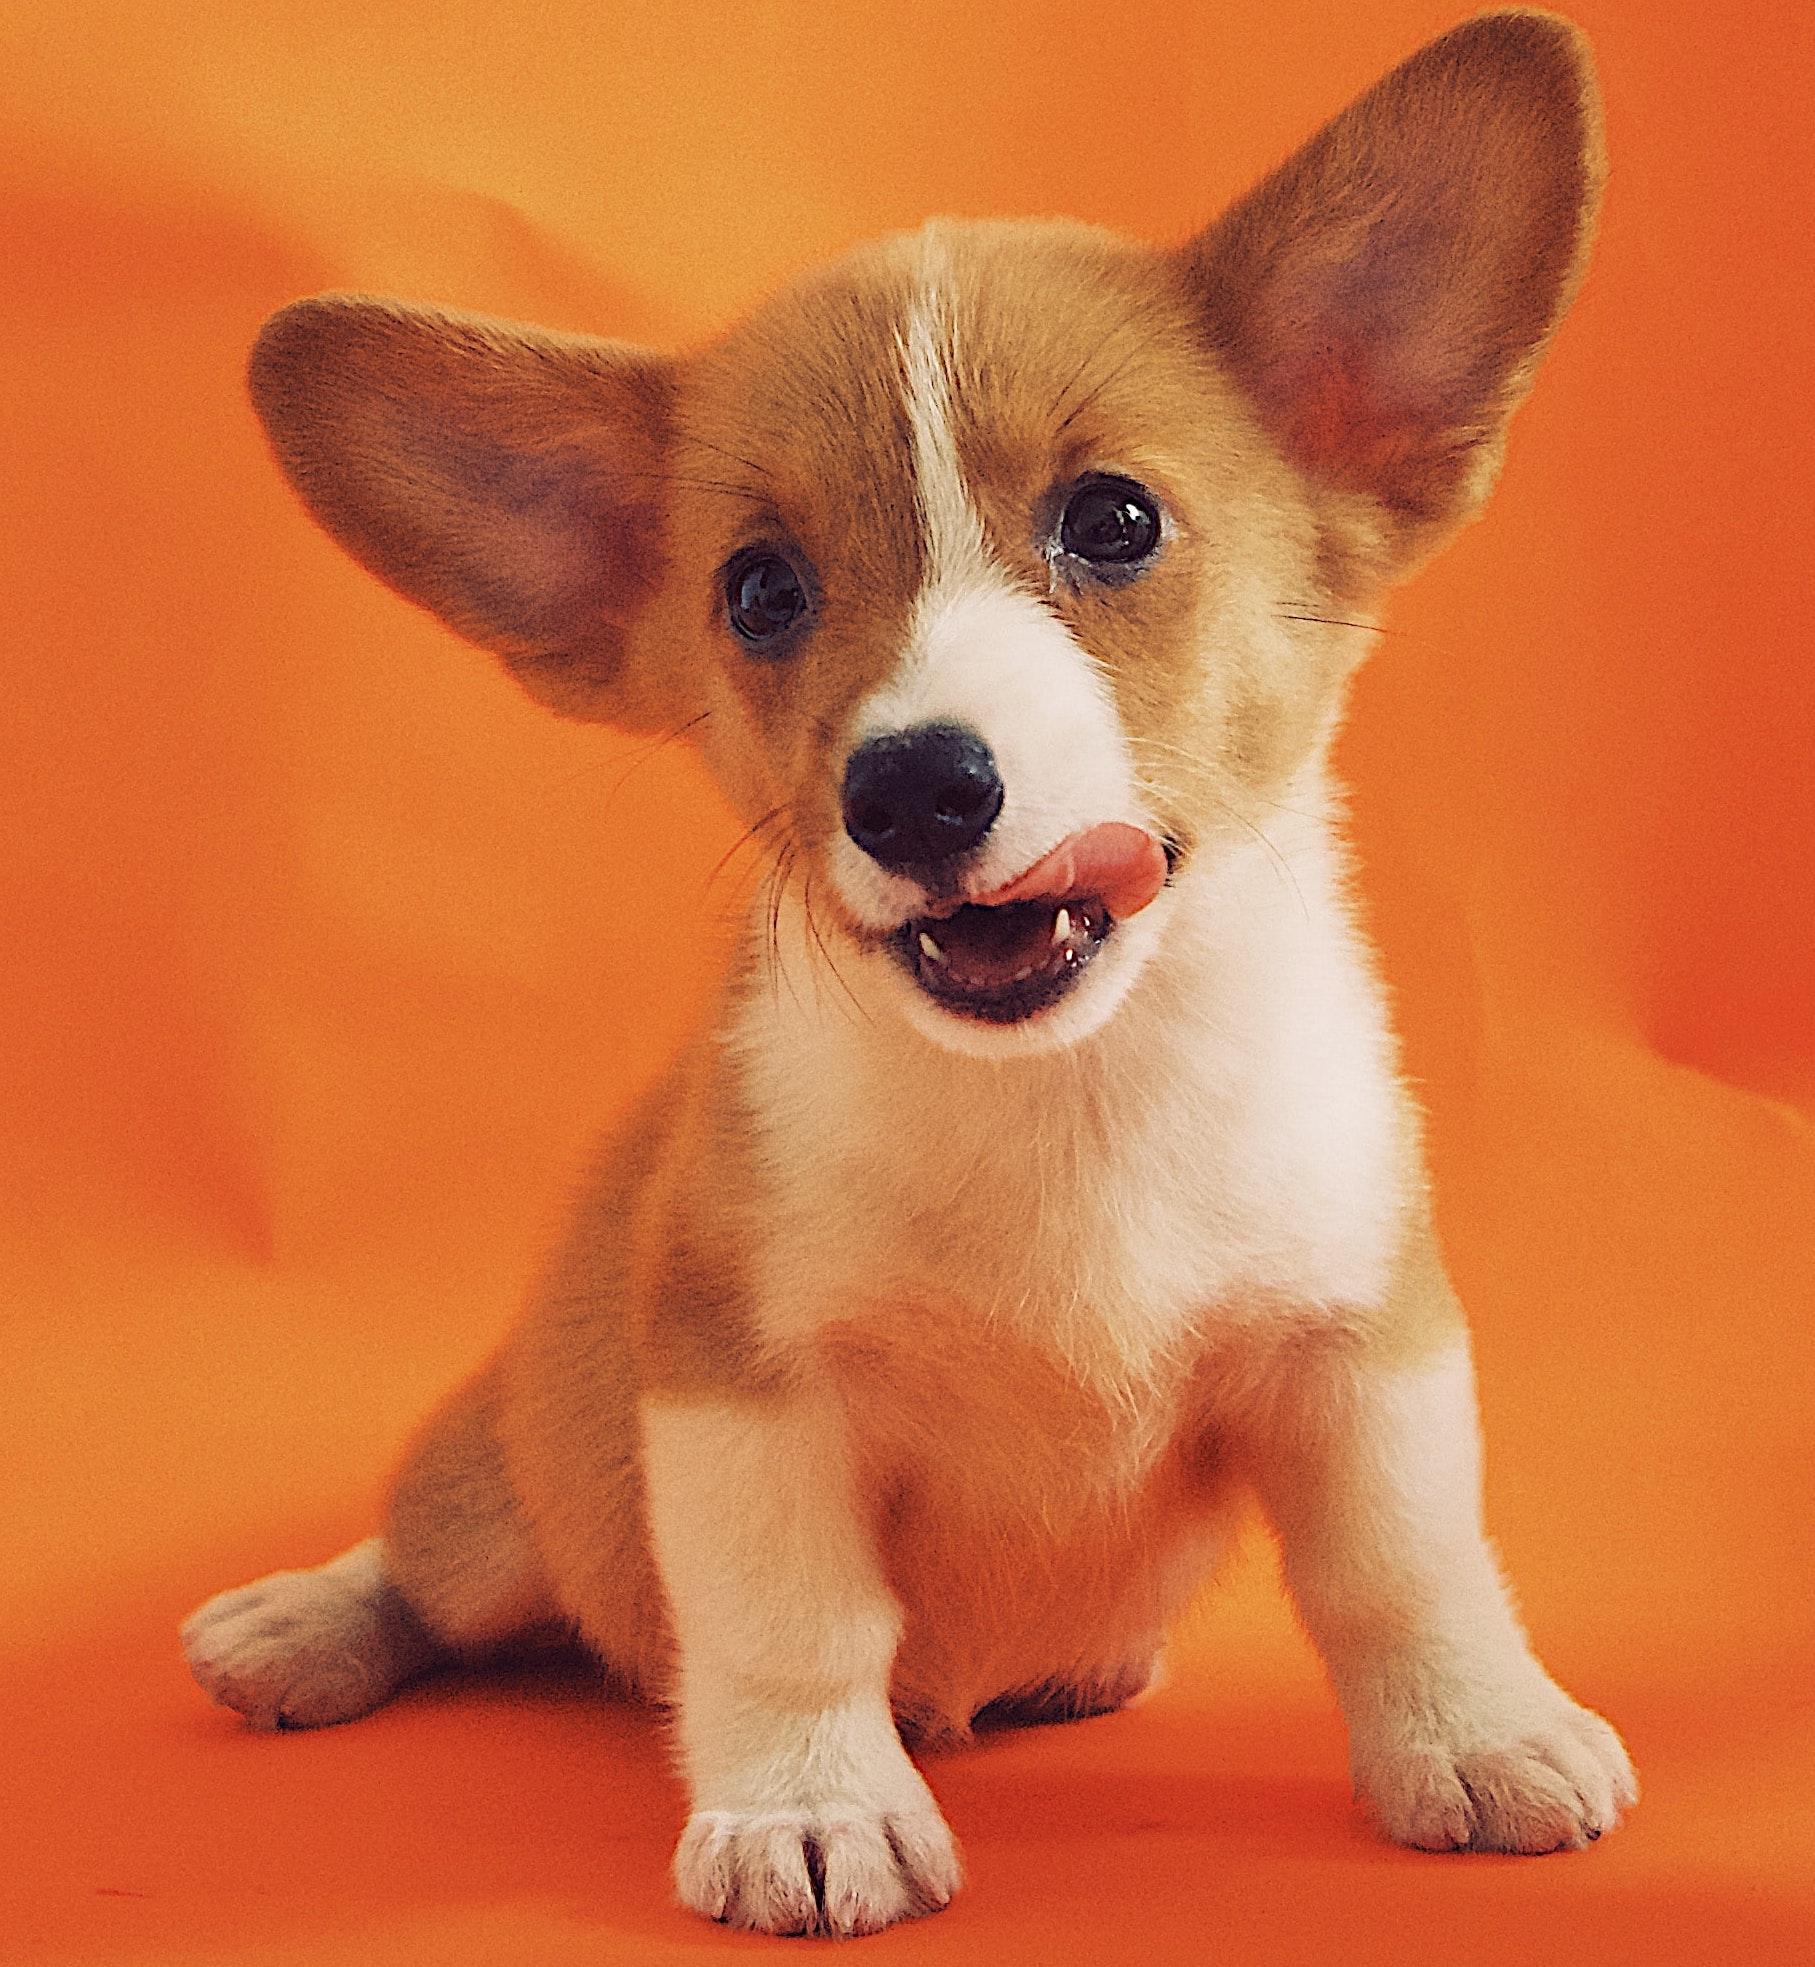 | 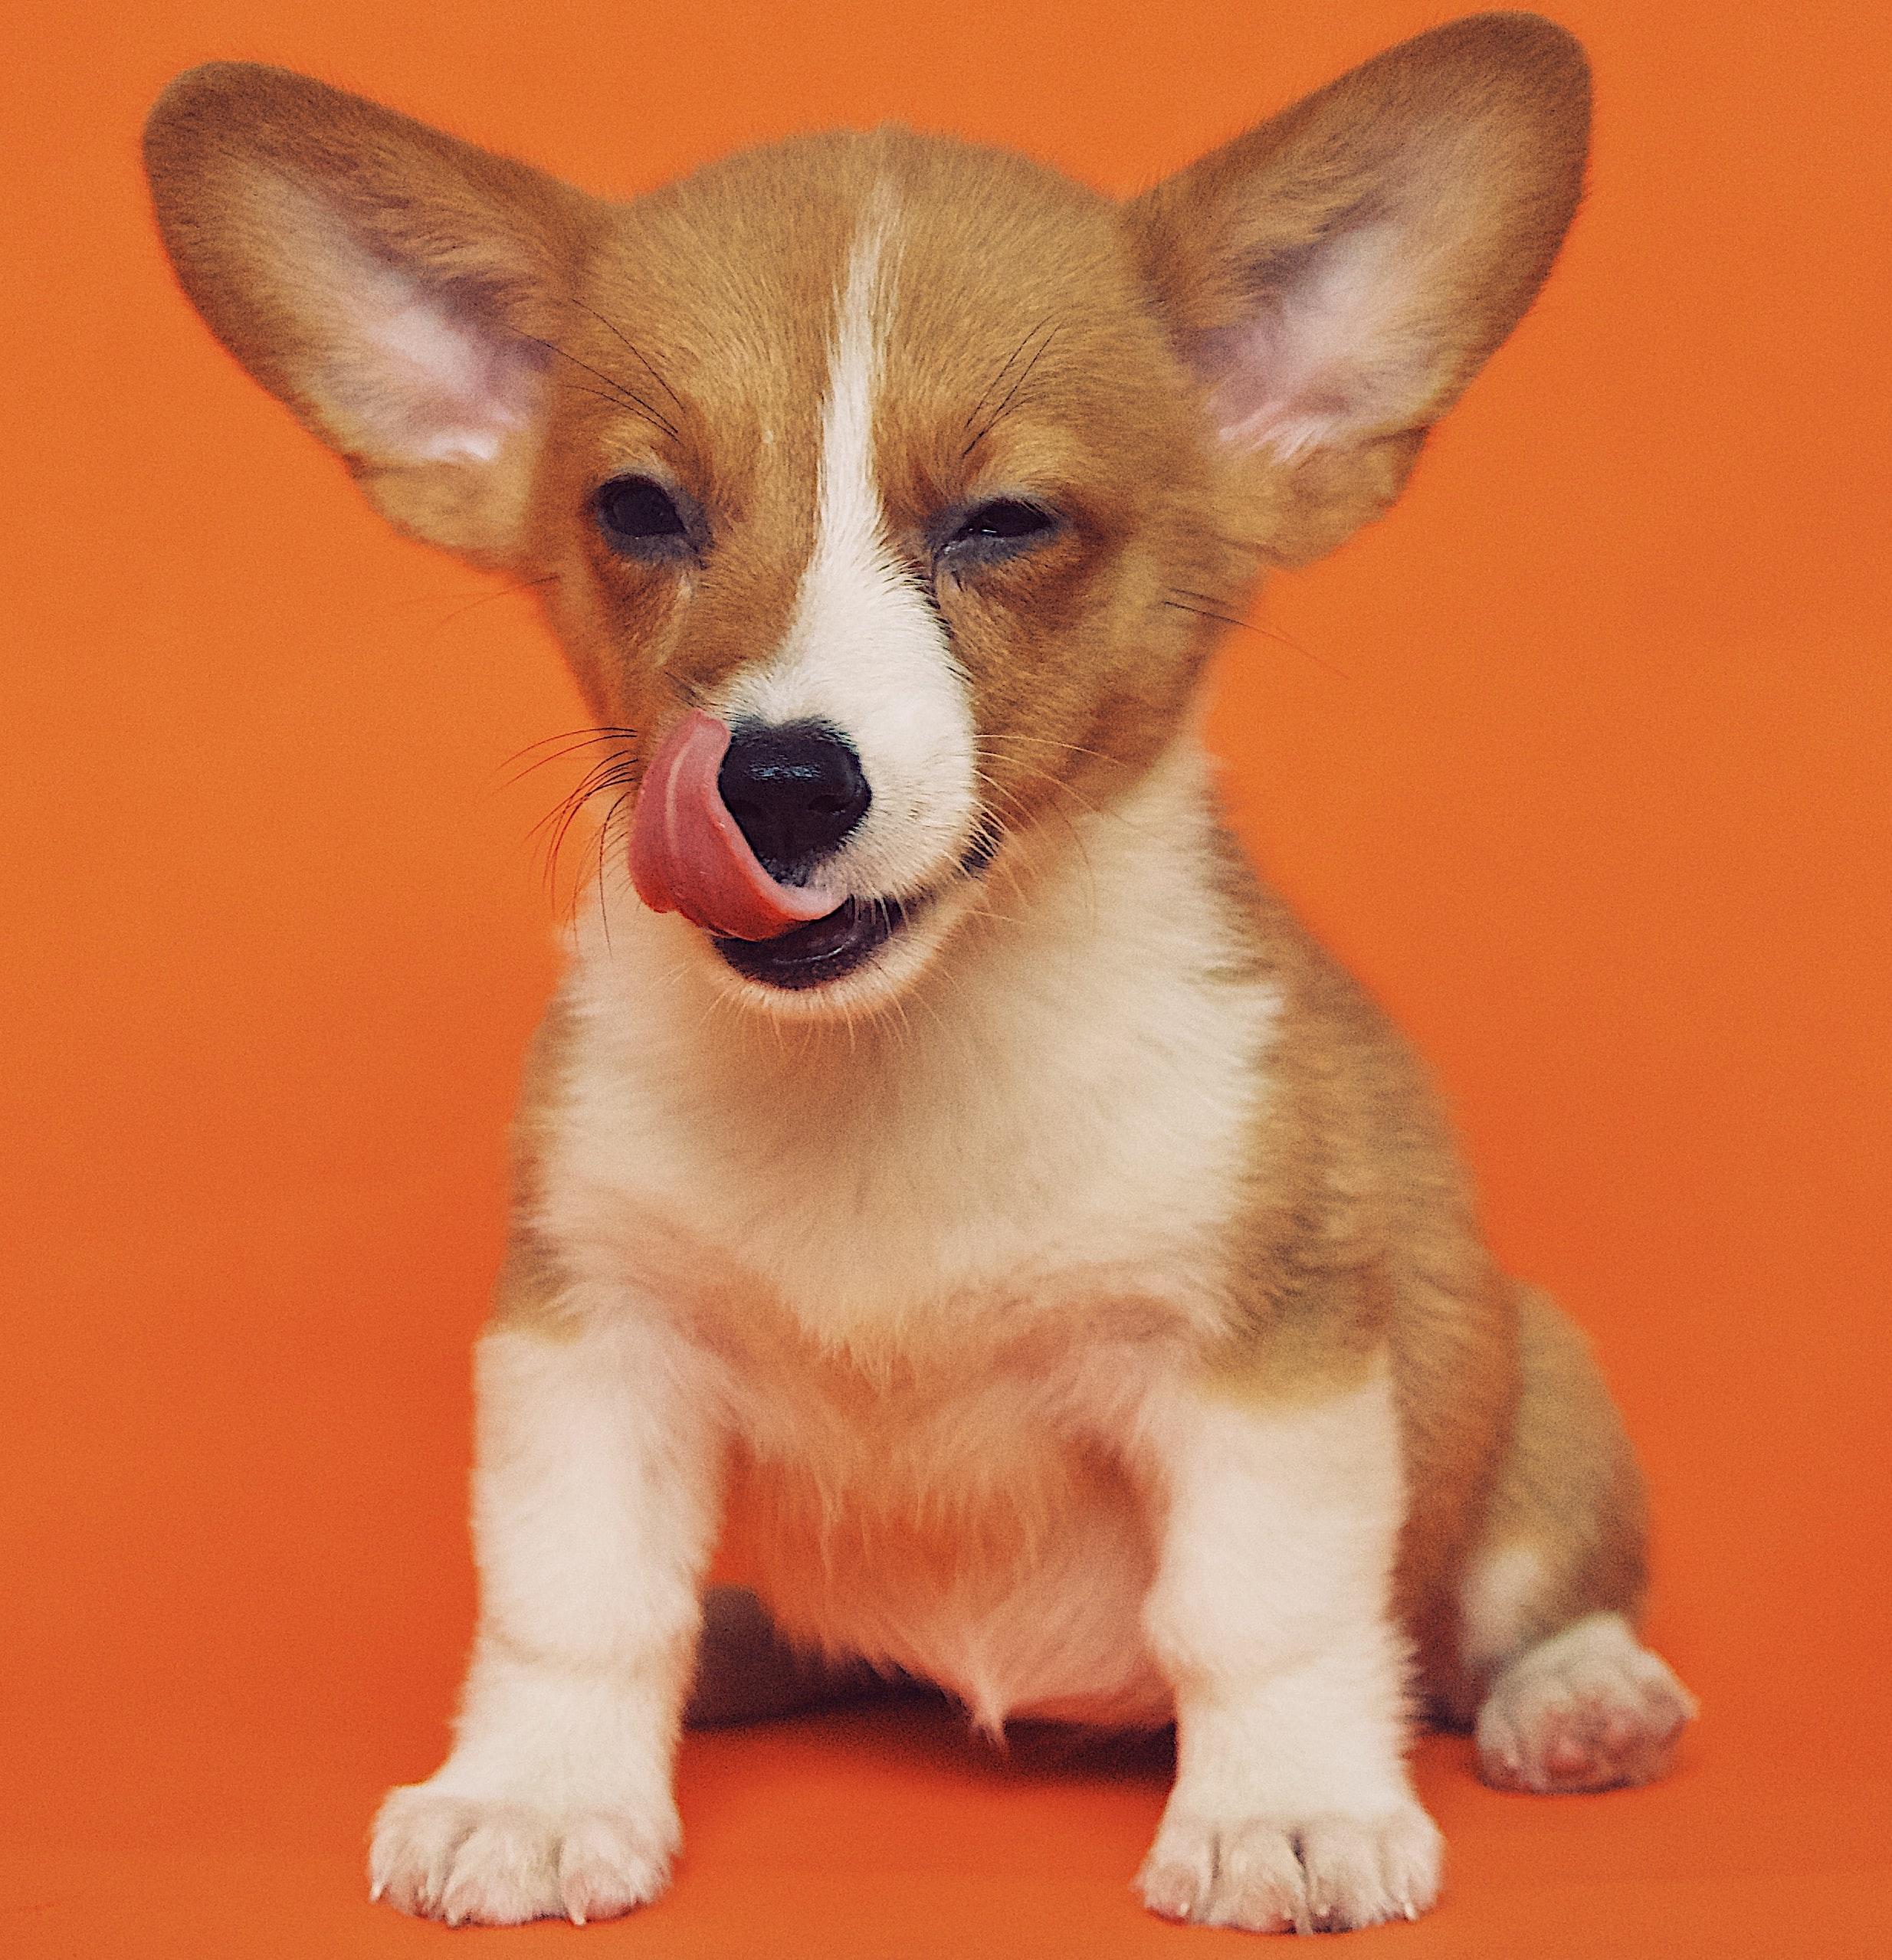 | 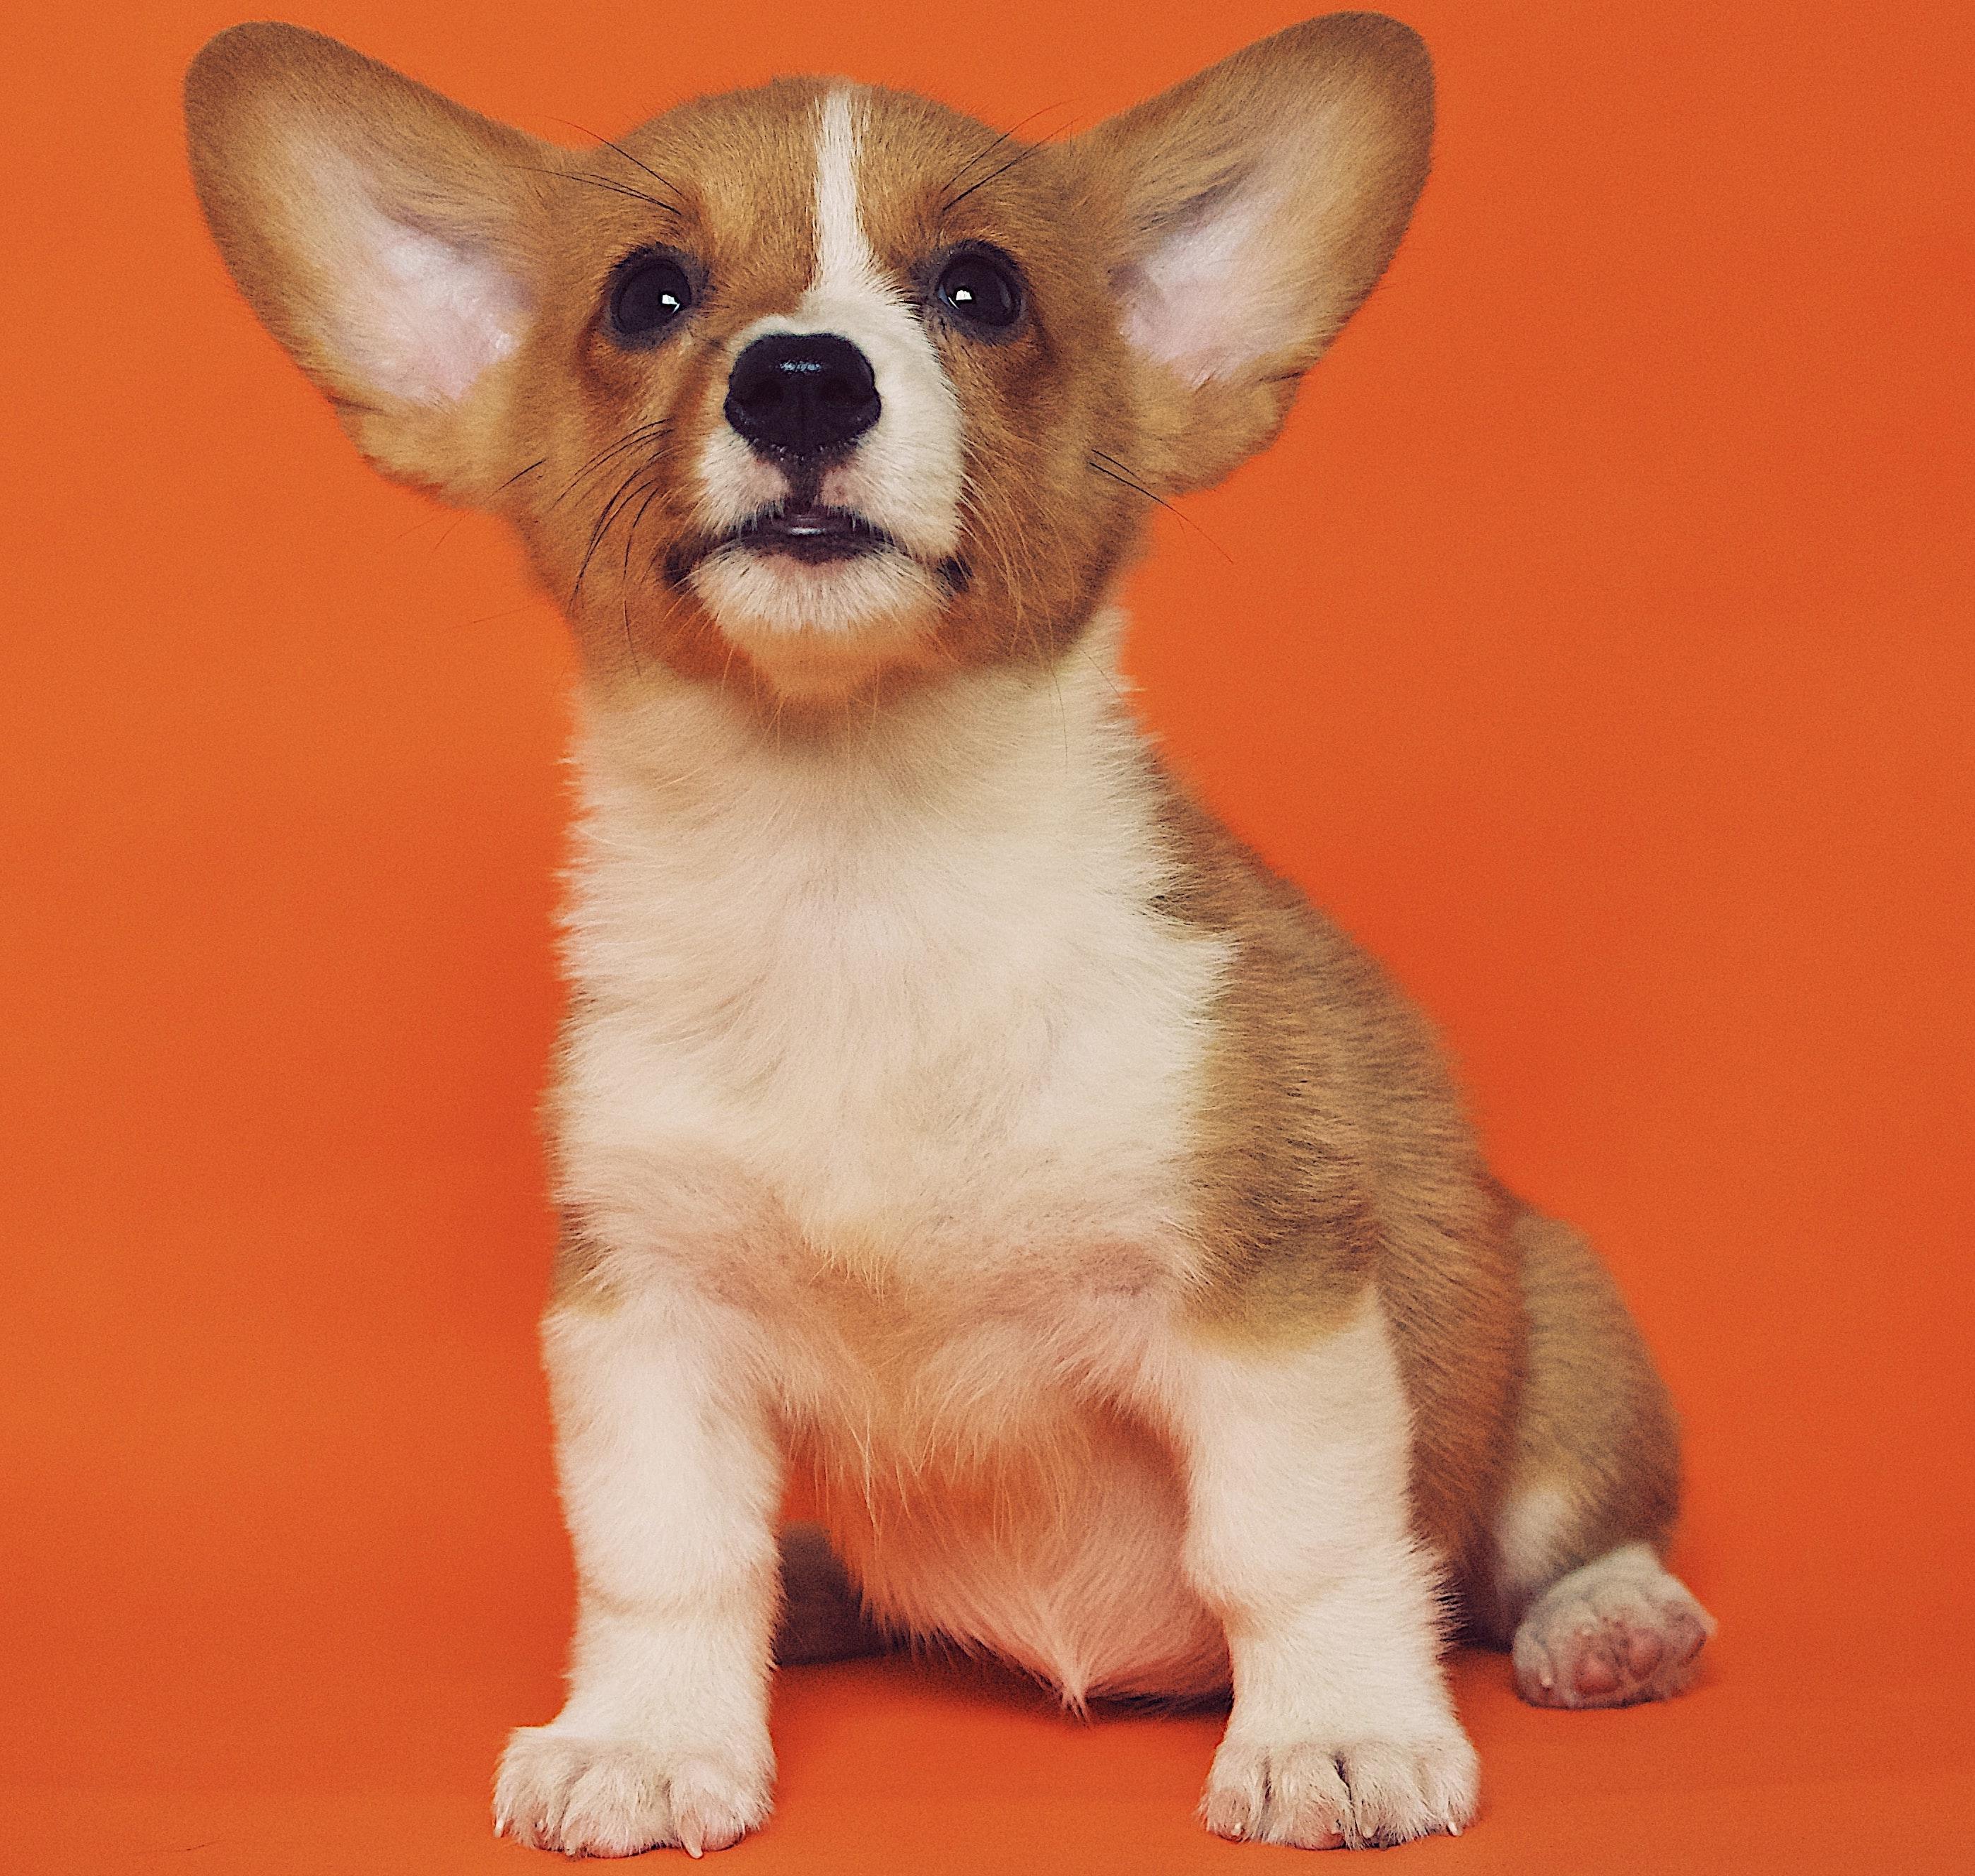 | 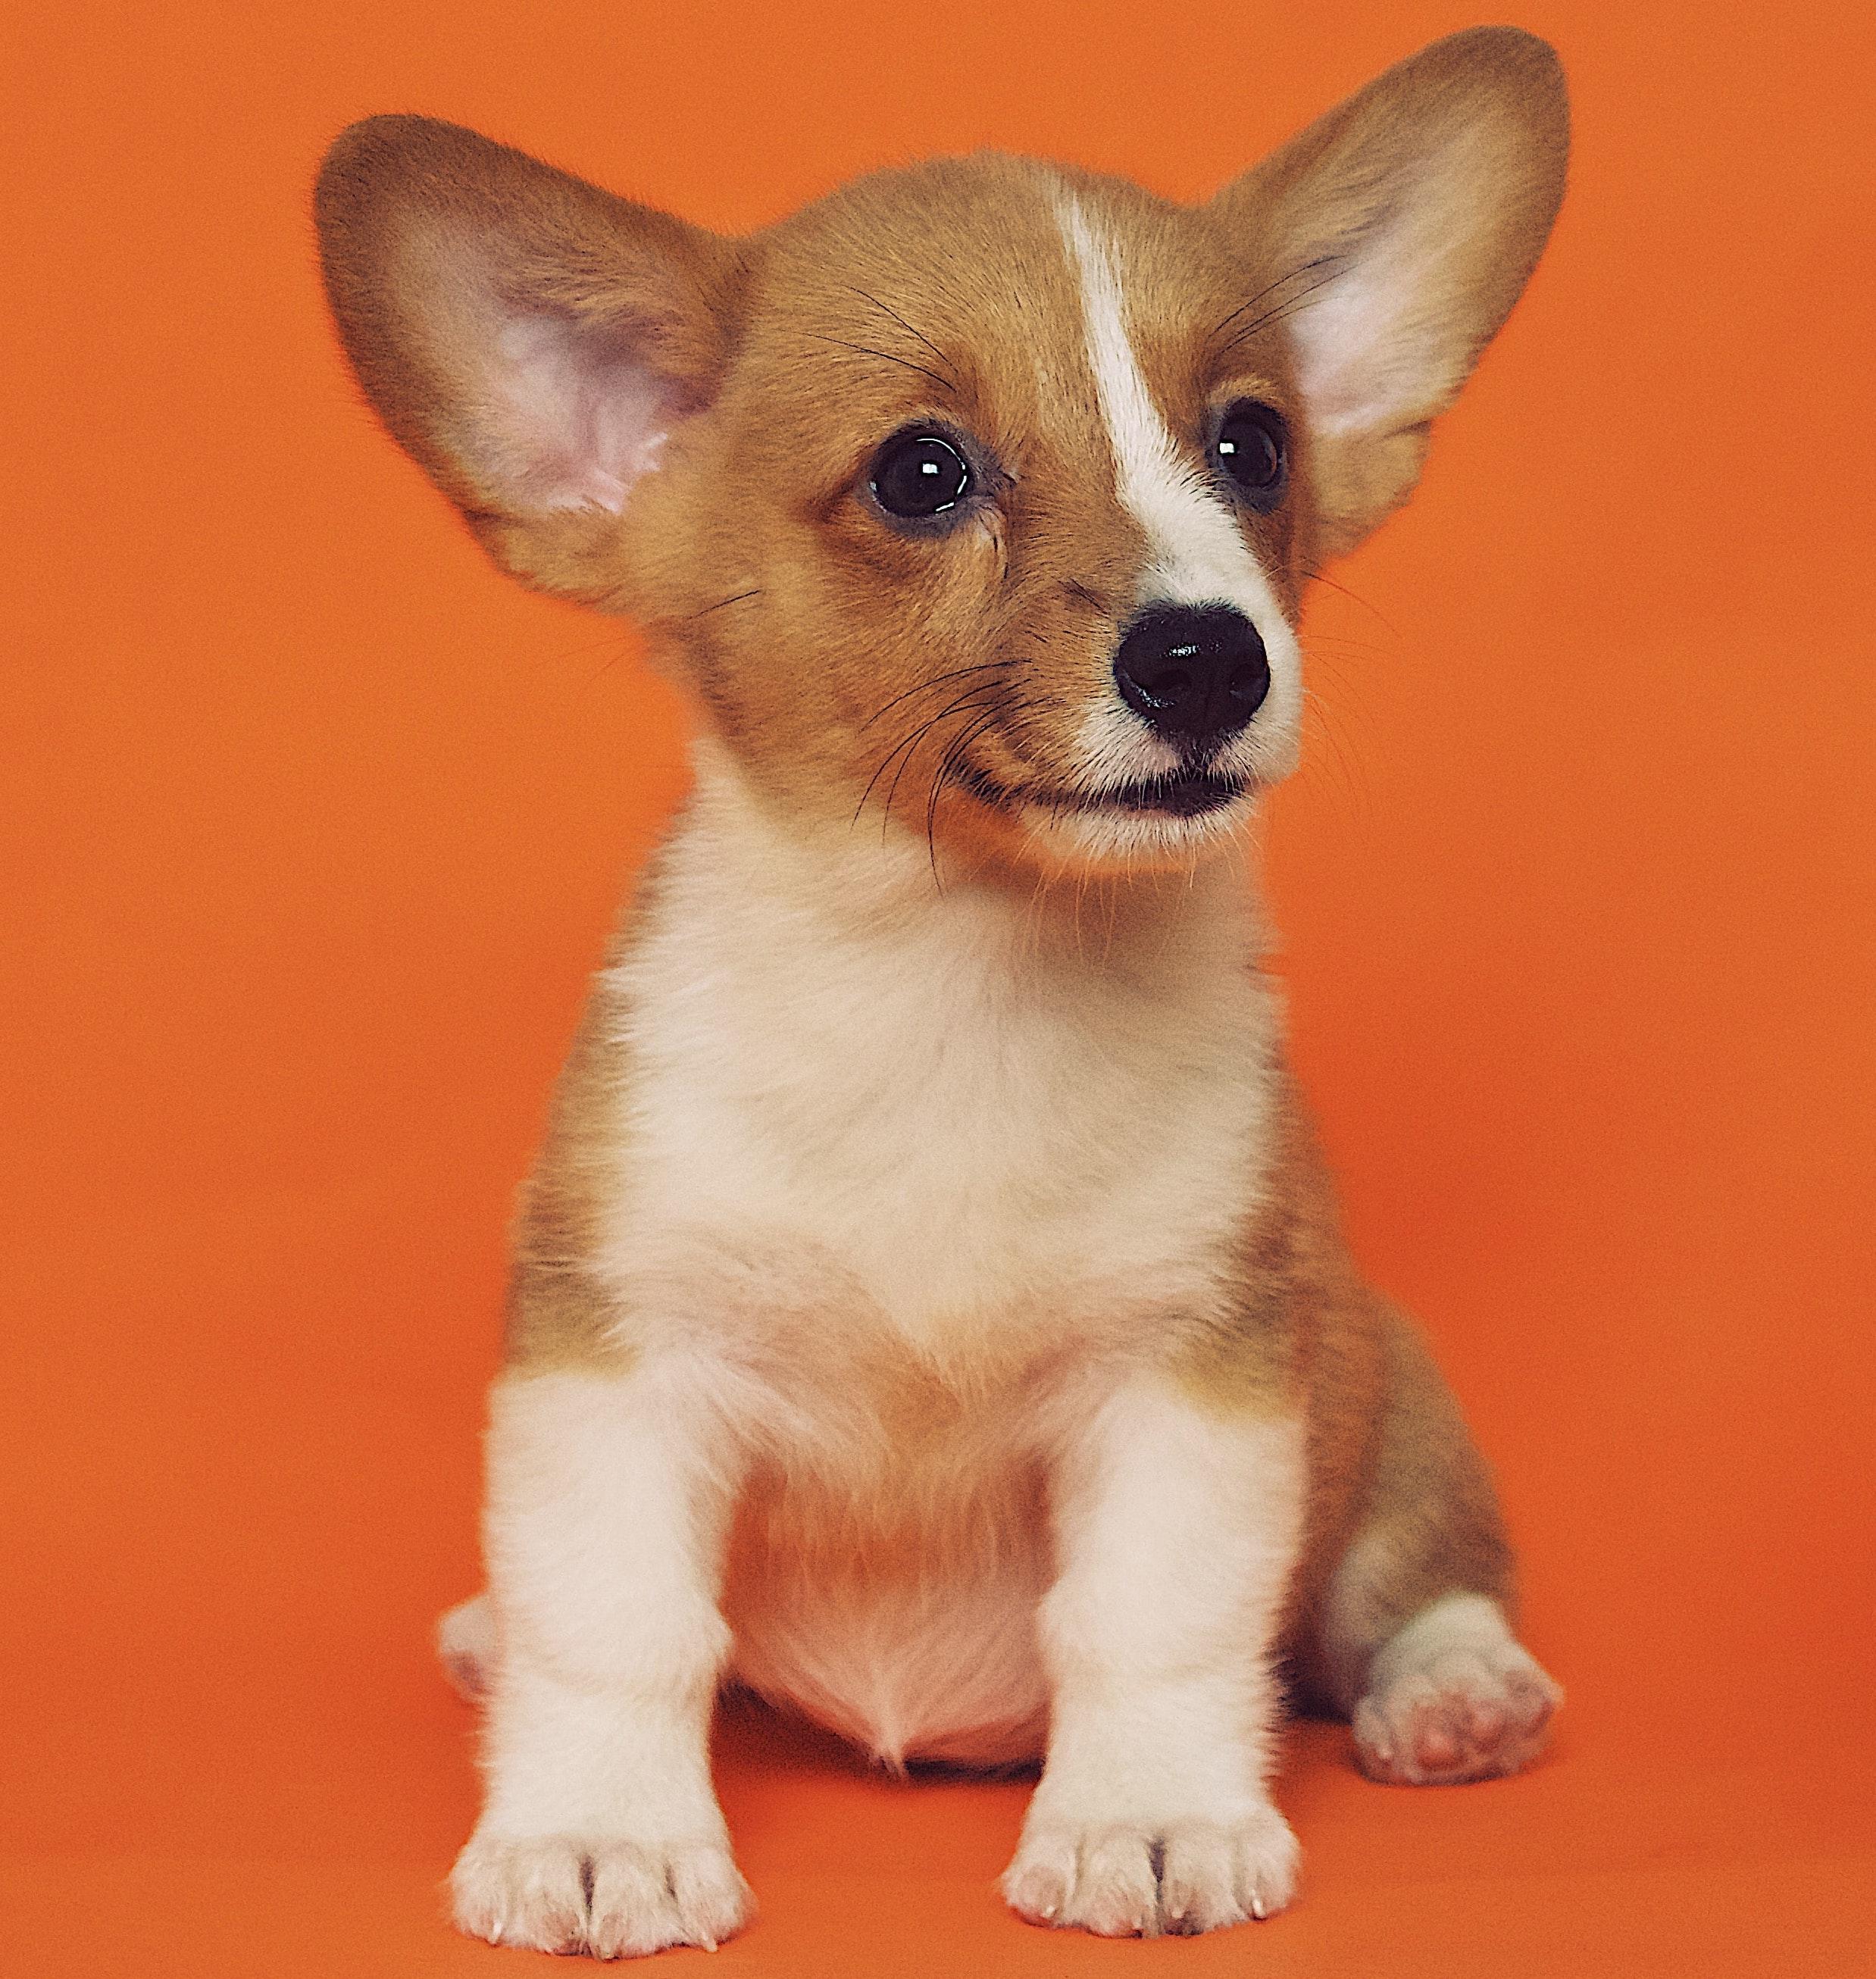 | 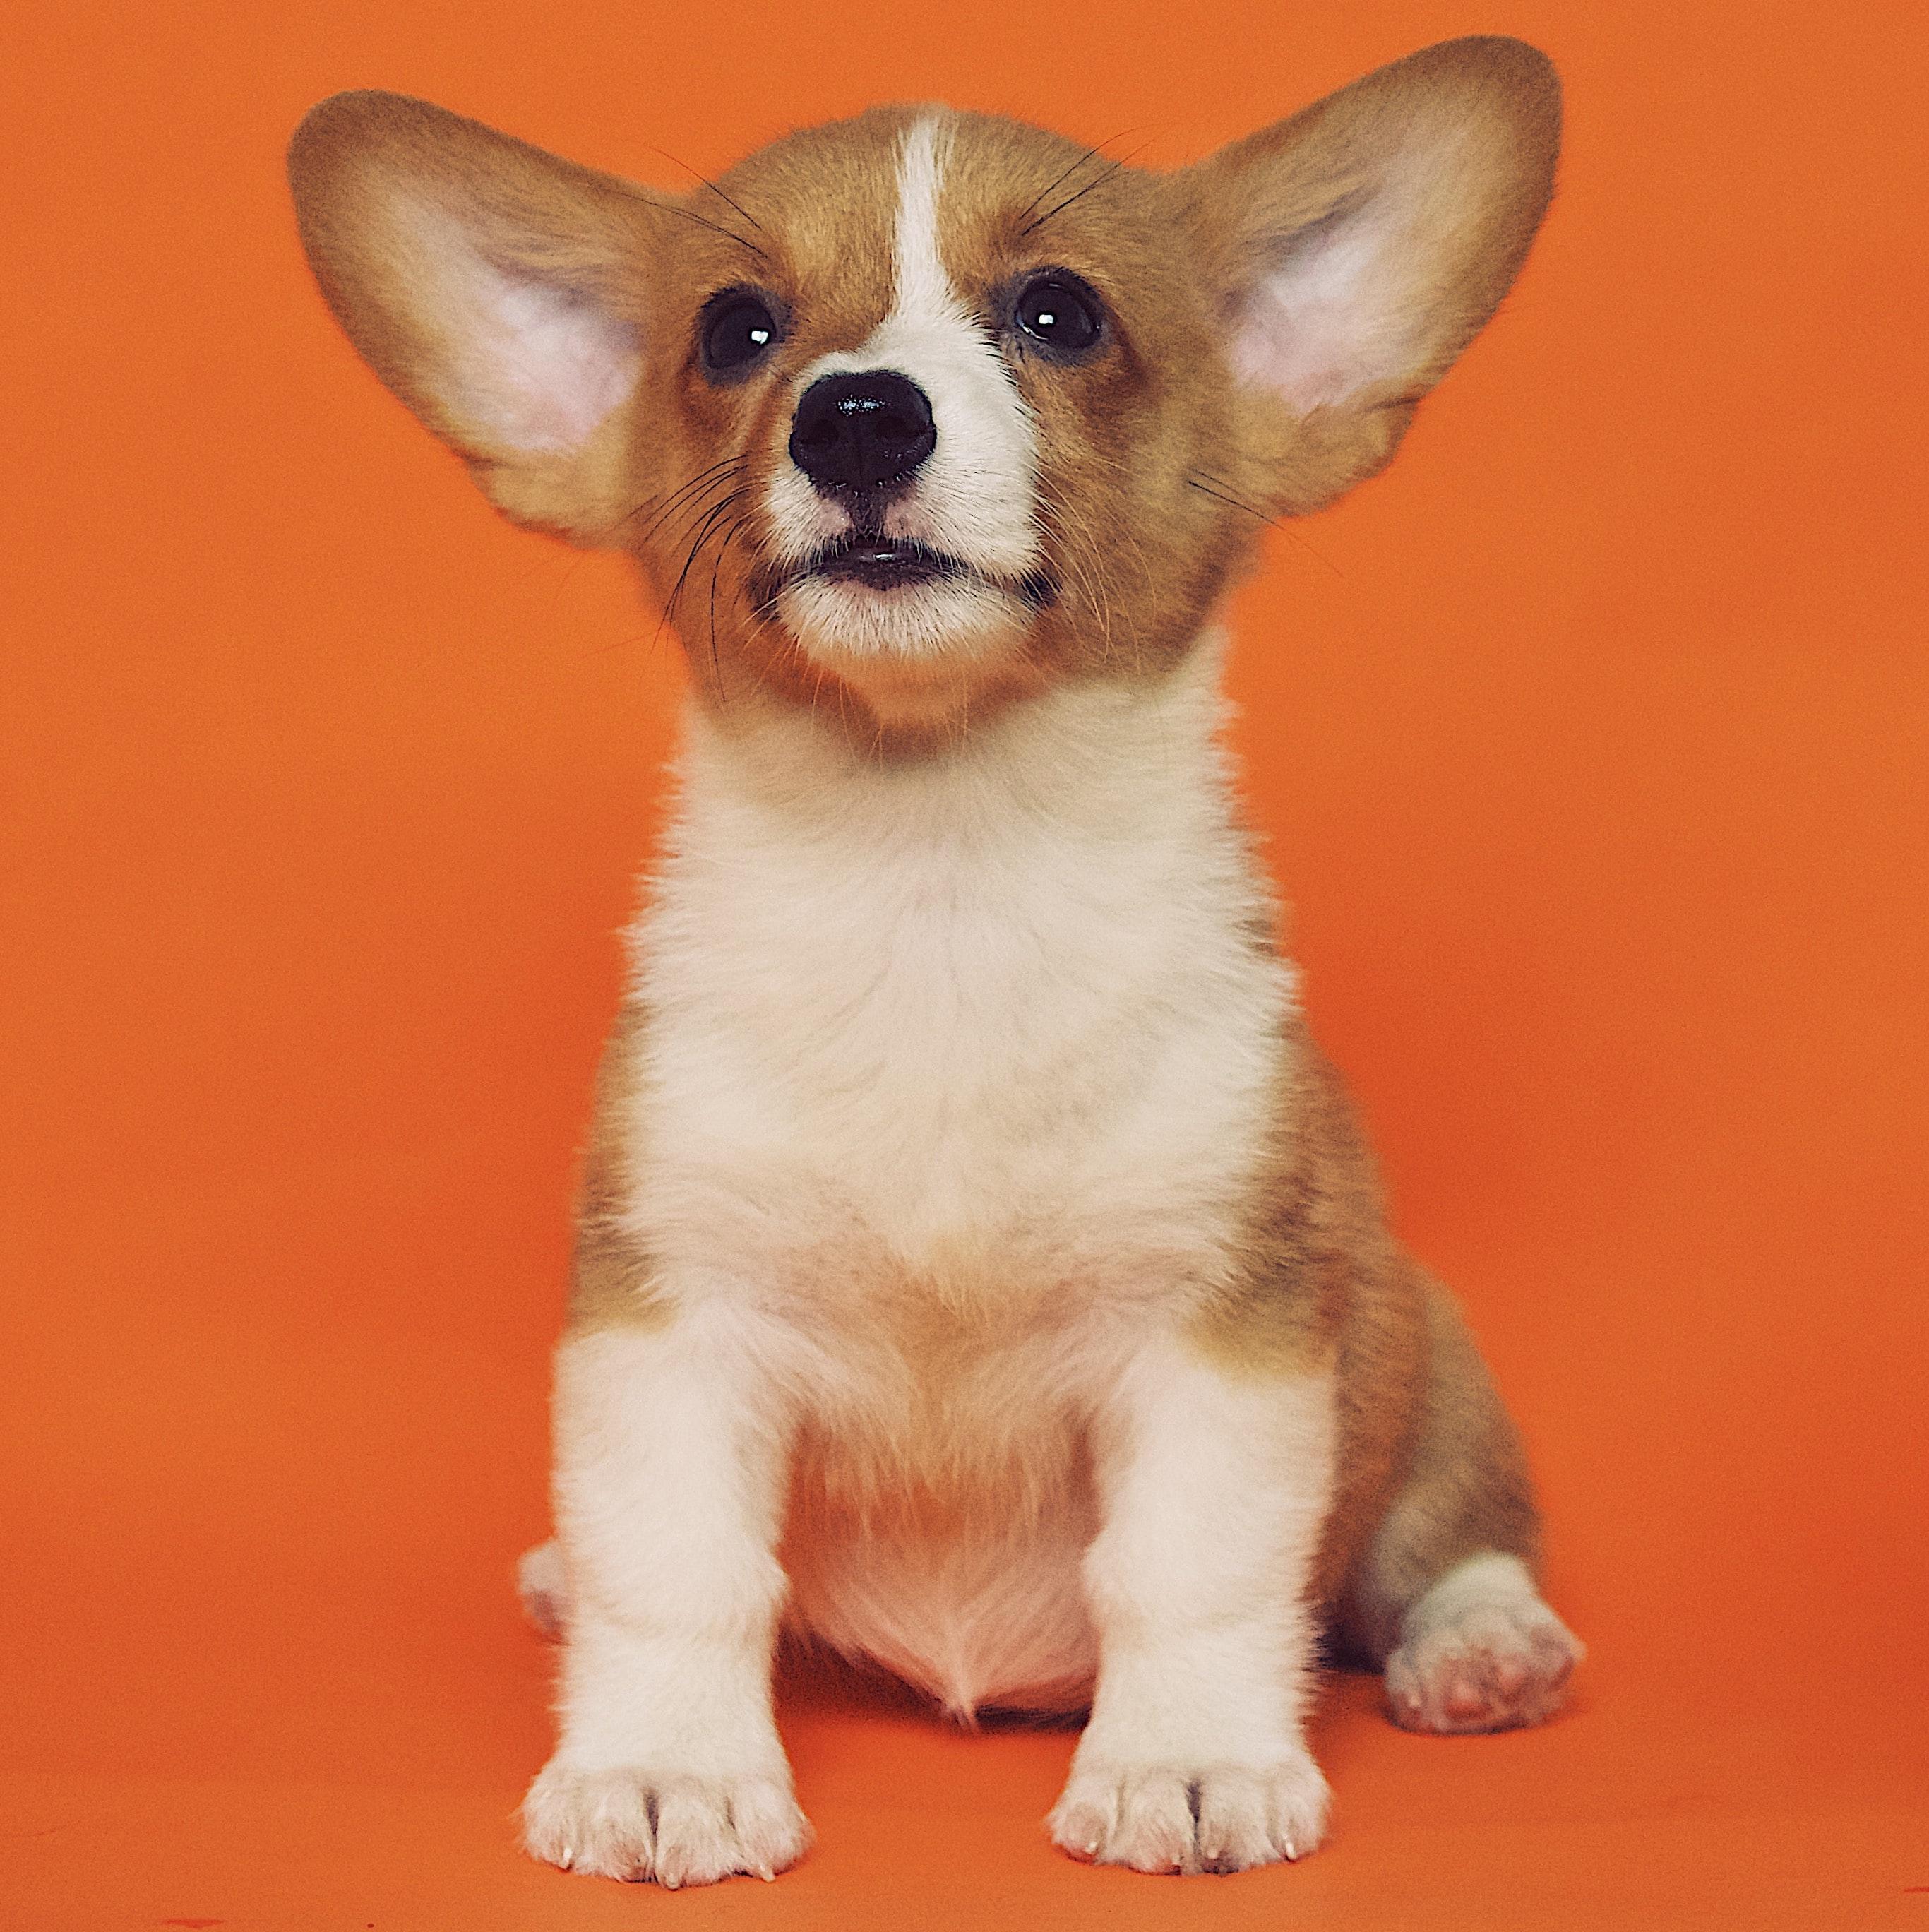 |
Upload images to the fine-tuning task by clicking the Upload Images button and selecting image files.
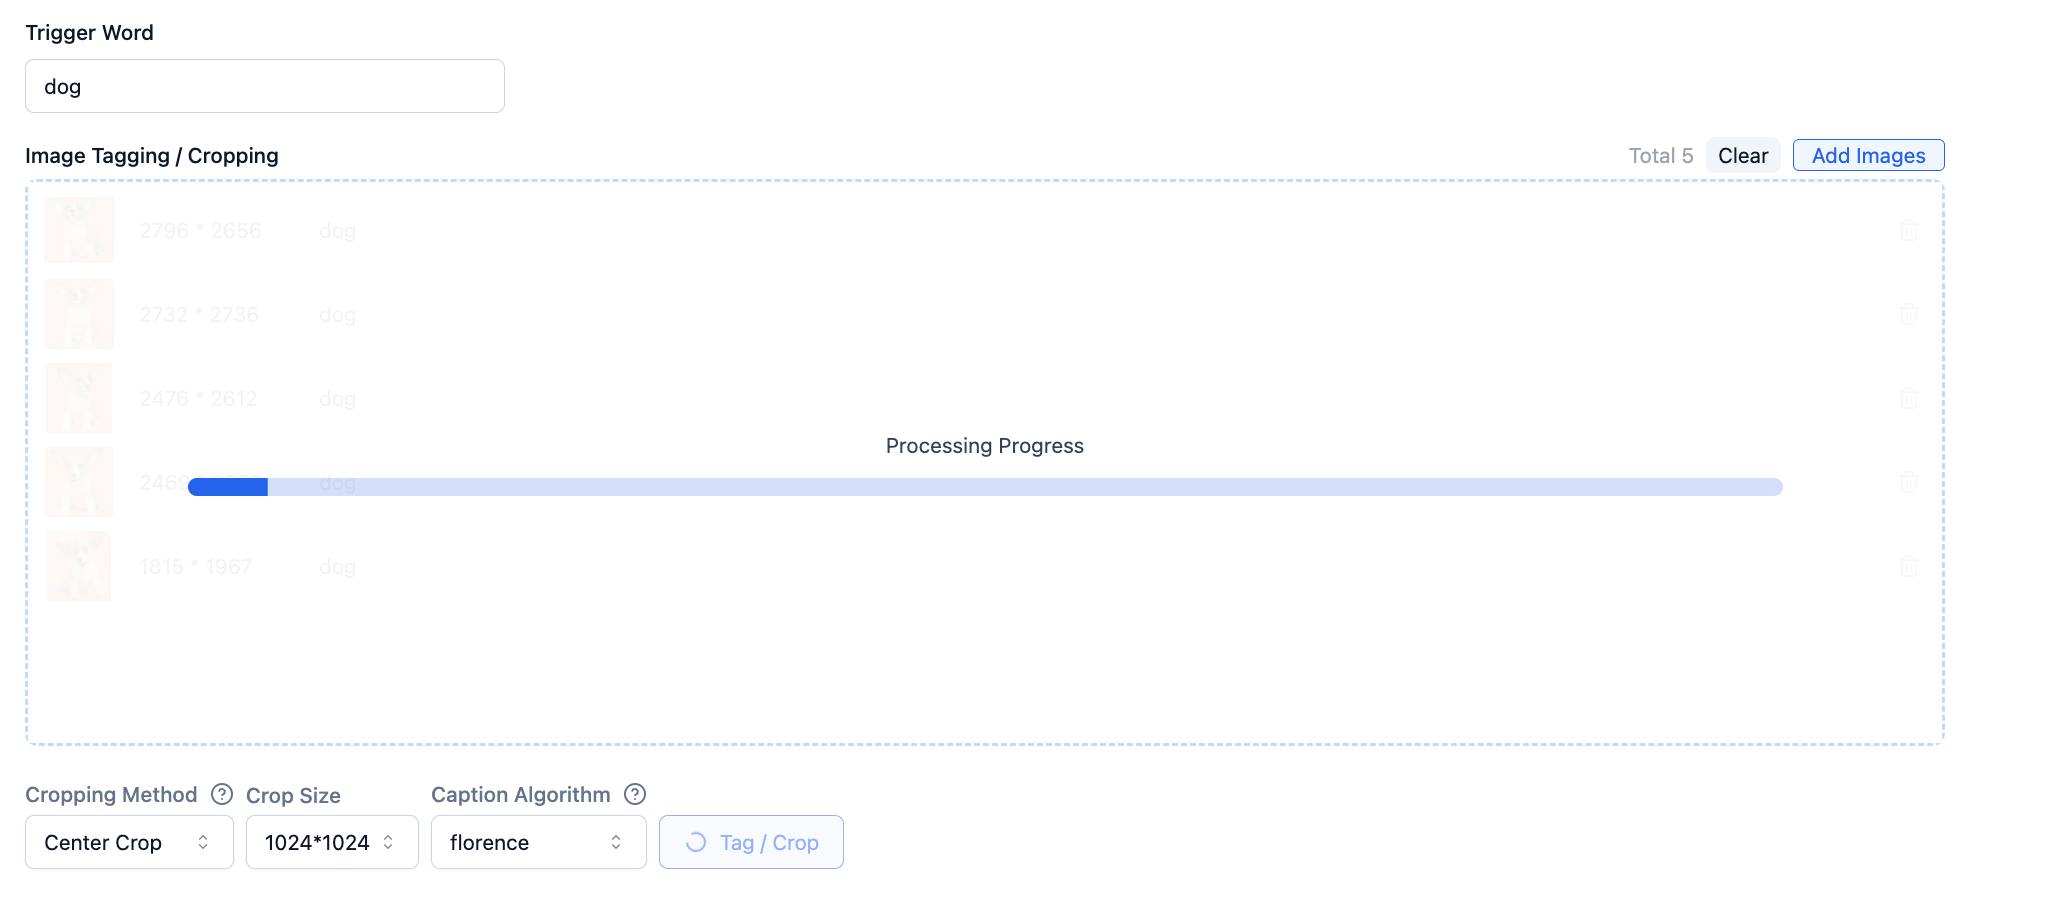
After image upload is complete, click the Label/Crop button, and the system will label your images.
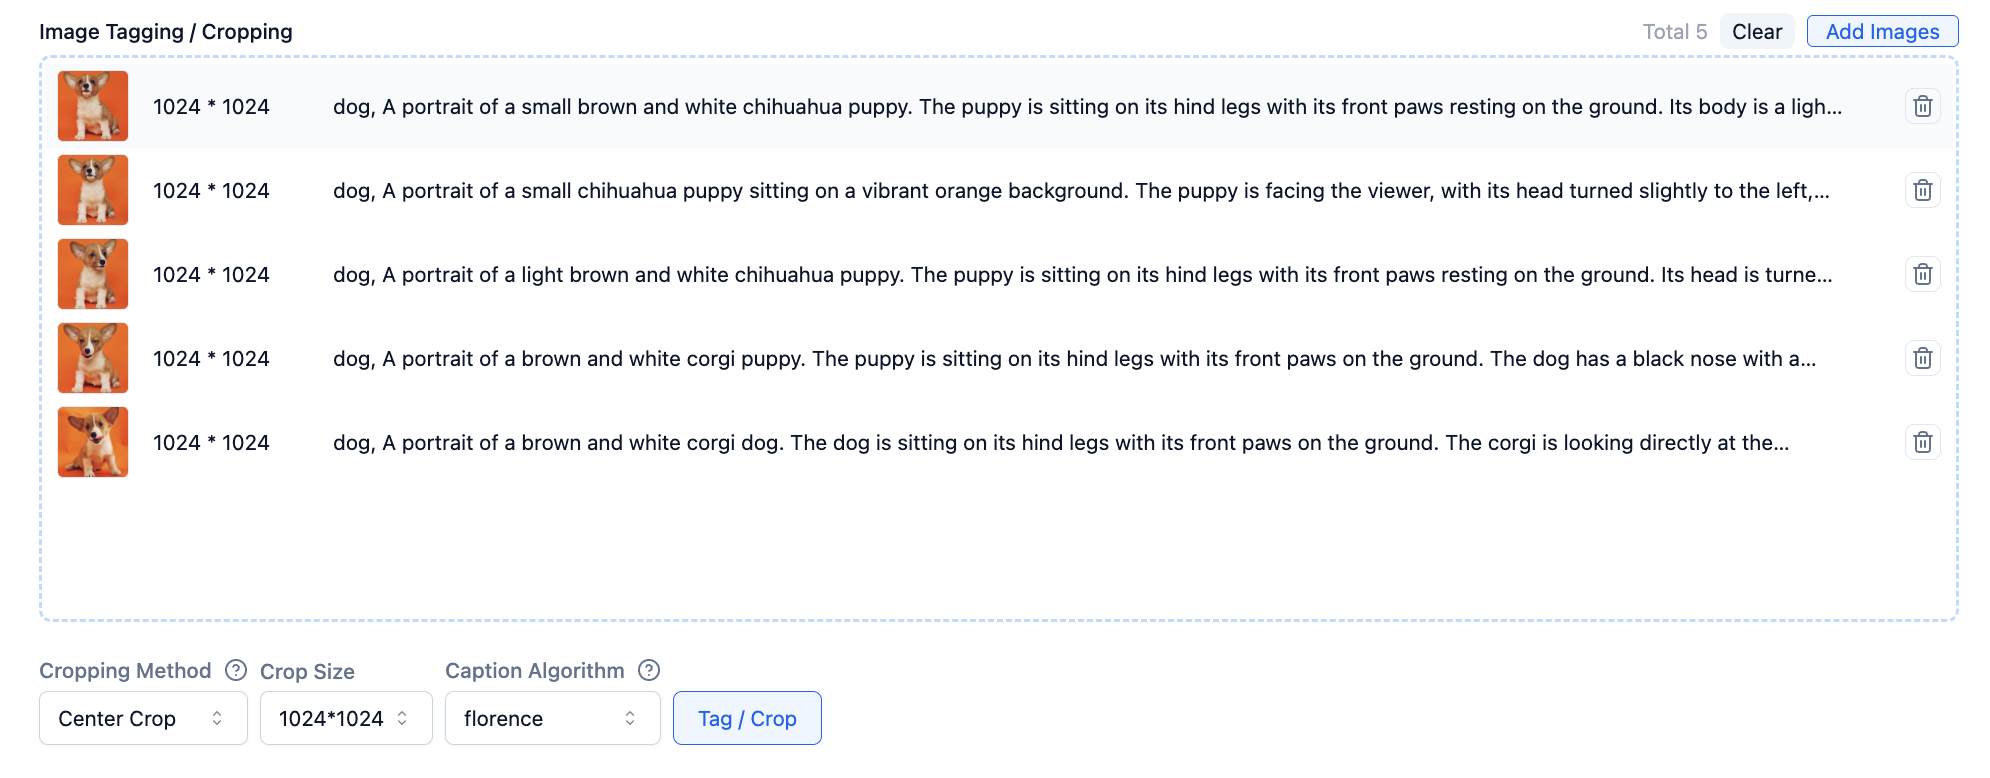
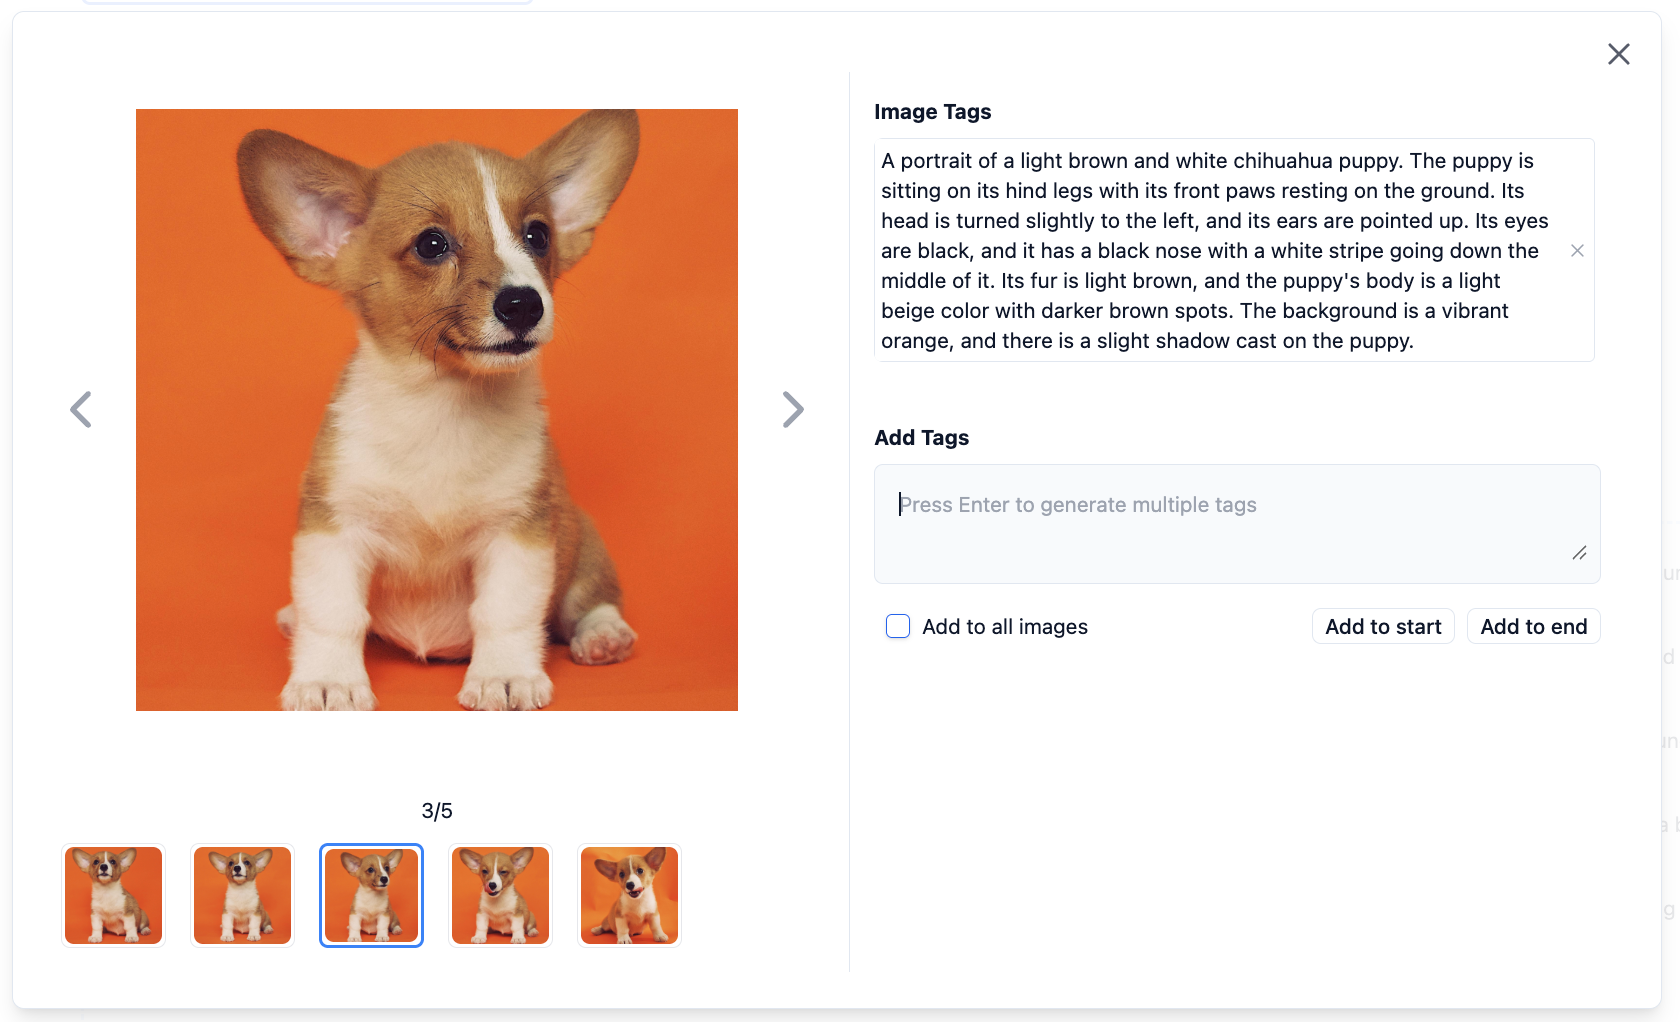
Click on an image to view the automatic labeling results in a popup, and modify as needed.
- Delete labels you think are unrelated to the image
- Add label content you think is needed
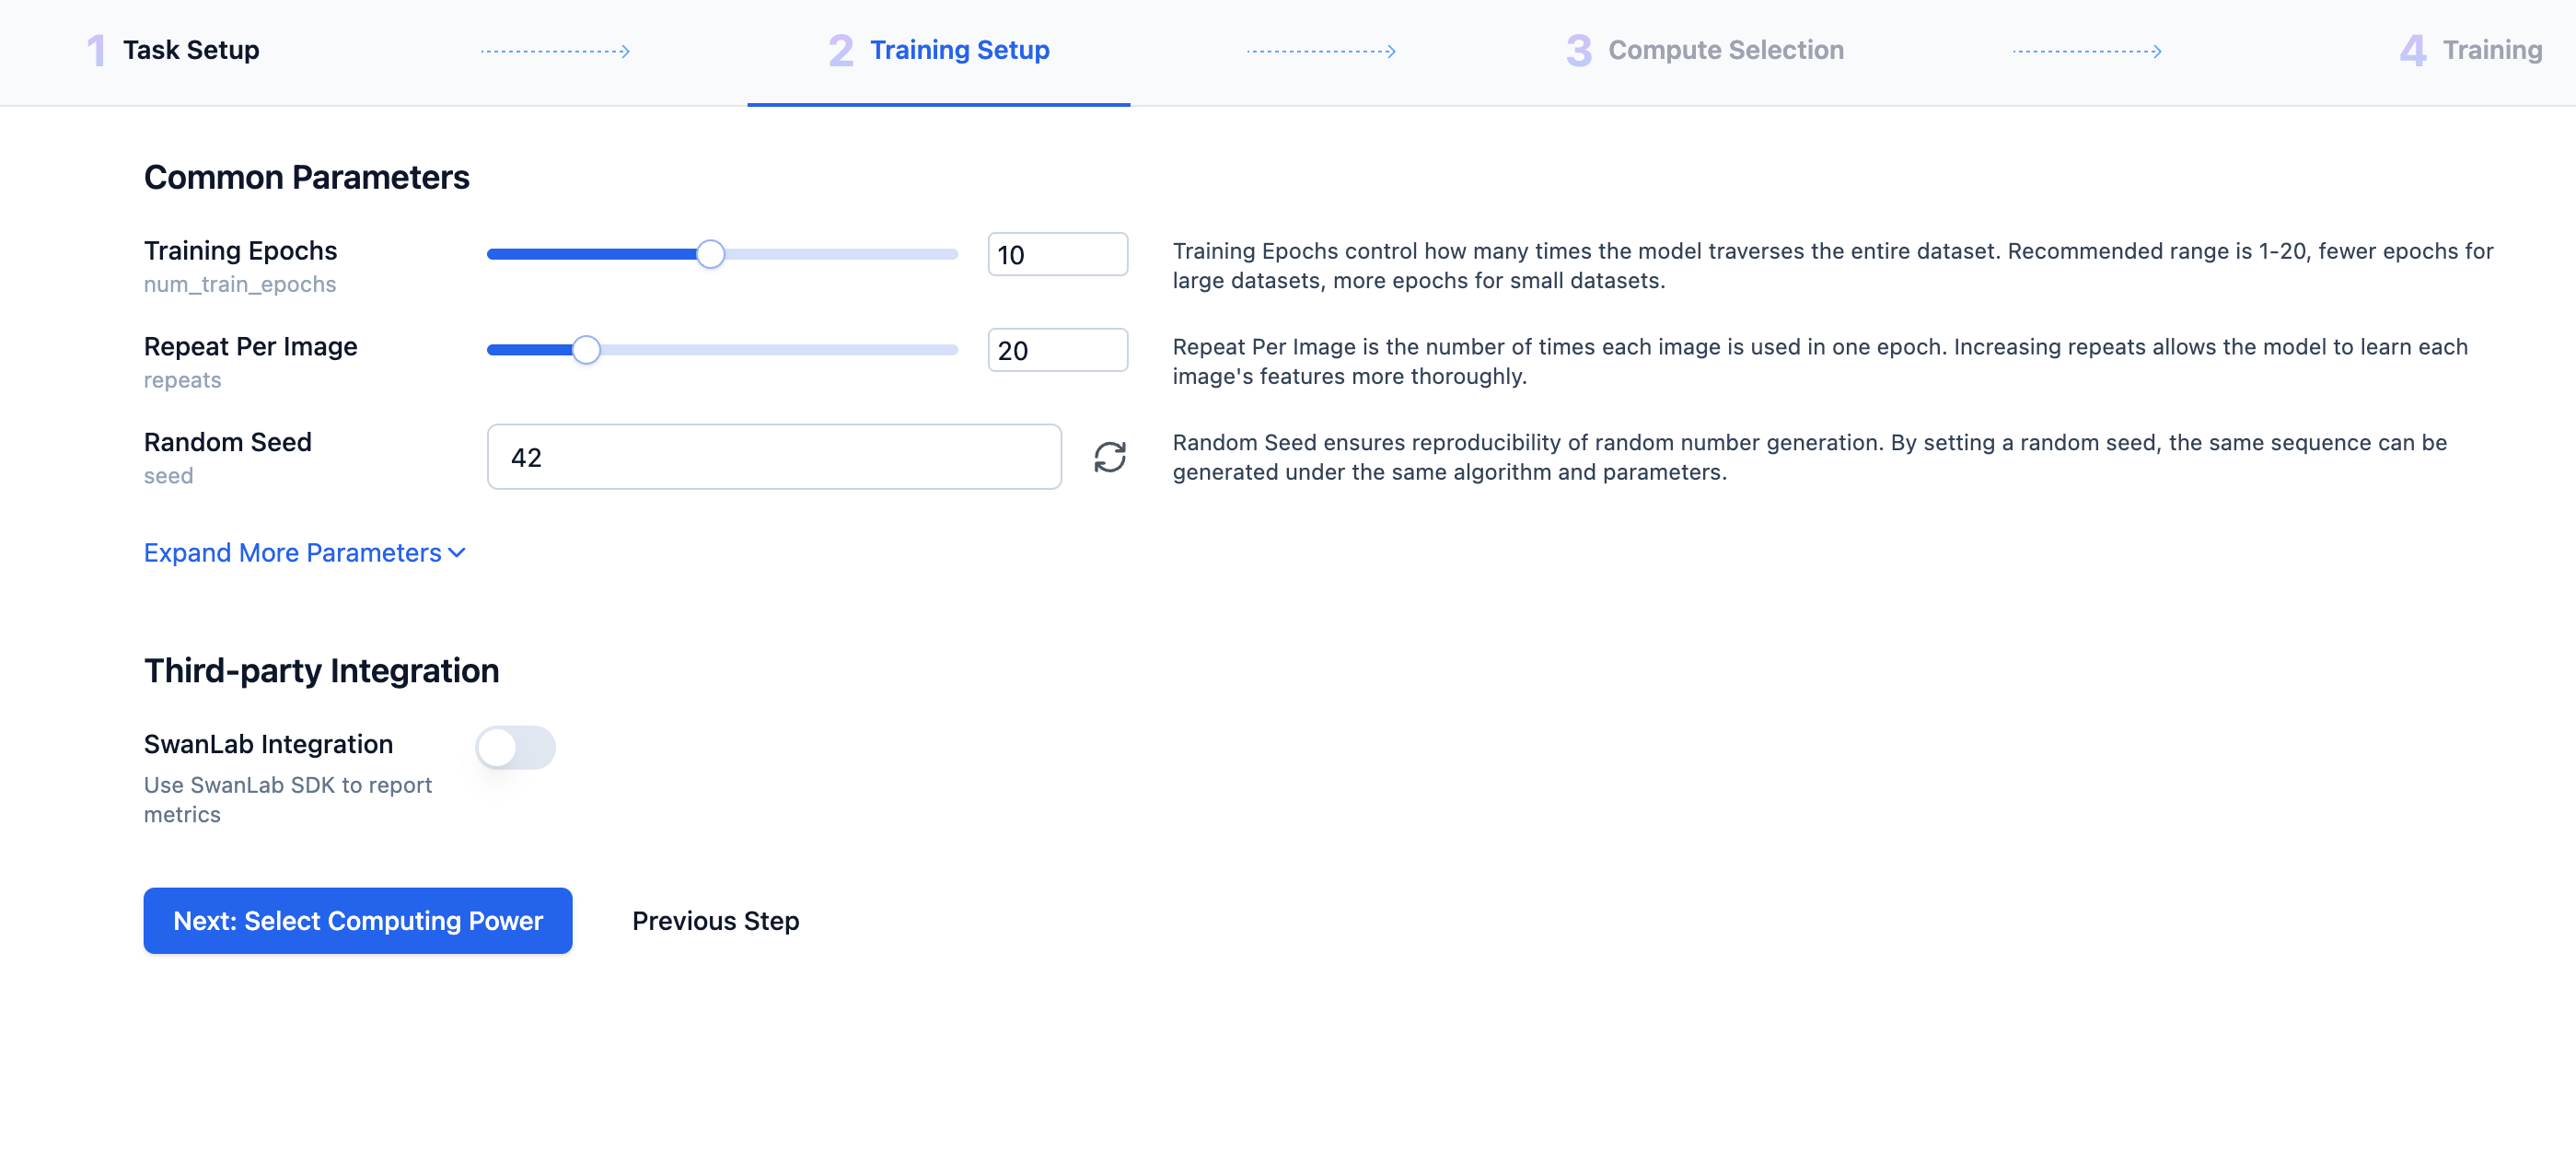
Step 3: Fine-tuning Parameter Settings
Click Next, Configure Training Parameters to enter the task settings page, including model selection, training epochs, learning iterations per image, etc. You can set these according to your needs.
- Epochs: Determines how many times the model learns the entire dataset (saves one
LoRAmodel per epoch) - Learning Iterations per Image: Determines how many times the model learns each image during each epoch
Both determine the model's training time and also affect the model's training effectiveness.
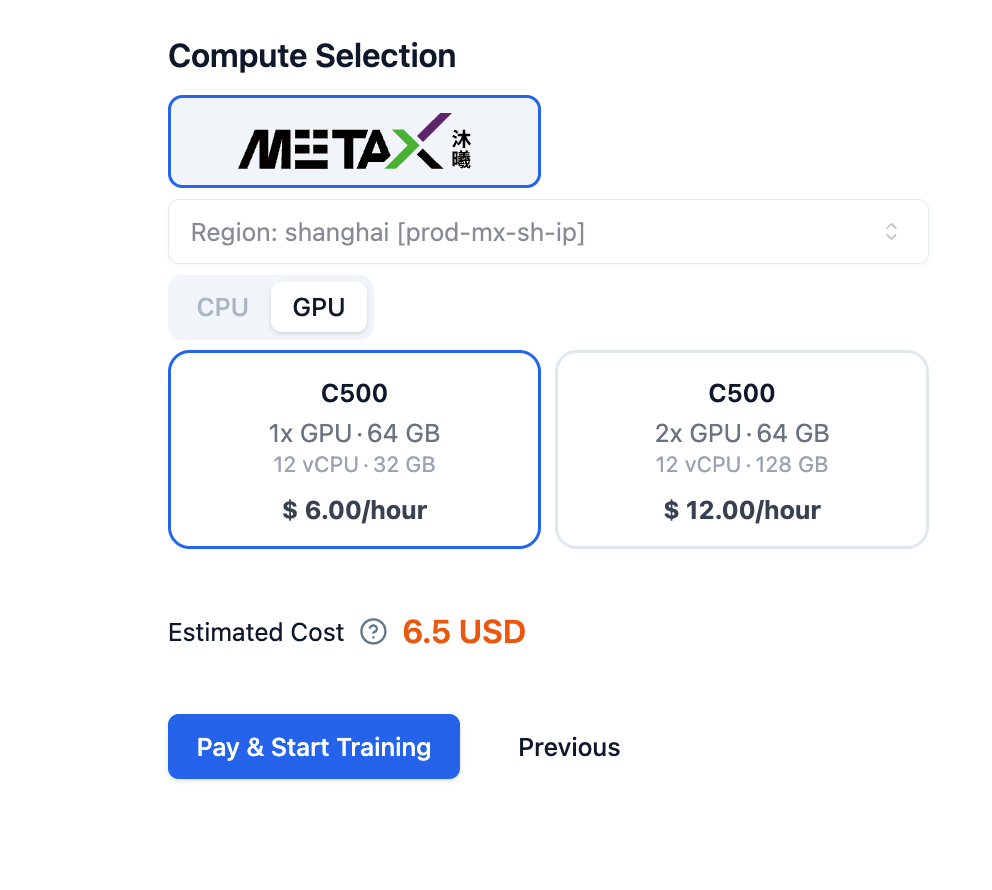
Step 4: Computing Power Selection
Click Next, Select Computing Power to enter the computing power selection page. After confirmation, click Pay and Start Training
Click the Start Training button in the lower right corner to enter task queuing status. Wait a moment, and the system will allocate resources for your task and begin training.
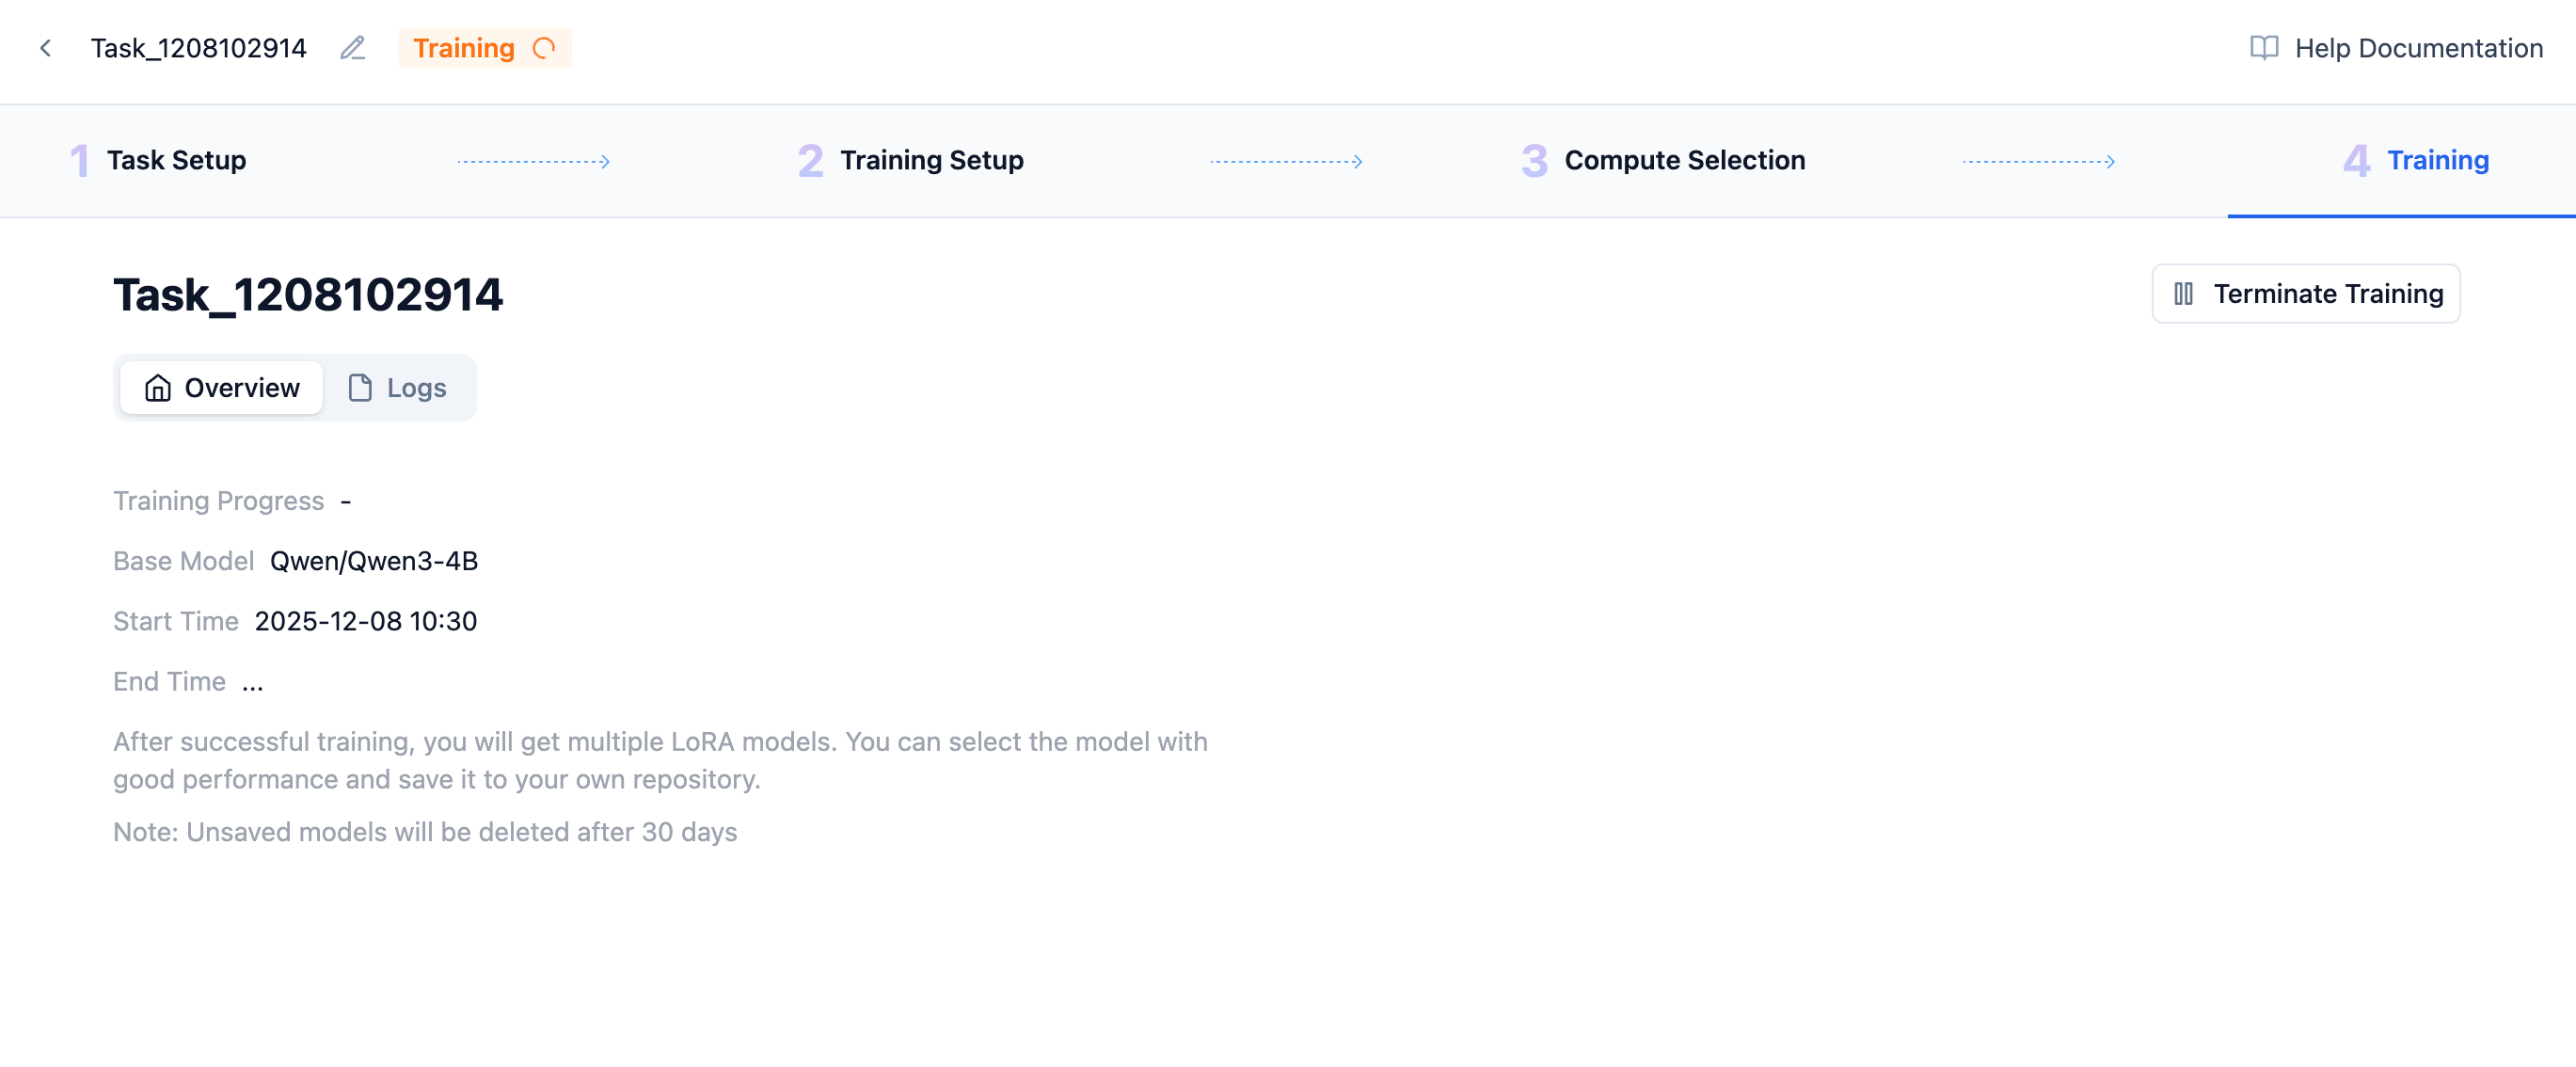
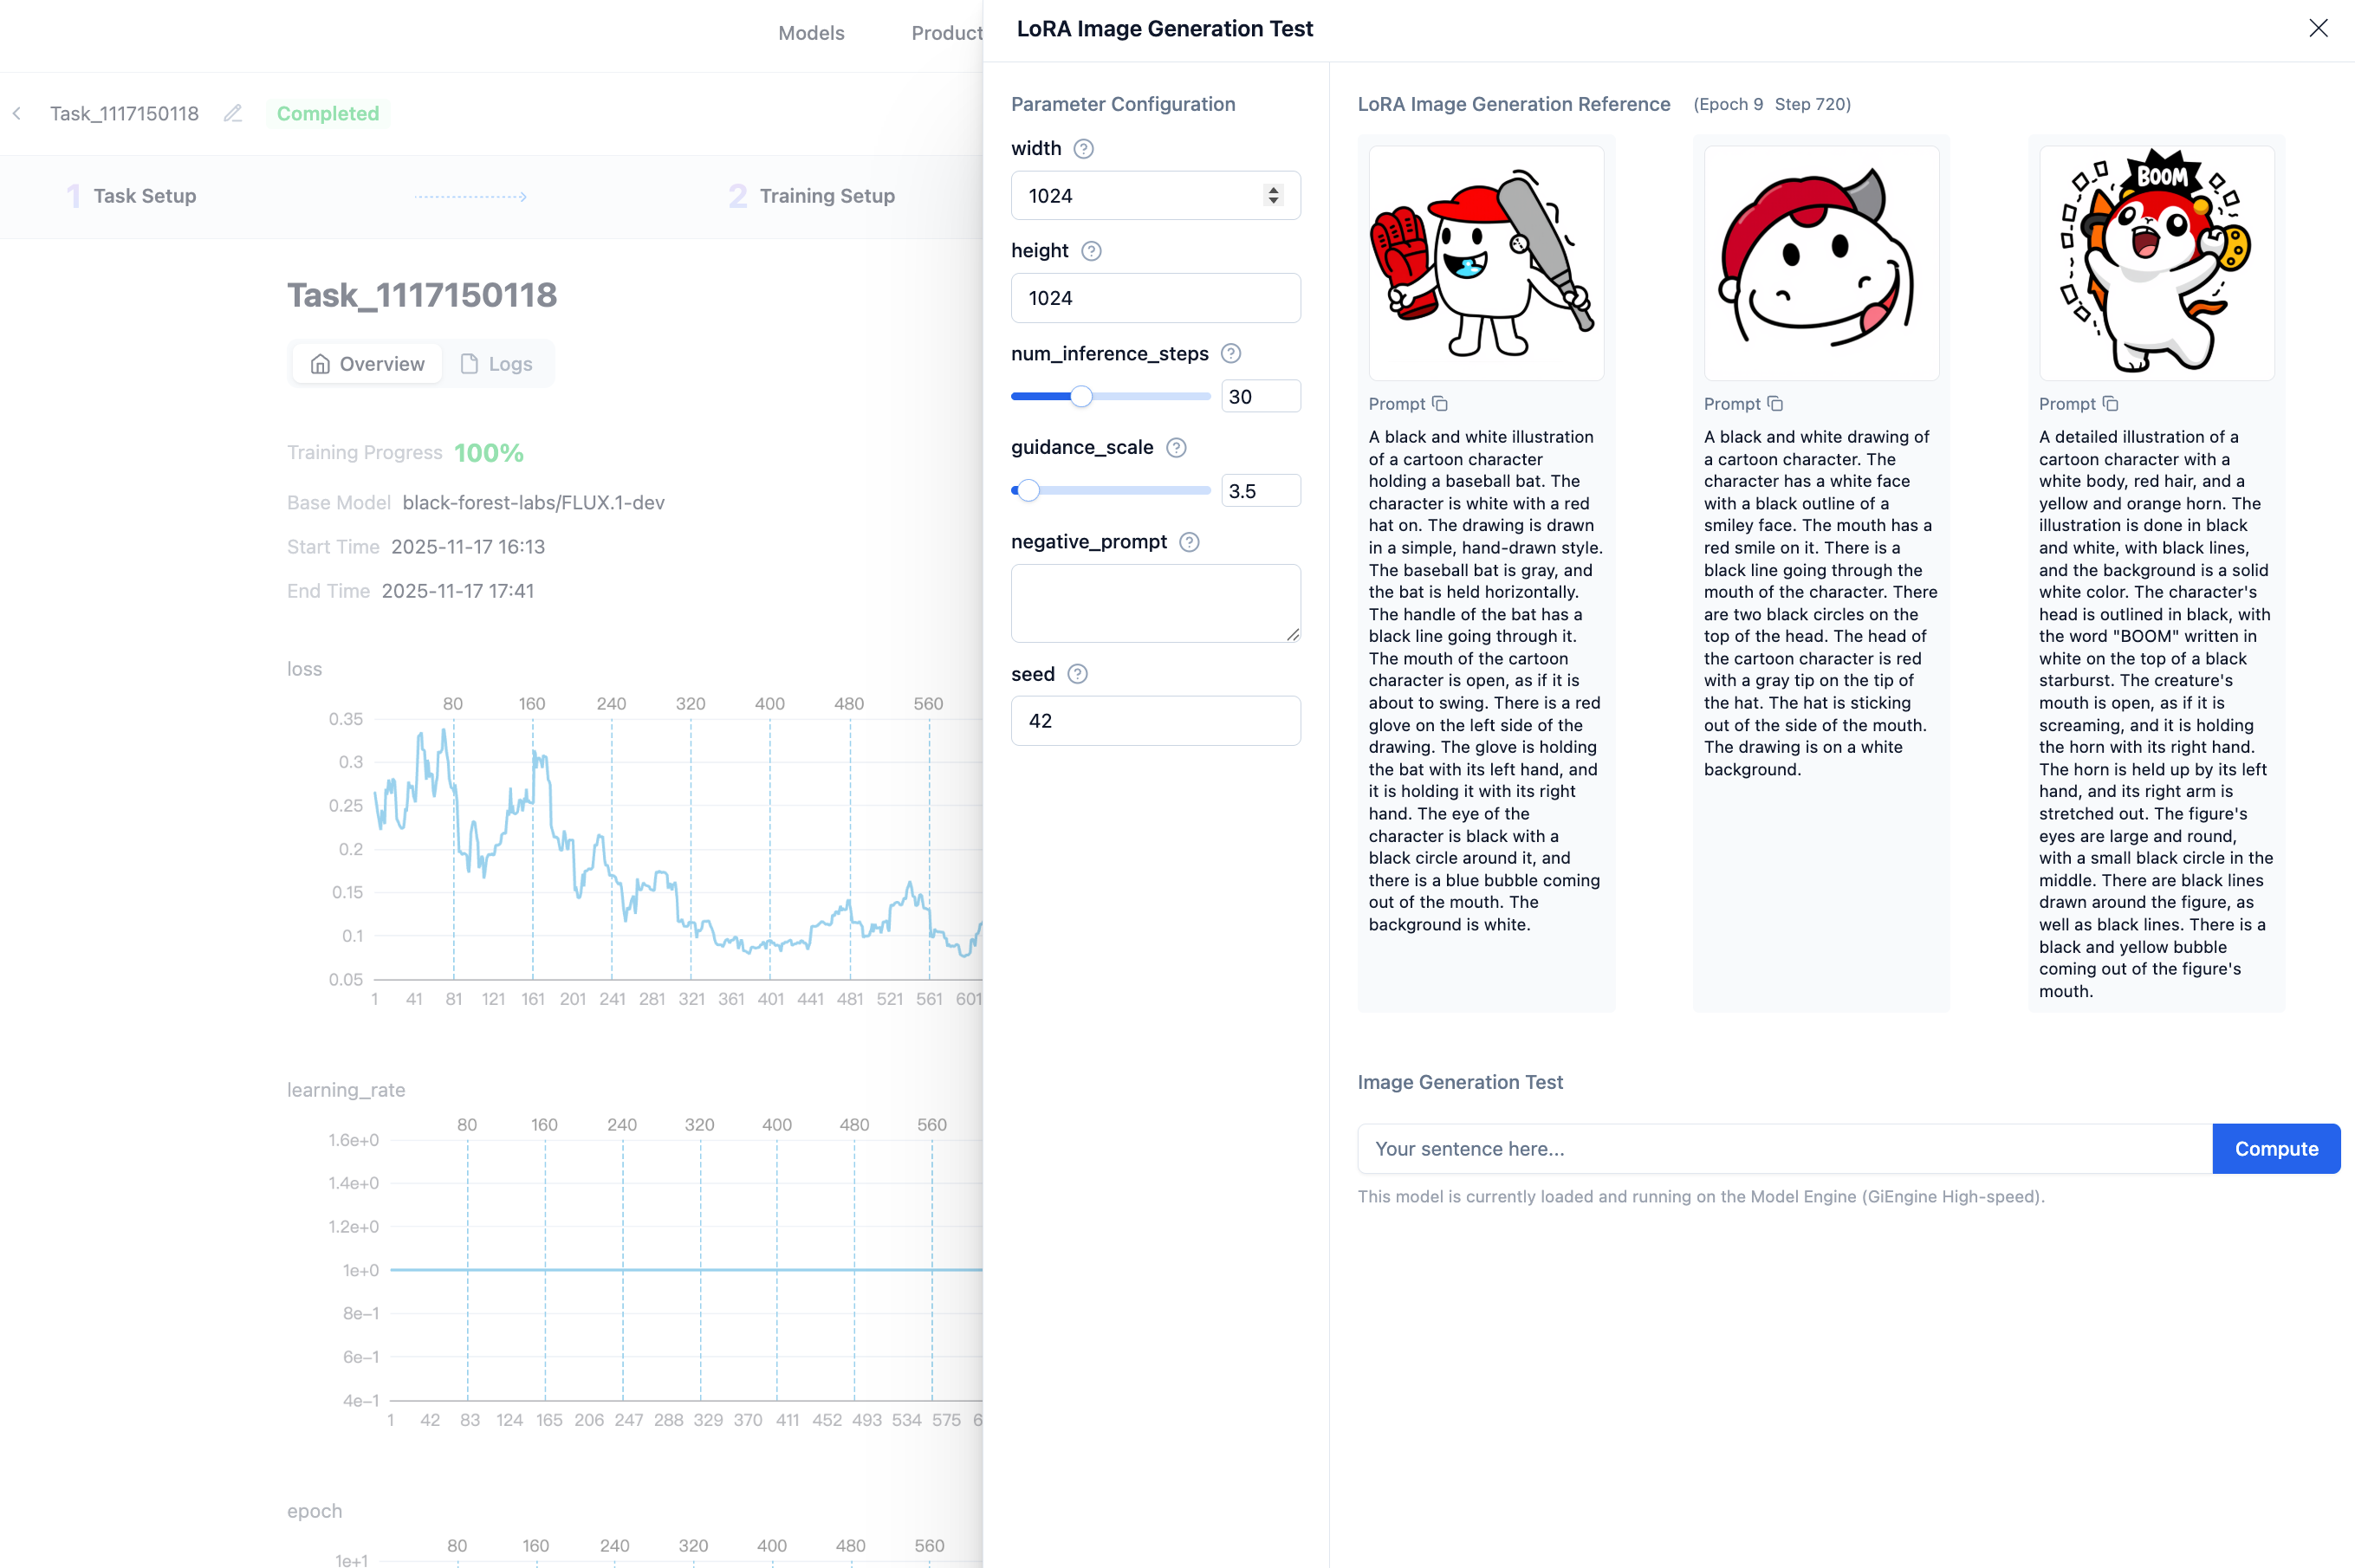
After training is complete, you can view the training results, including the model's loss. The training program saves the model once per epoch and simultaneously generates 3 images to evaluate the model's training effectiveness.
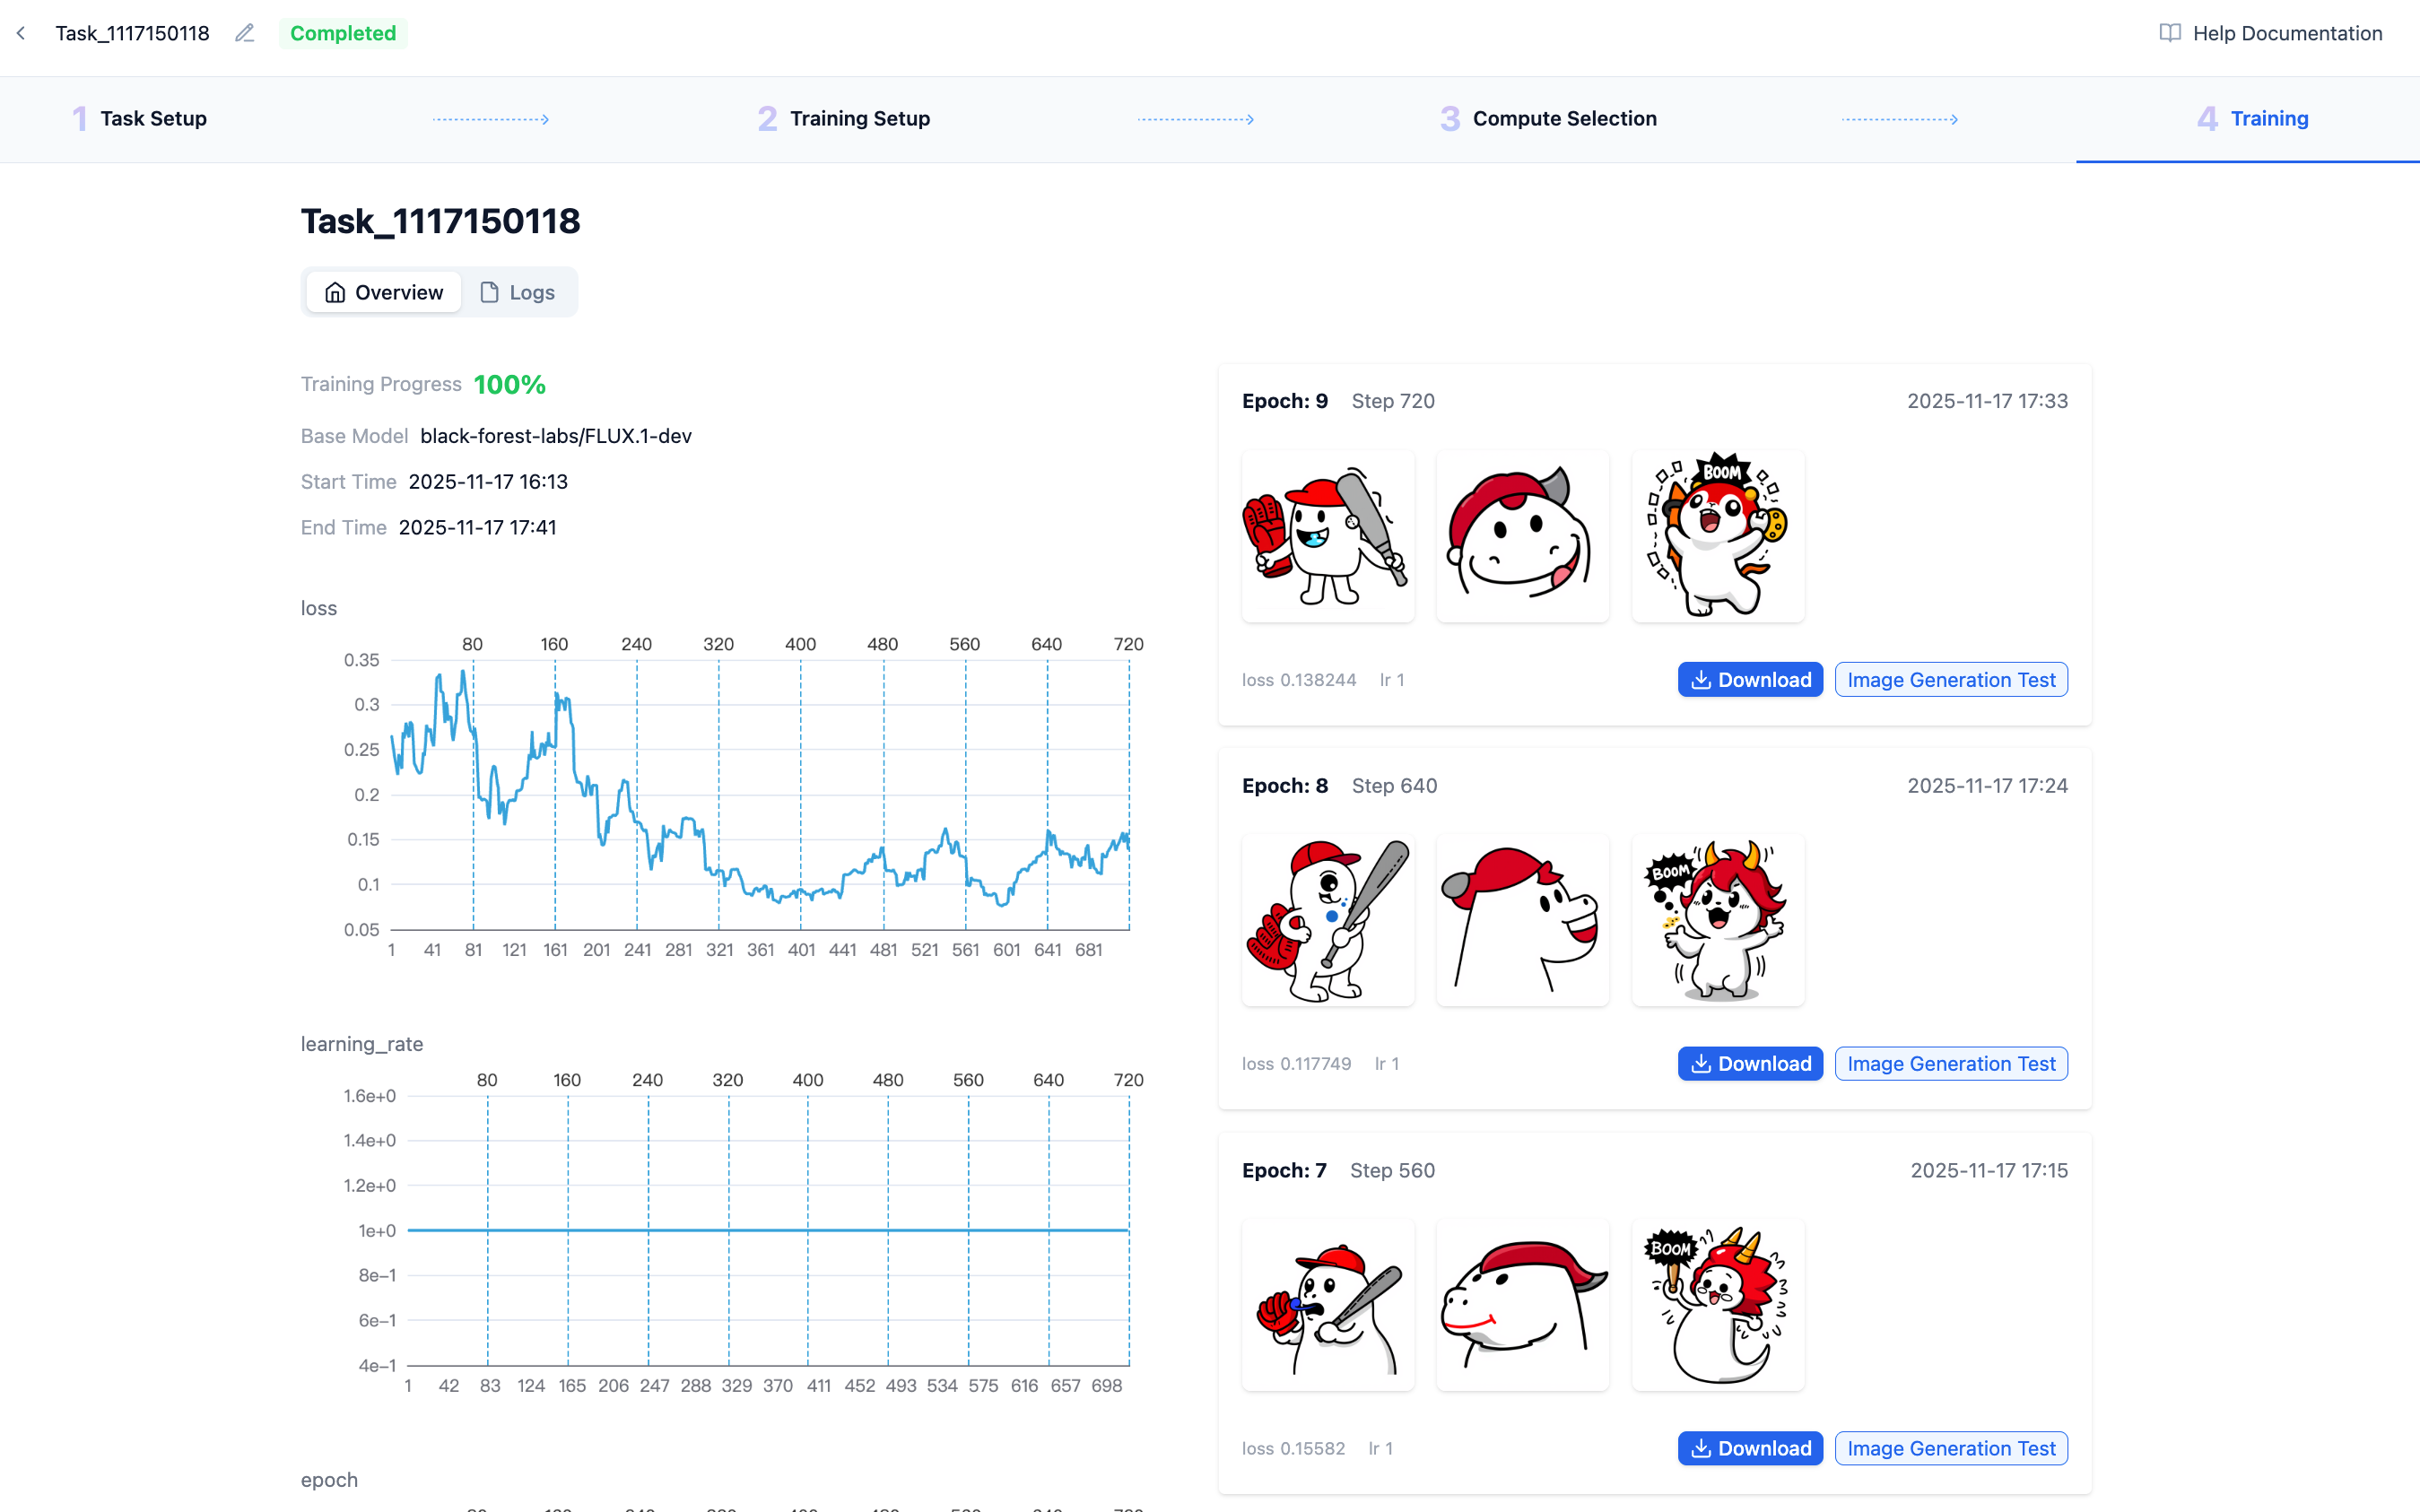
Step 5: View LoRA Effects
After fine-tuning is complete, each epoch generates one LoRA model. Each LoRA model uses labels to infer and generate 3 images. Generally, lower loss values indicate better results.
You can also perform image generation tests by entering custom prompts to view model effects.