Pipeline Node Description
Start Node
The "Start" node is a mandatory preset node for every API pipeline. As the entry point of the entire process, it is responsible for receiving and defining external input parameters.
Node Functions
The main functions of the start node:
- Process Entry: Identifies the starting position of the API pipeline
- Parameter Reception: Receives input data from external sources
- Data Type Definition: Standardizes the format and type of input data
Input Parameters
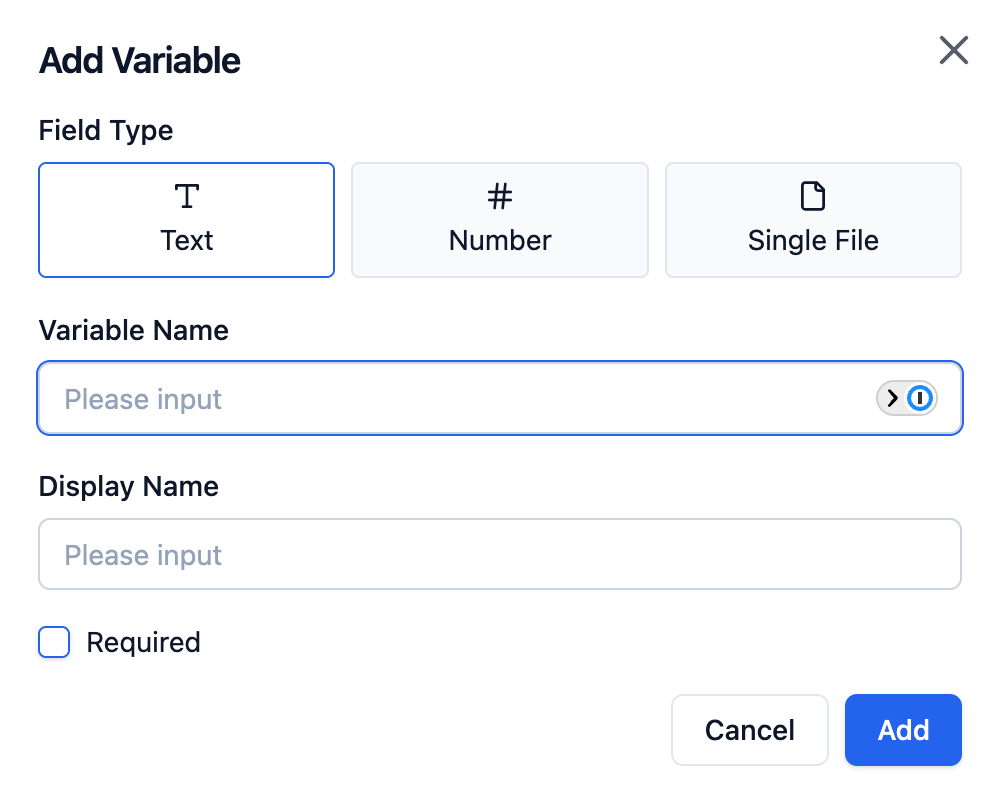
Receives variables from external sources and supports multiple input parameter types, which can be flexibly configured according to business needs:
- Text: For inputting string content.
- Number: Only allows users to input numbers.
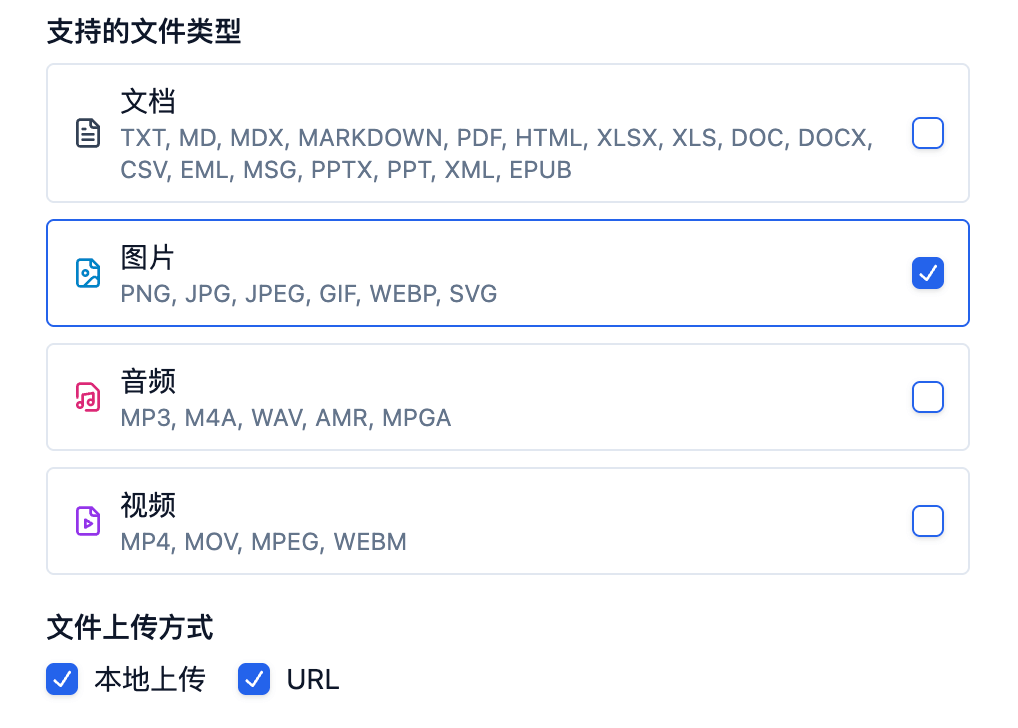
- Single File: Allows application users to upload files individually, supporting documents, images, audio, and video files. Supports uploading files from local devices.
System Variables
System variables refer to preset system-level parameters within the API pipeline that can be read globally by other nodes in the application. They are typically used to record usage behaviors of different applications and users, etc. They include the following variables:
- sys.workflow_run_id: The run ID of the API pipeline, used to track previous runs of the application.
- sys.workflow_id: The unique identifier of the API pipeline, used to distinguish different API pipelines.
- sys.user_id: User ID. Each user is automatically assigned a unique identifier by the system when using the API pipeline to distinguish different users.
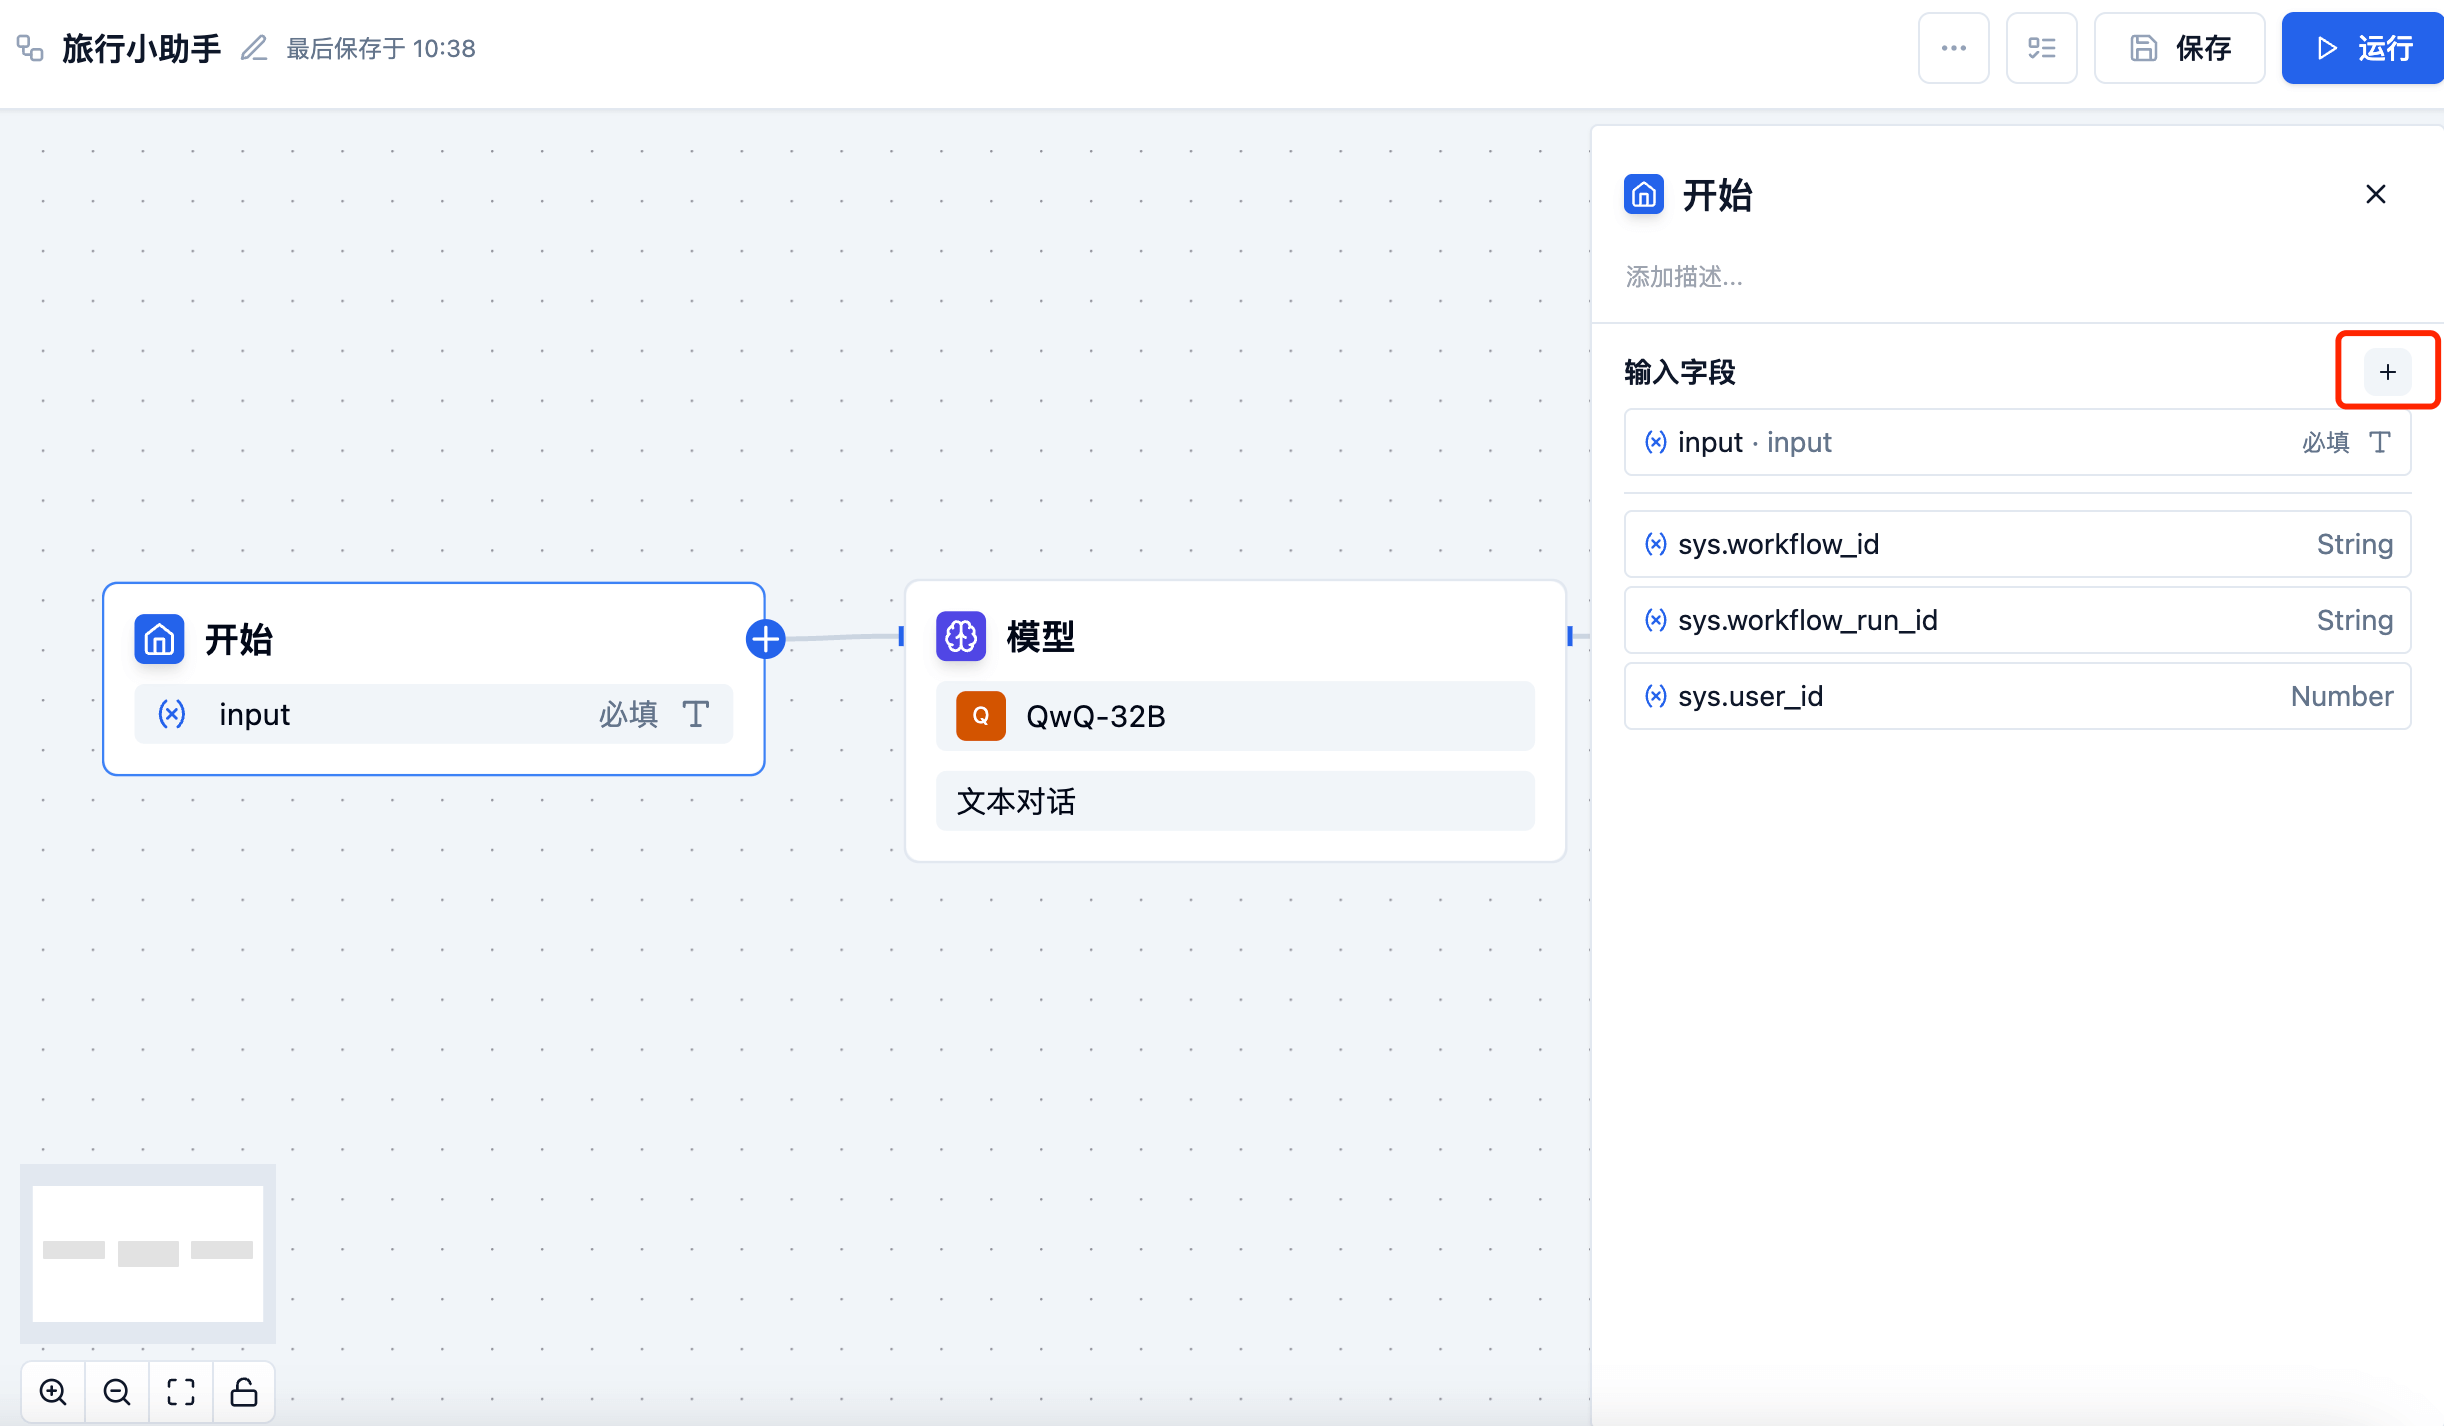
Configuration Method
- Select the start node
- Click the "+" button in the input field on the right detail panel
- Choose the appropriate parameter type
- Set the parameter name and description
Model Node
The model node provides the ability to call models. It can process information input by users in the "Start" node and information output by other model nodes (natural language, uploaded files or images), and provide effective response information.
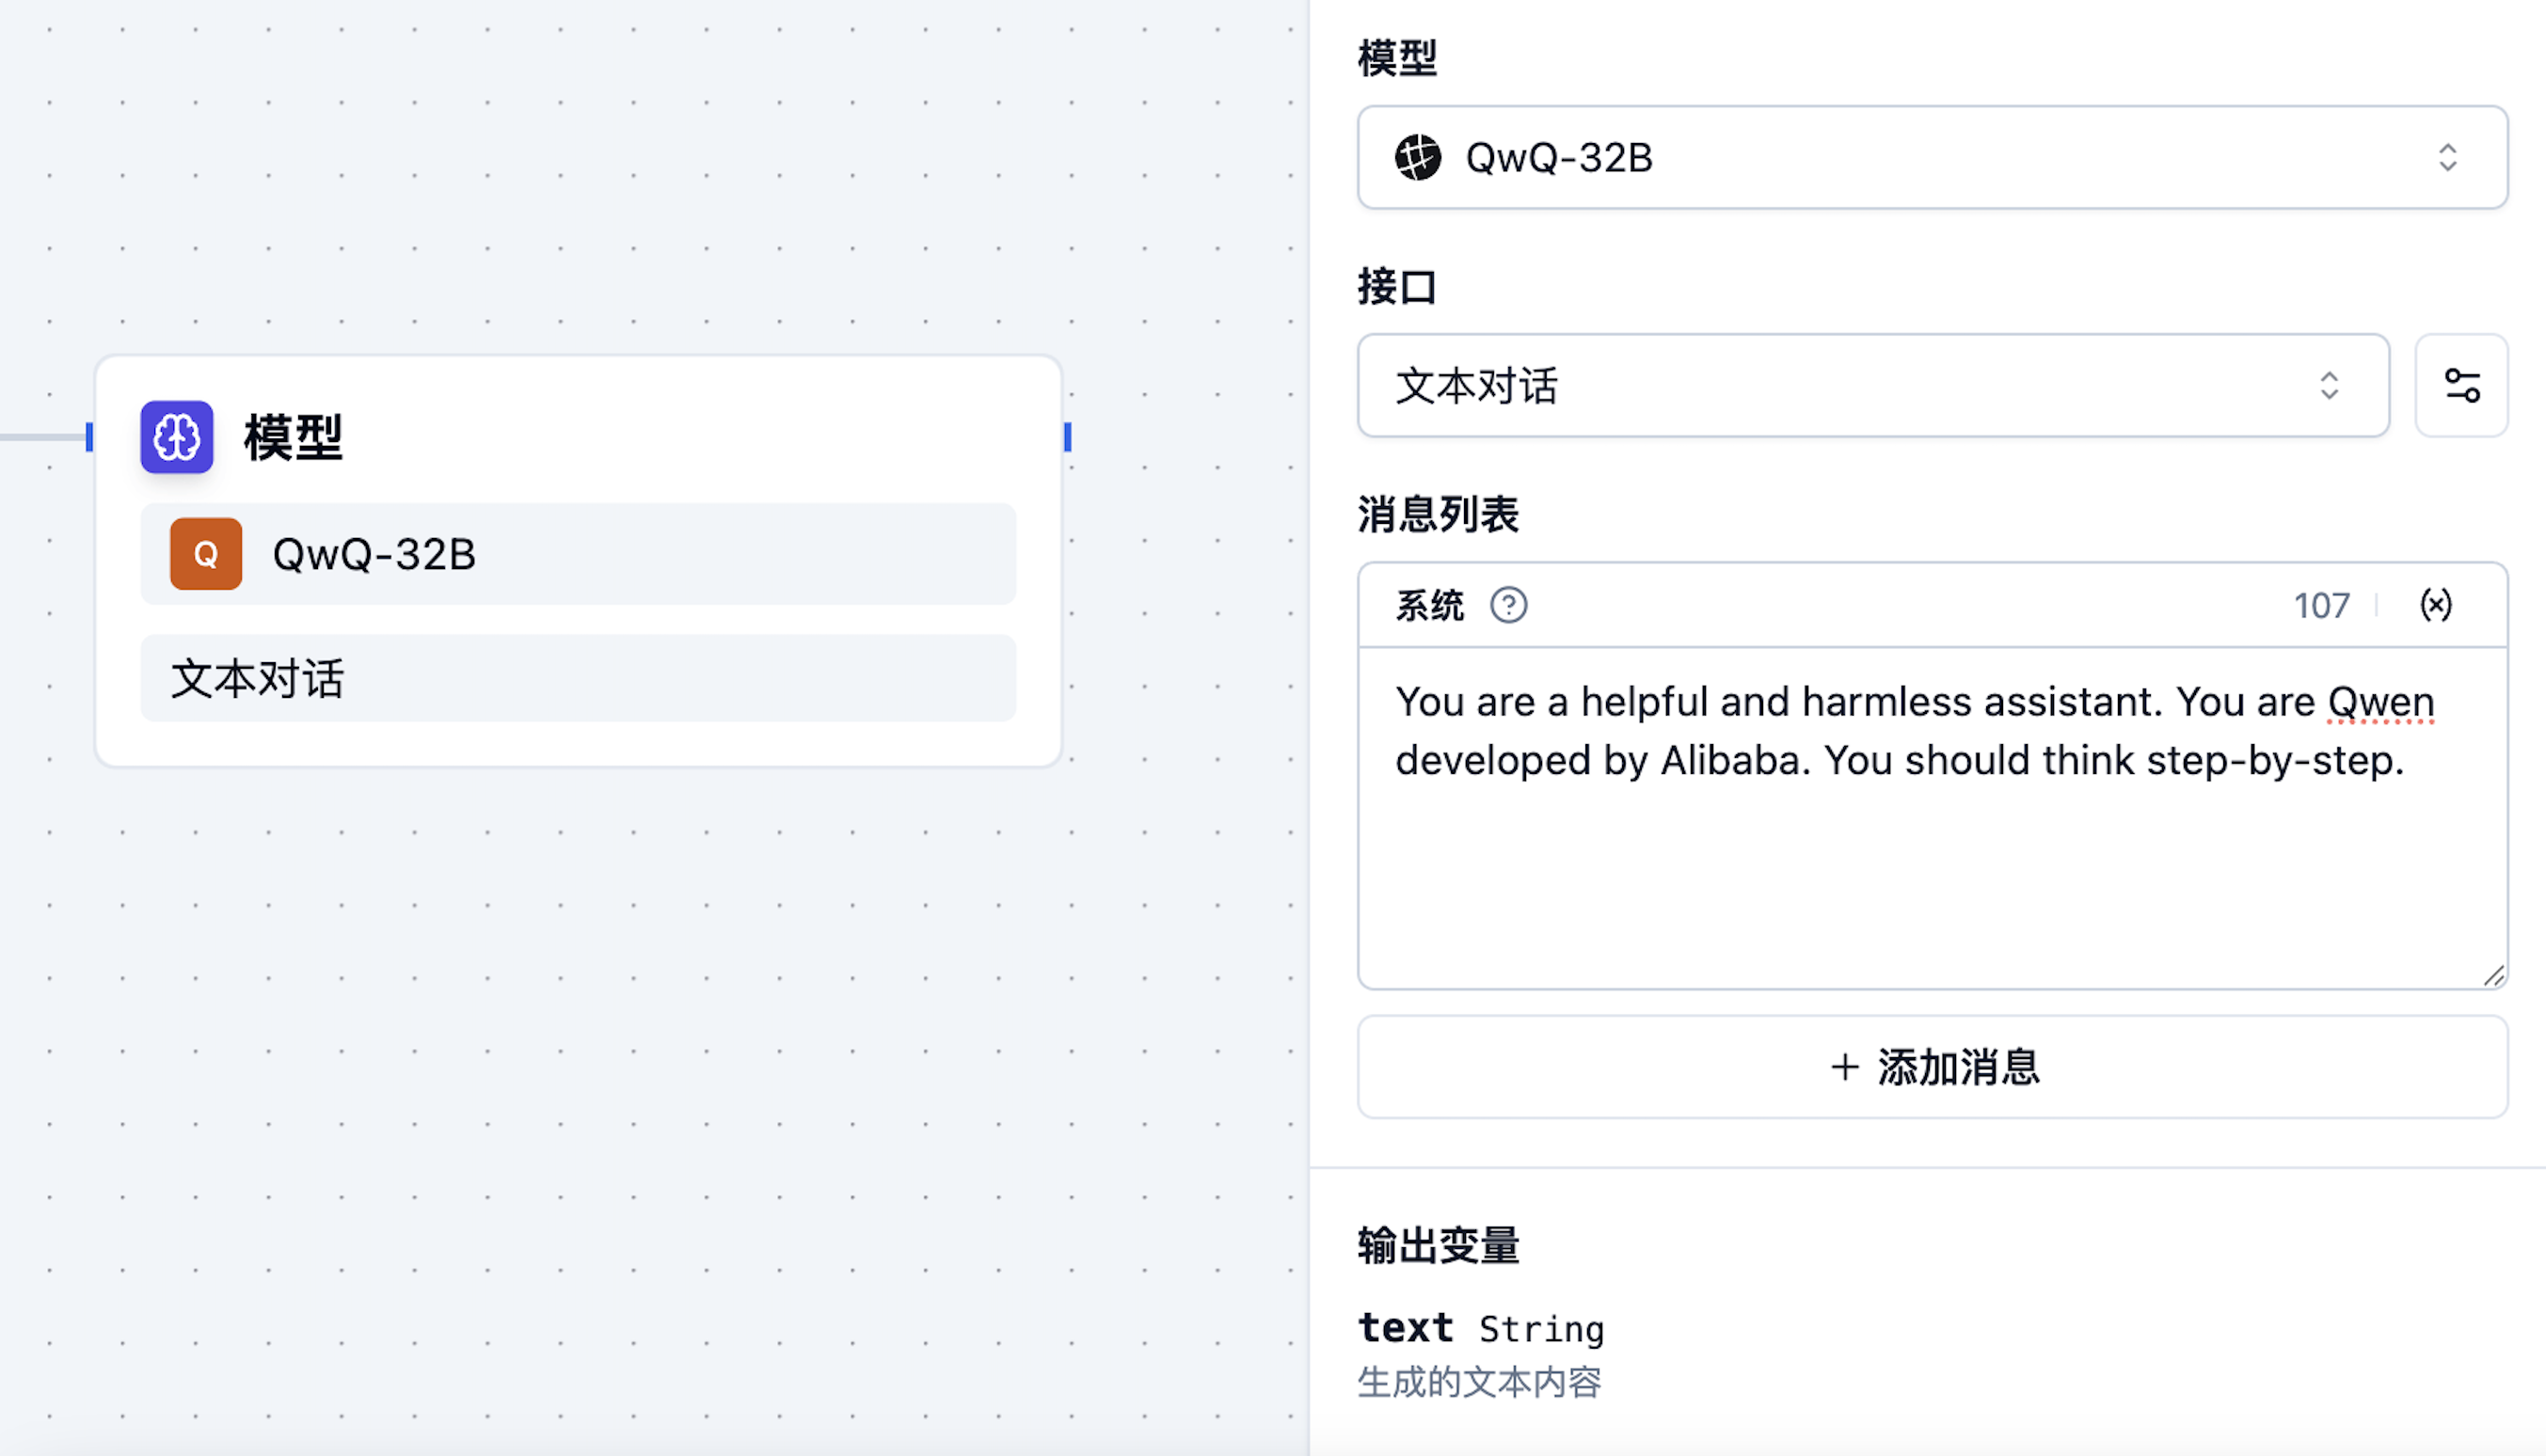
Model Settings
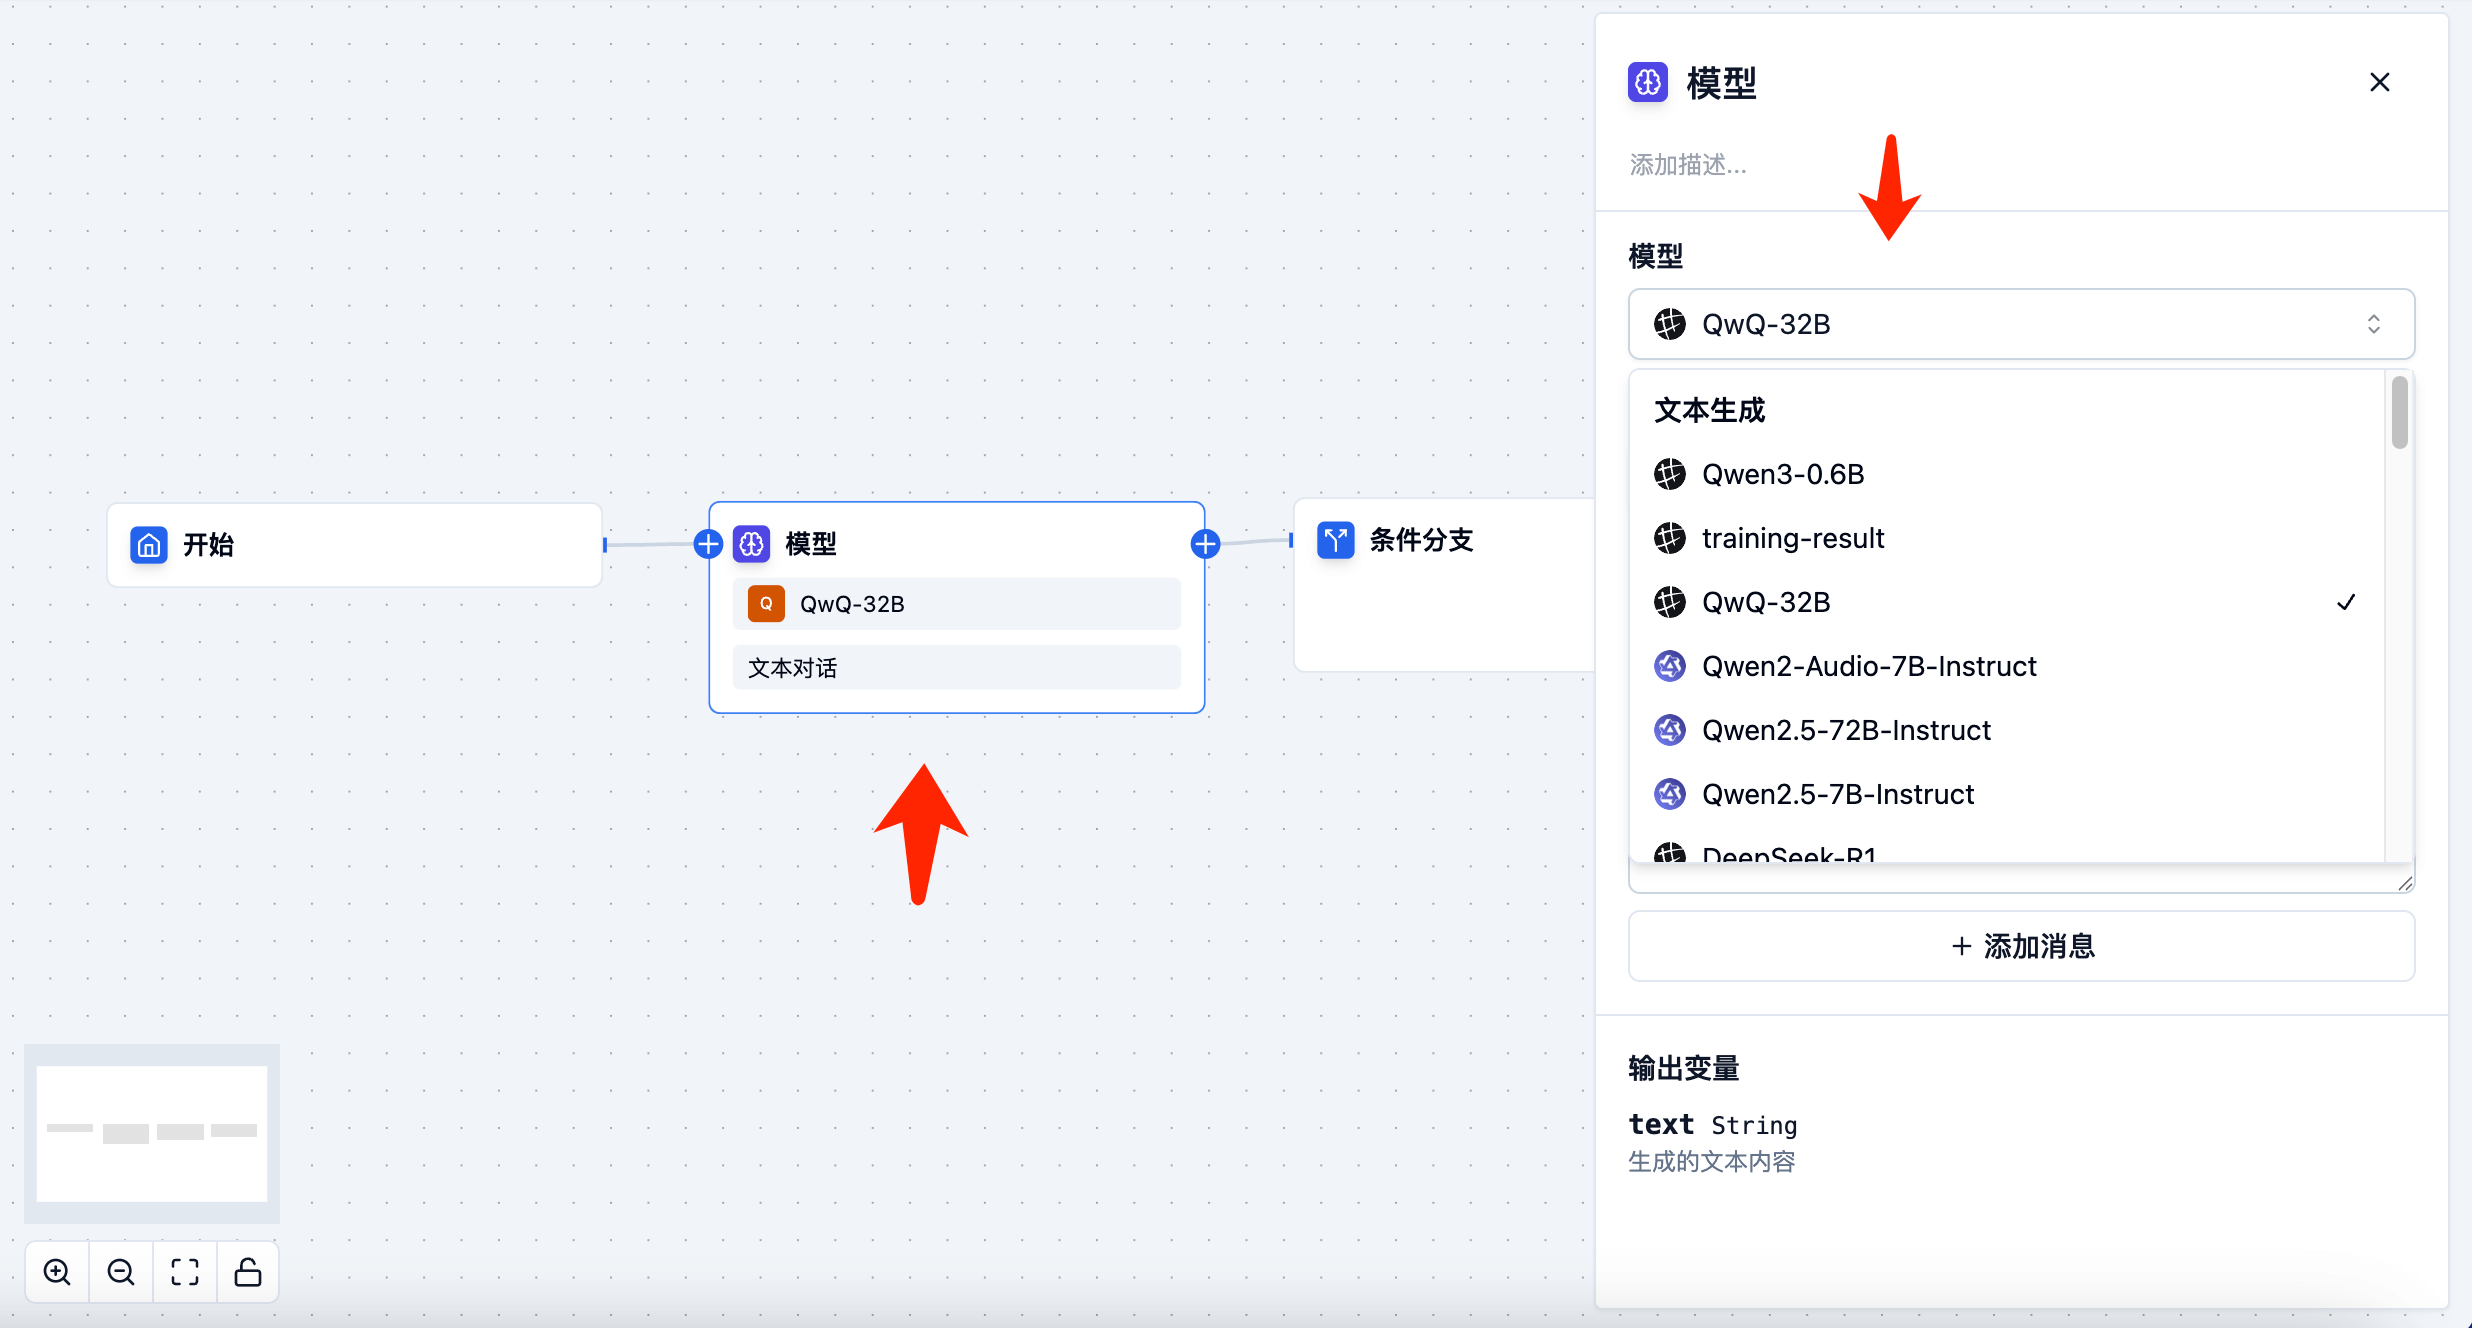
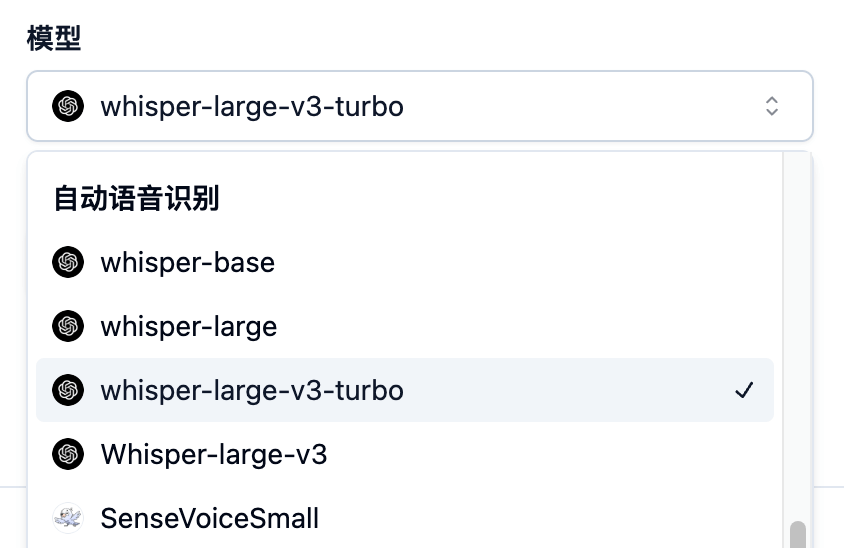
The model node supports calling various types of models, including text generation models, vision models, image generation models, speech recognition models, speech synthesis models, risk control recognition models, etc. You can click to select a model from the model dropdown menu.

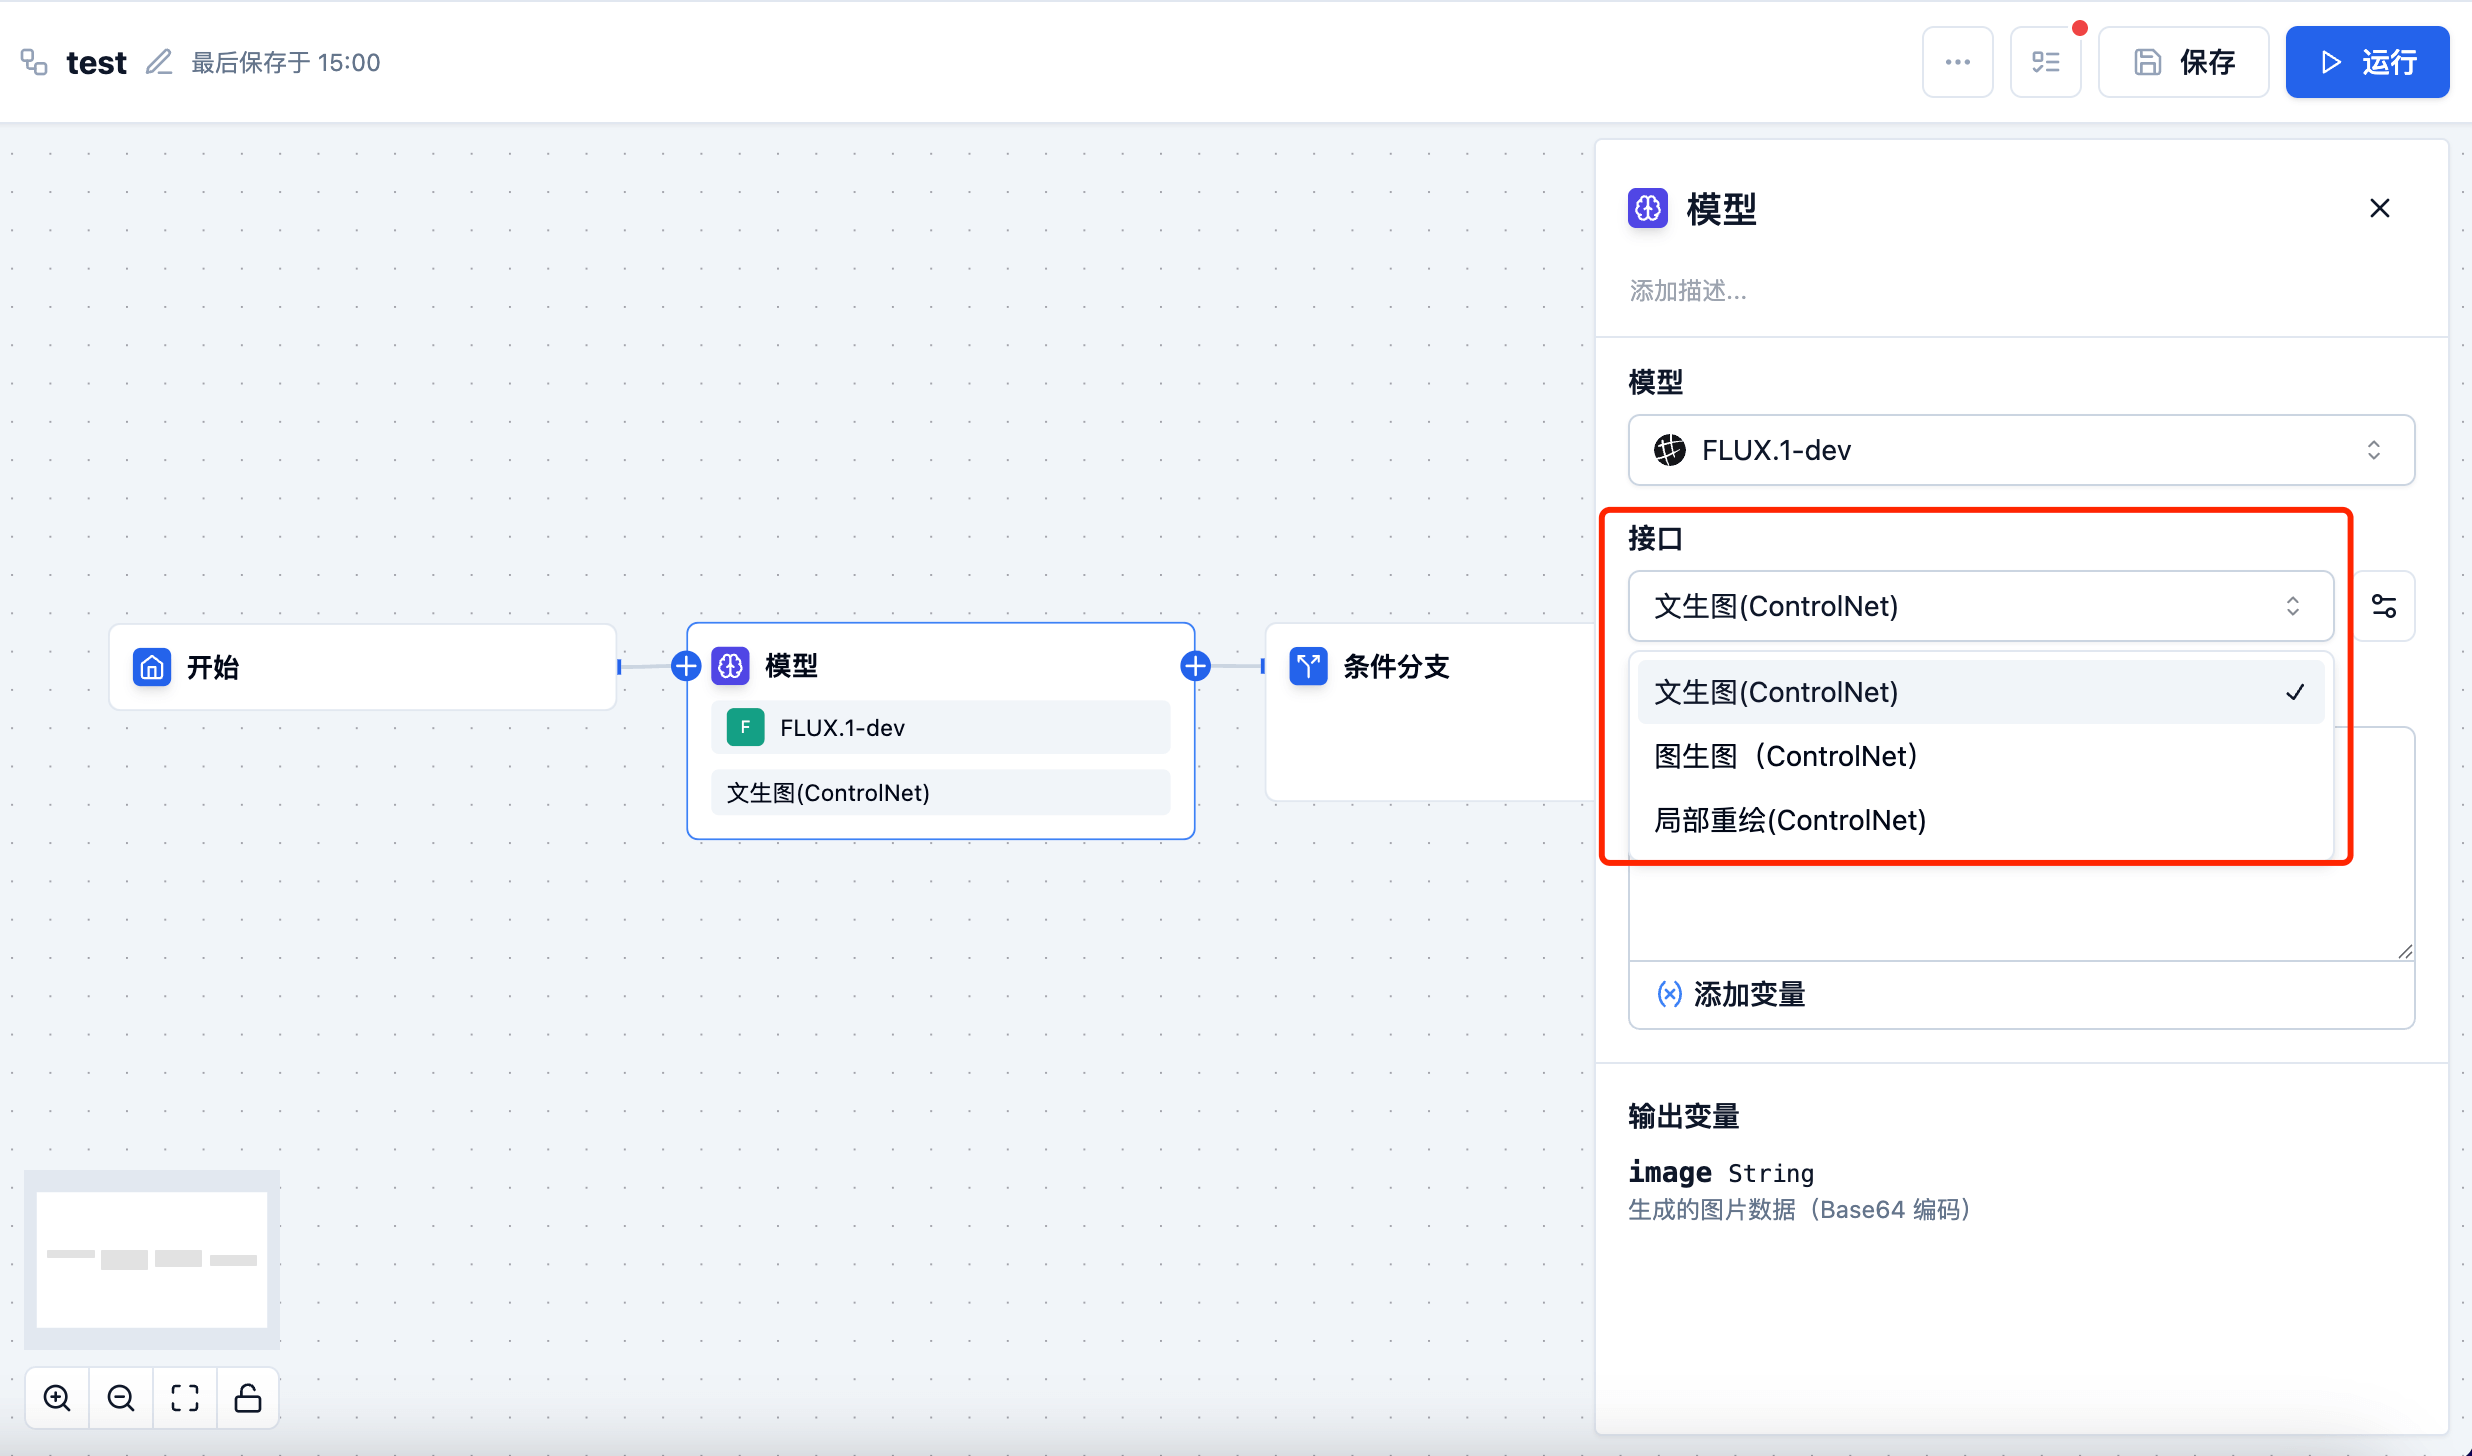
Interface Settings
Some models have only one interface, such as text generation models, which have only one text generation interface; image generation models may have multiple interfaces, such as: image padding, local redrawing, style transfer, etc.
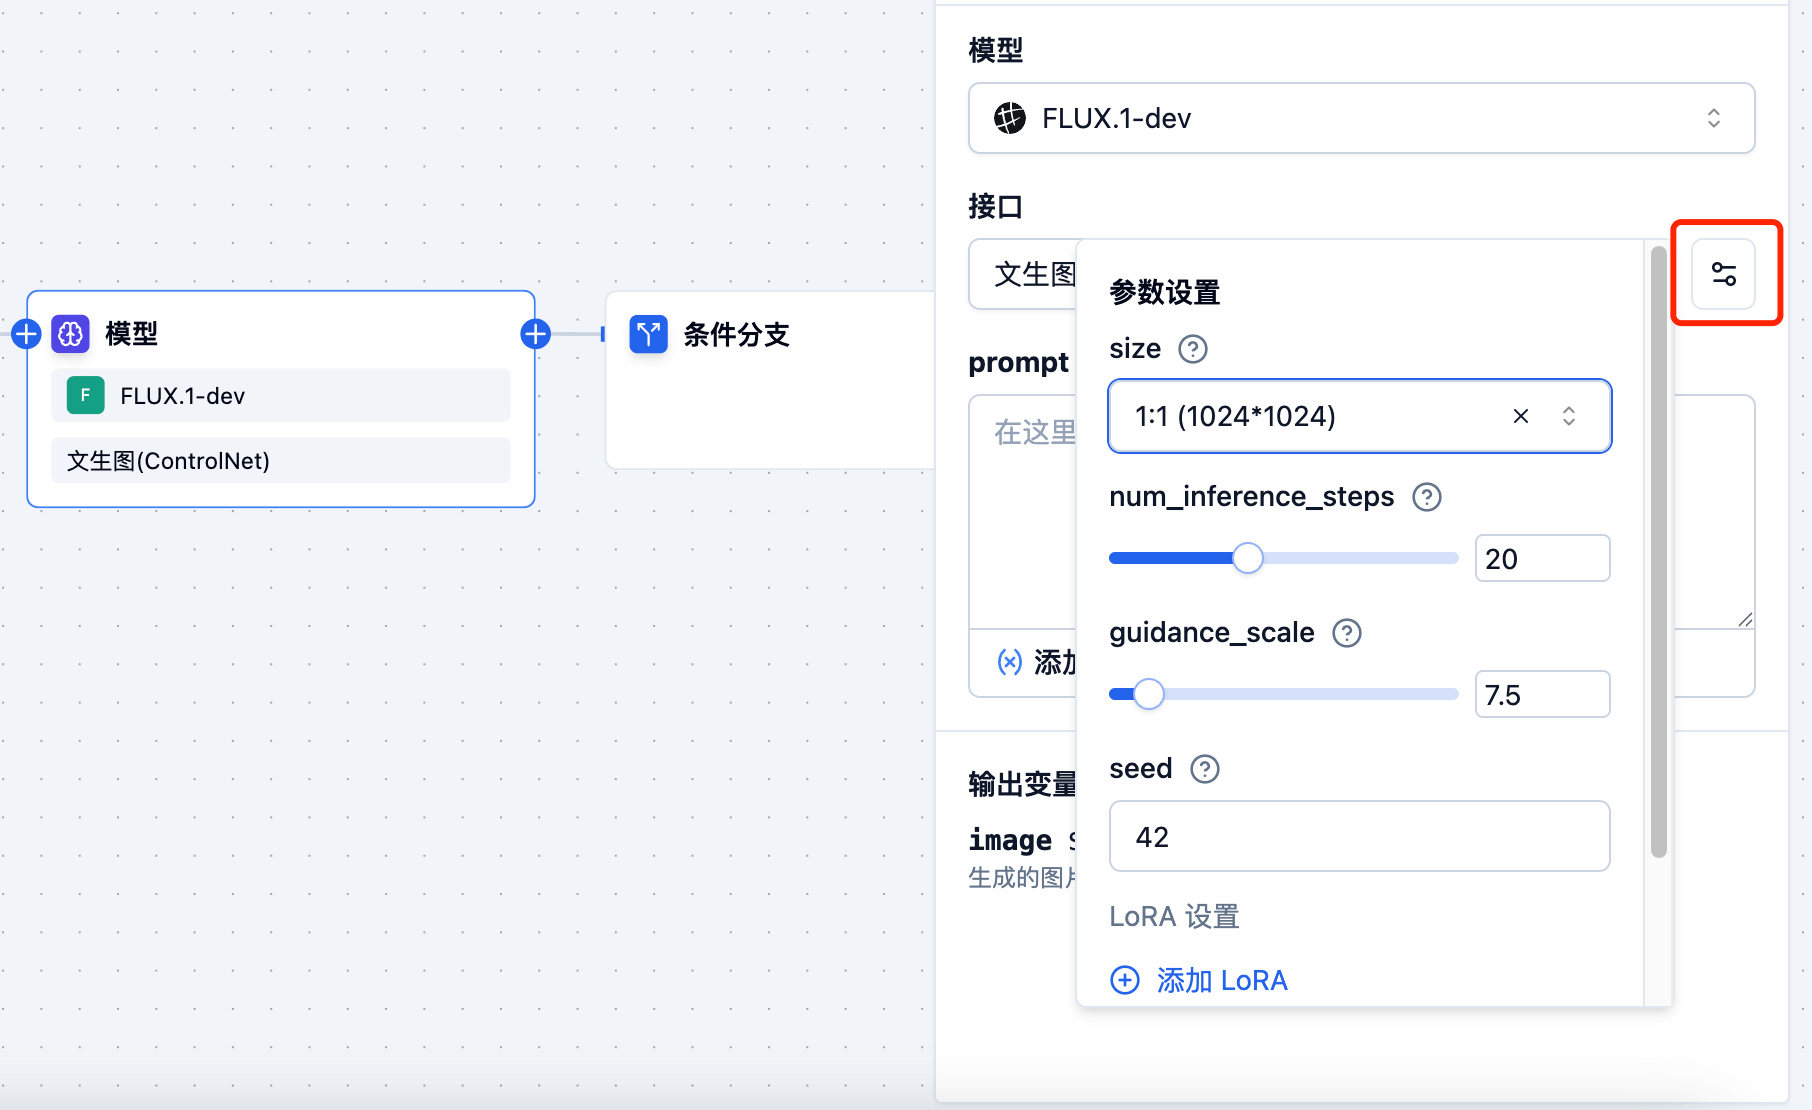
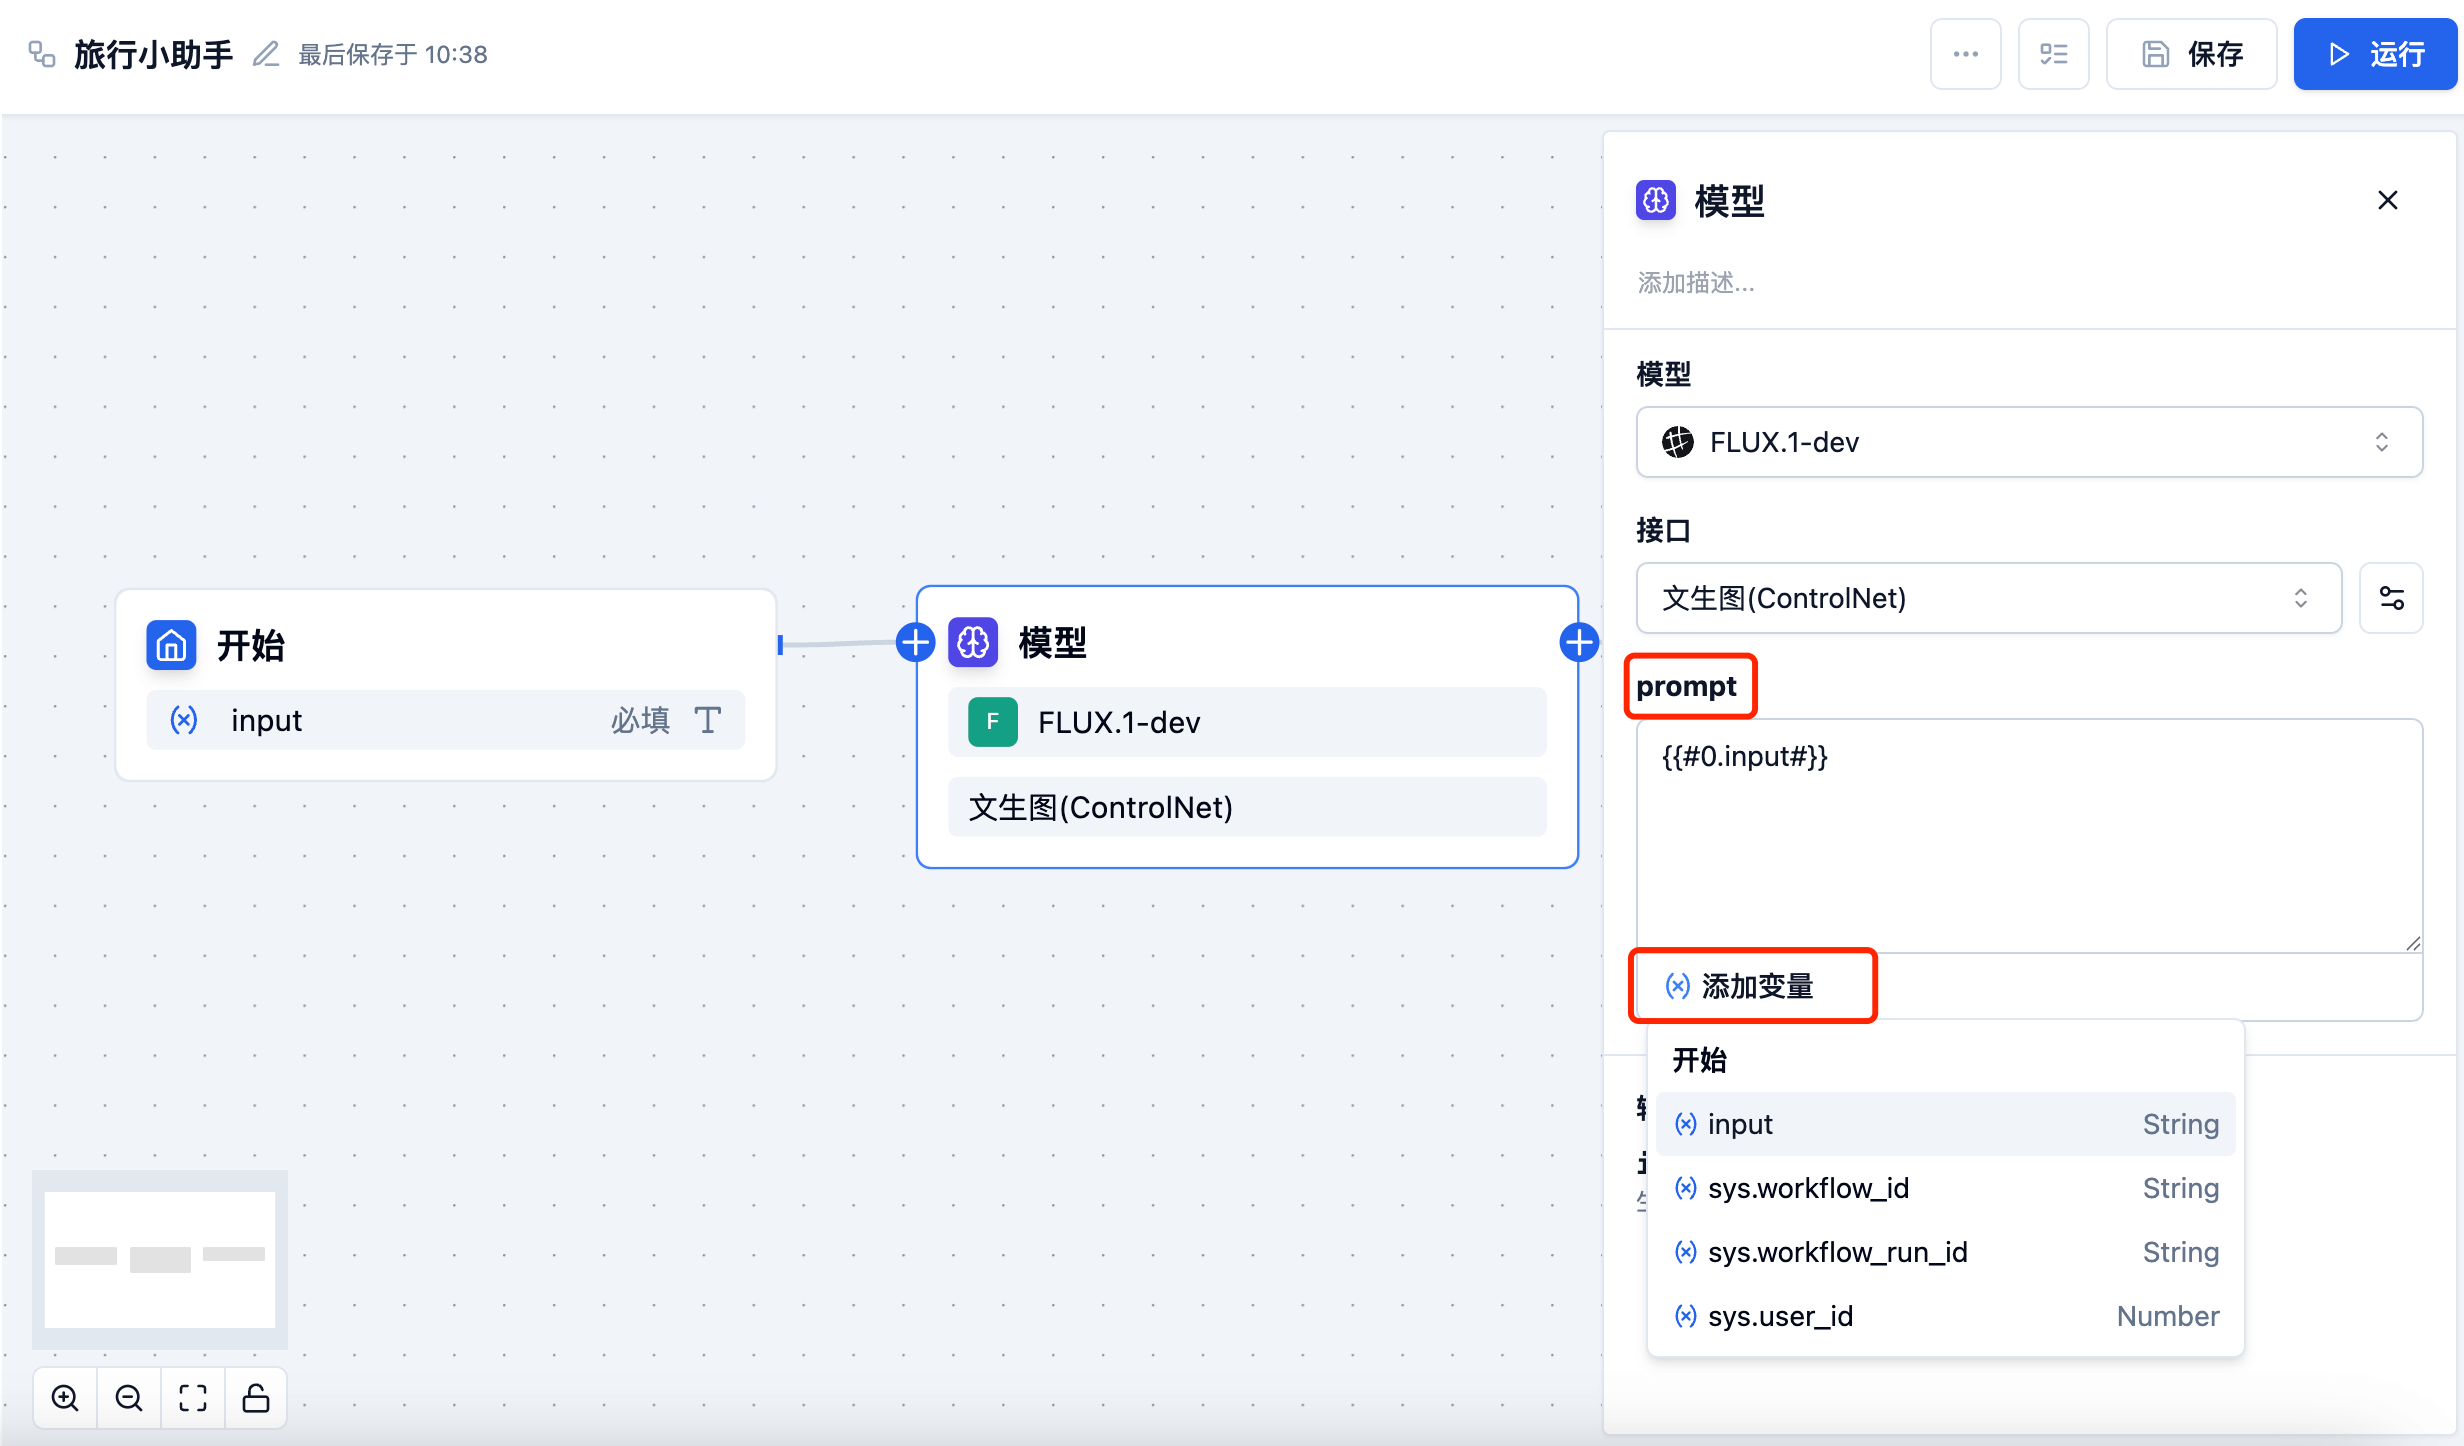
Parameter Settings
Set input parameters according to model requirements, such as stream, max_tokens, temperature, etc. On the right side of the interface dropdown menu, you can click to select parameter settings, as shown in the following figure:
Variable Settings
In parameter settings, you can set variables for parameters, such as: input, image, file, etc. Variables can be obtained from the start node or from upstream model nodes.
Output Settings
The output parameters of the model. The output variables of different types of models will vary. For example: the output variable of the text generation model is: text, and the output variable of the image generation model is: image.
Conditional Branch Node
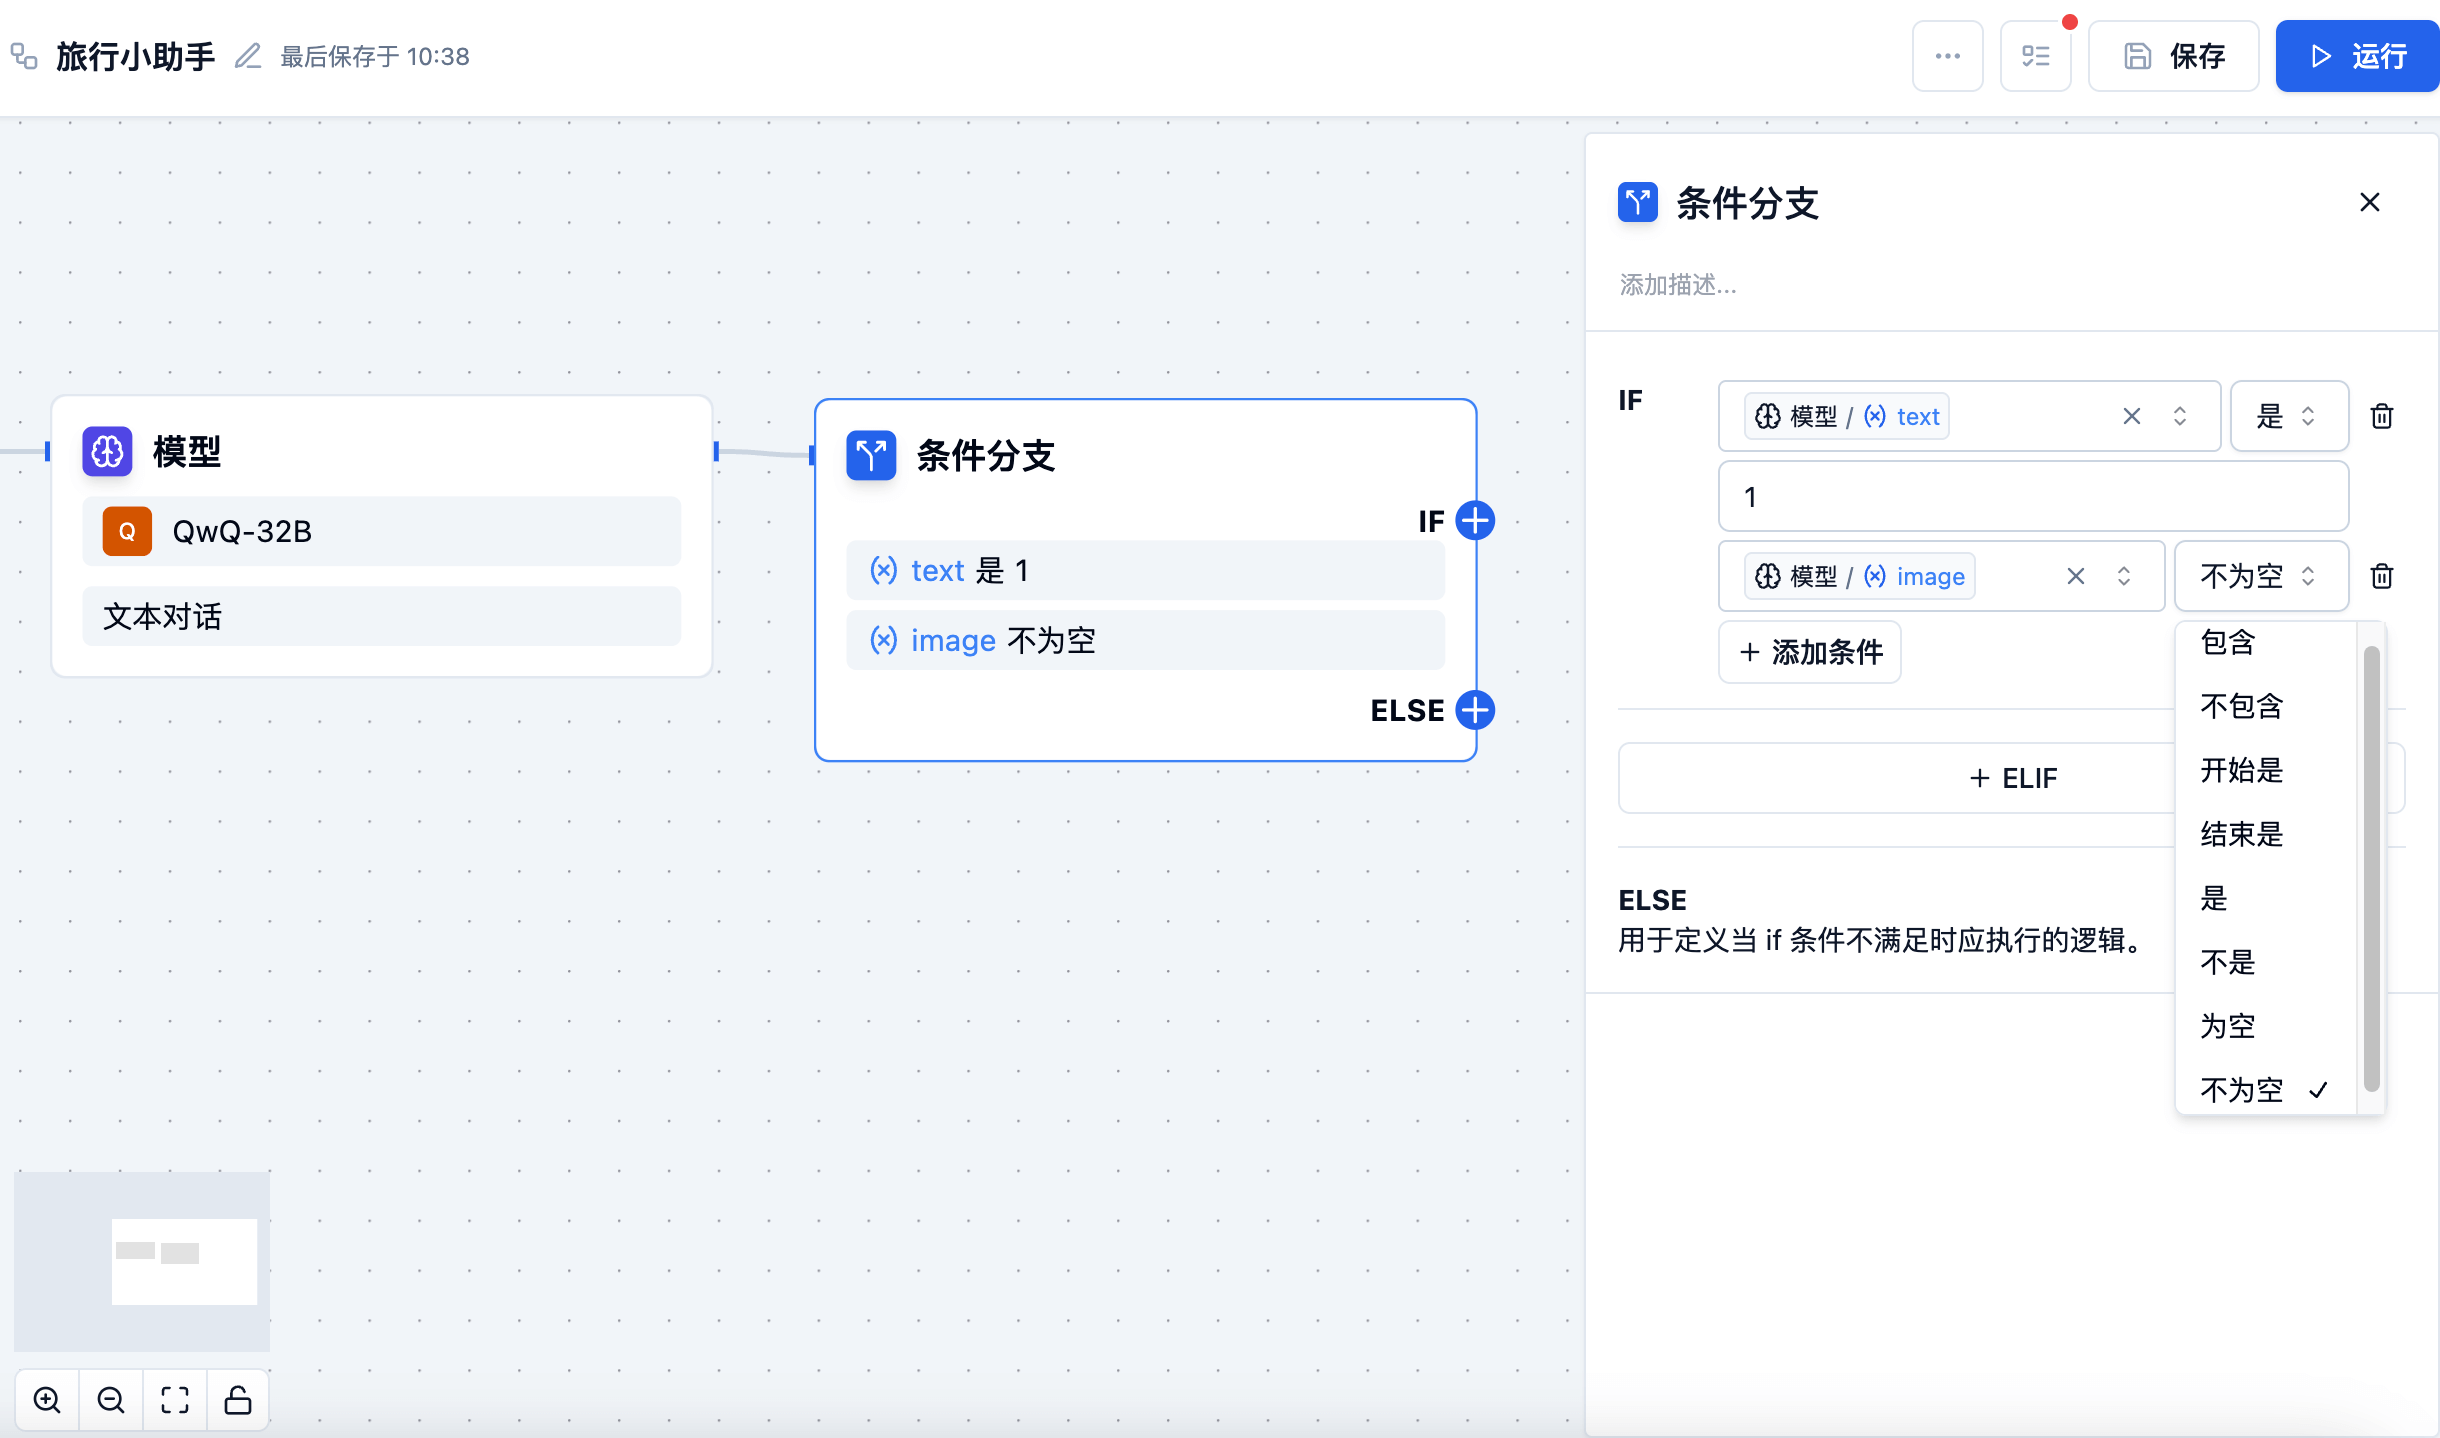
The conditional branch node is used to select different execution paths according to conditions:
Condition Types
The conditional branch node supports the following condition types:
- Contains
- Does not contain
- Starts with
- Ends with
- Is
- Is not
- Is null
- Is not null
Condition judgment supports the combination of multiple conditions.
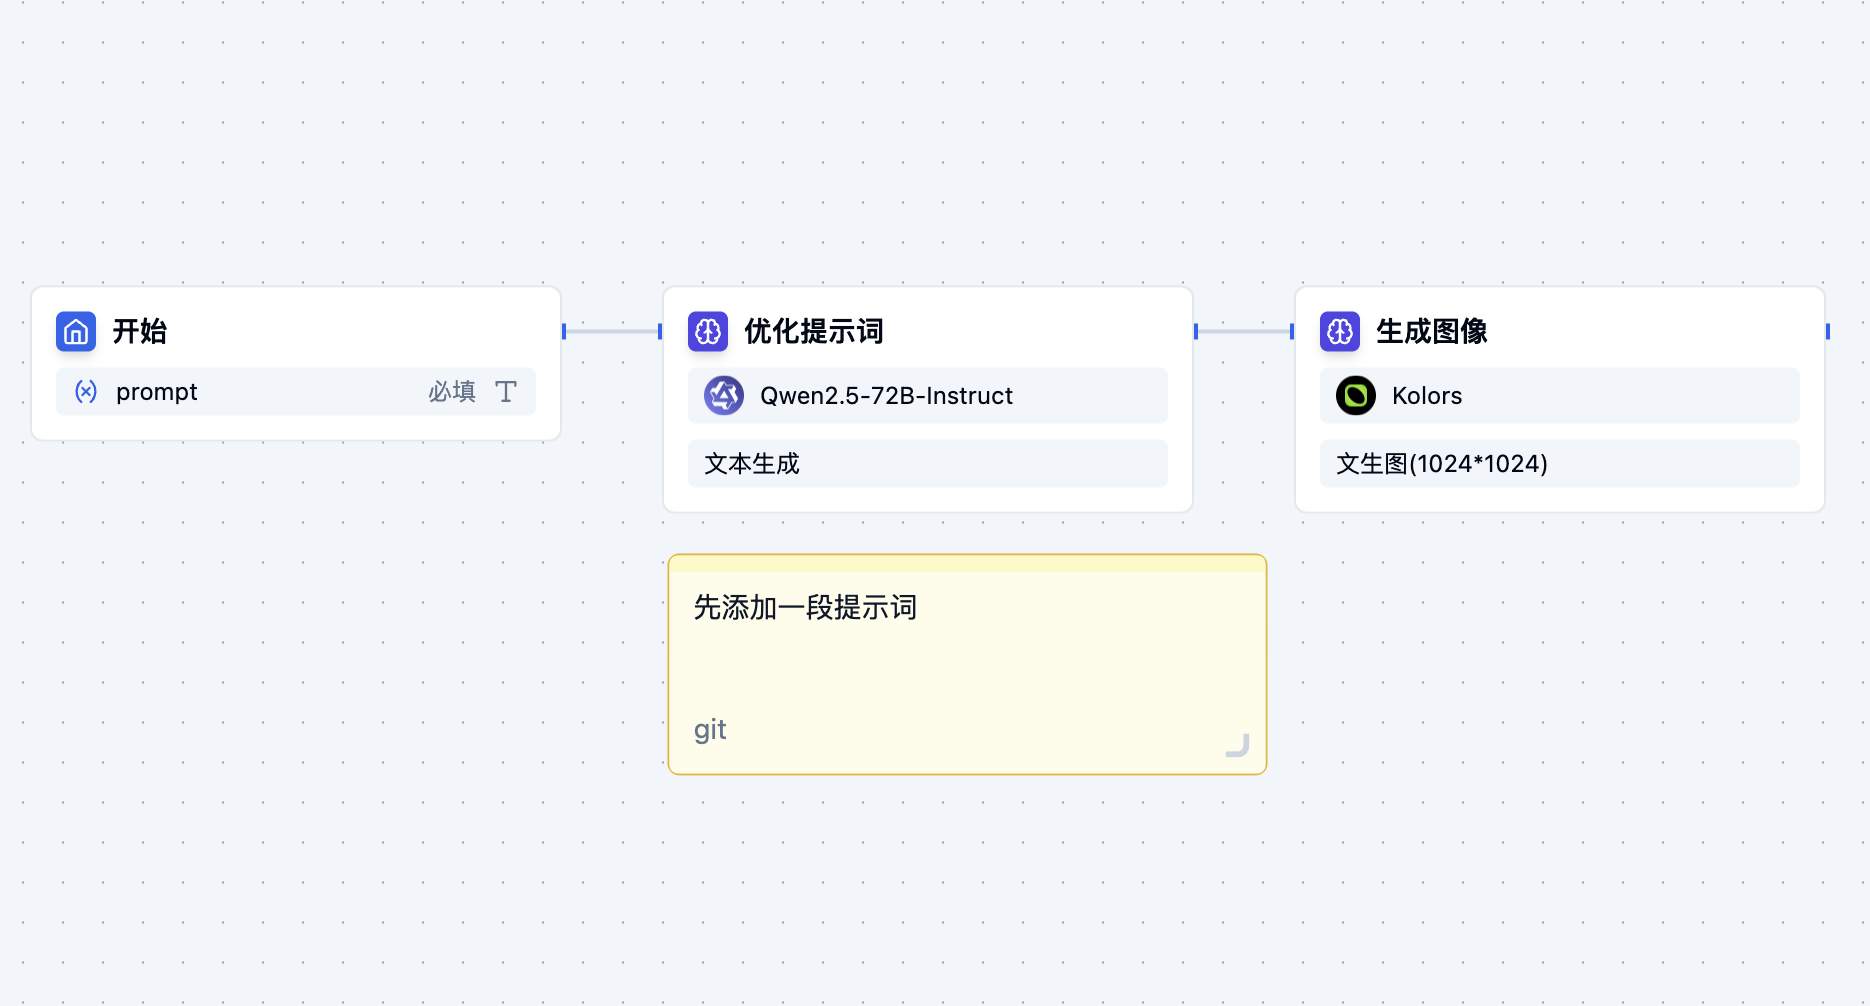
Comment Node
The comment node is used to add explanatory text, remarks, or descriptions in the API pipeline, helping developers better understand and maintain process logic.
Node Functions
The main functions of the comment node:
- Process Explanation: Add text descriptions for complex process logic
- Remark Recording: Record design ideas, precautions, or to-do items
- Documentation: Improve the readability and maintainability of the pipeline
- Team Collaboration: Facilitate team members to understand the process design intent
Feature Description
- Non-executable Node: The comment node is only for explanation and does not participate in the actual process execution
- Independent Existence: Does not need to be connected to other nodes and can be placed anywhere on the canvas independently
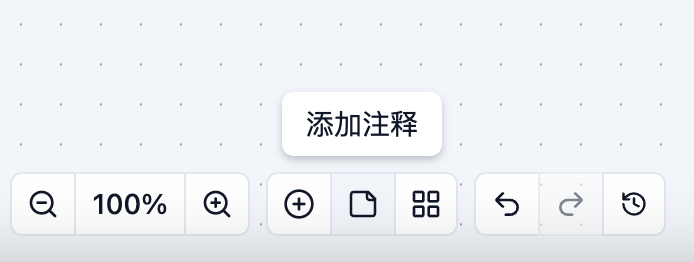
Adding Method
- Right-click the mouse, a menu will pop up, select "Add Comment", or click the "Add Comment" button in the toolbar
- Enter comment content in the text box
- Adjust the position of the comment node on the canvas as needed
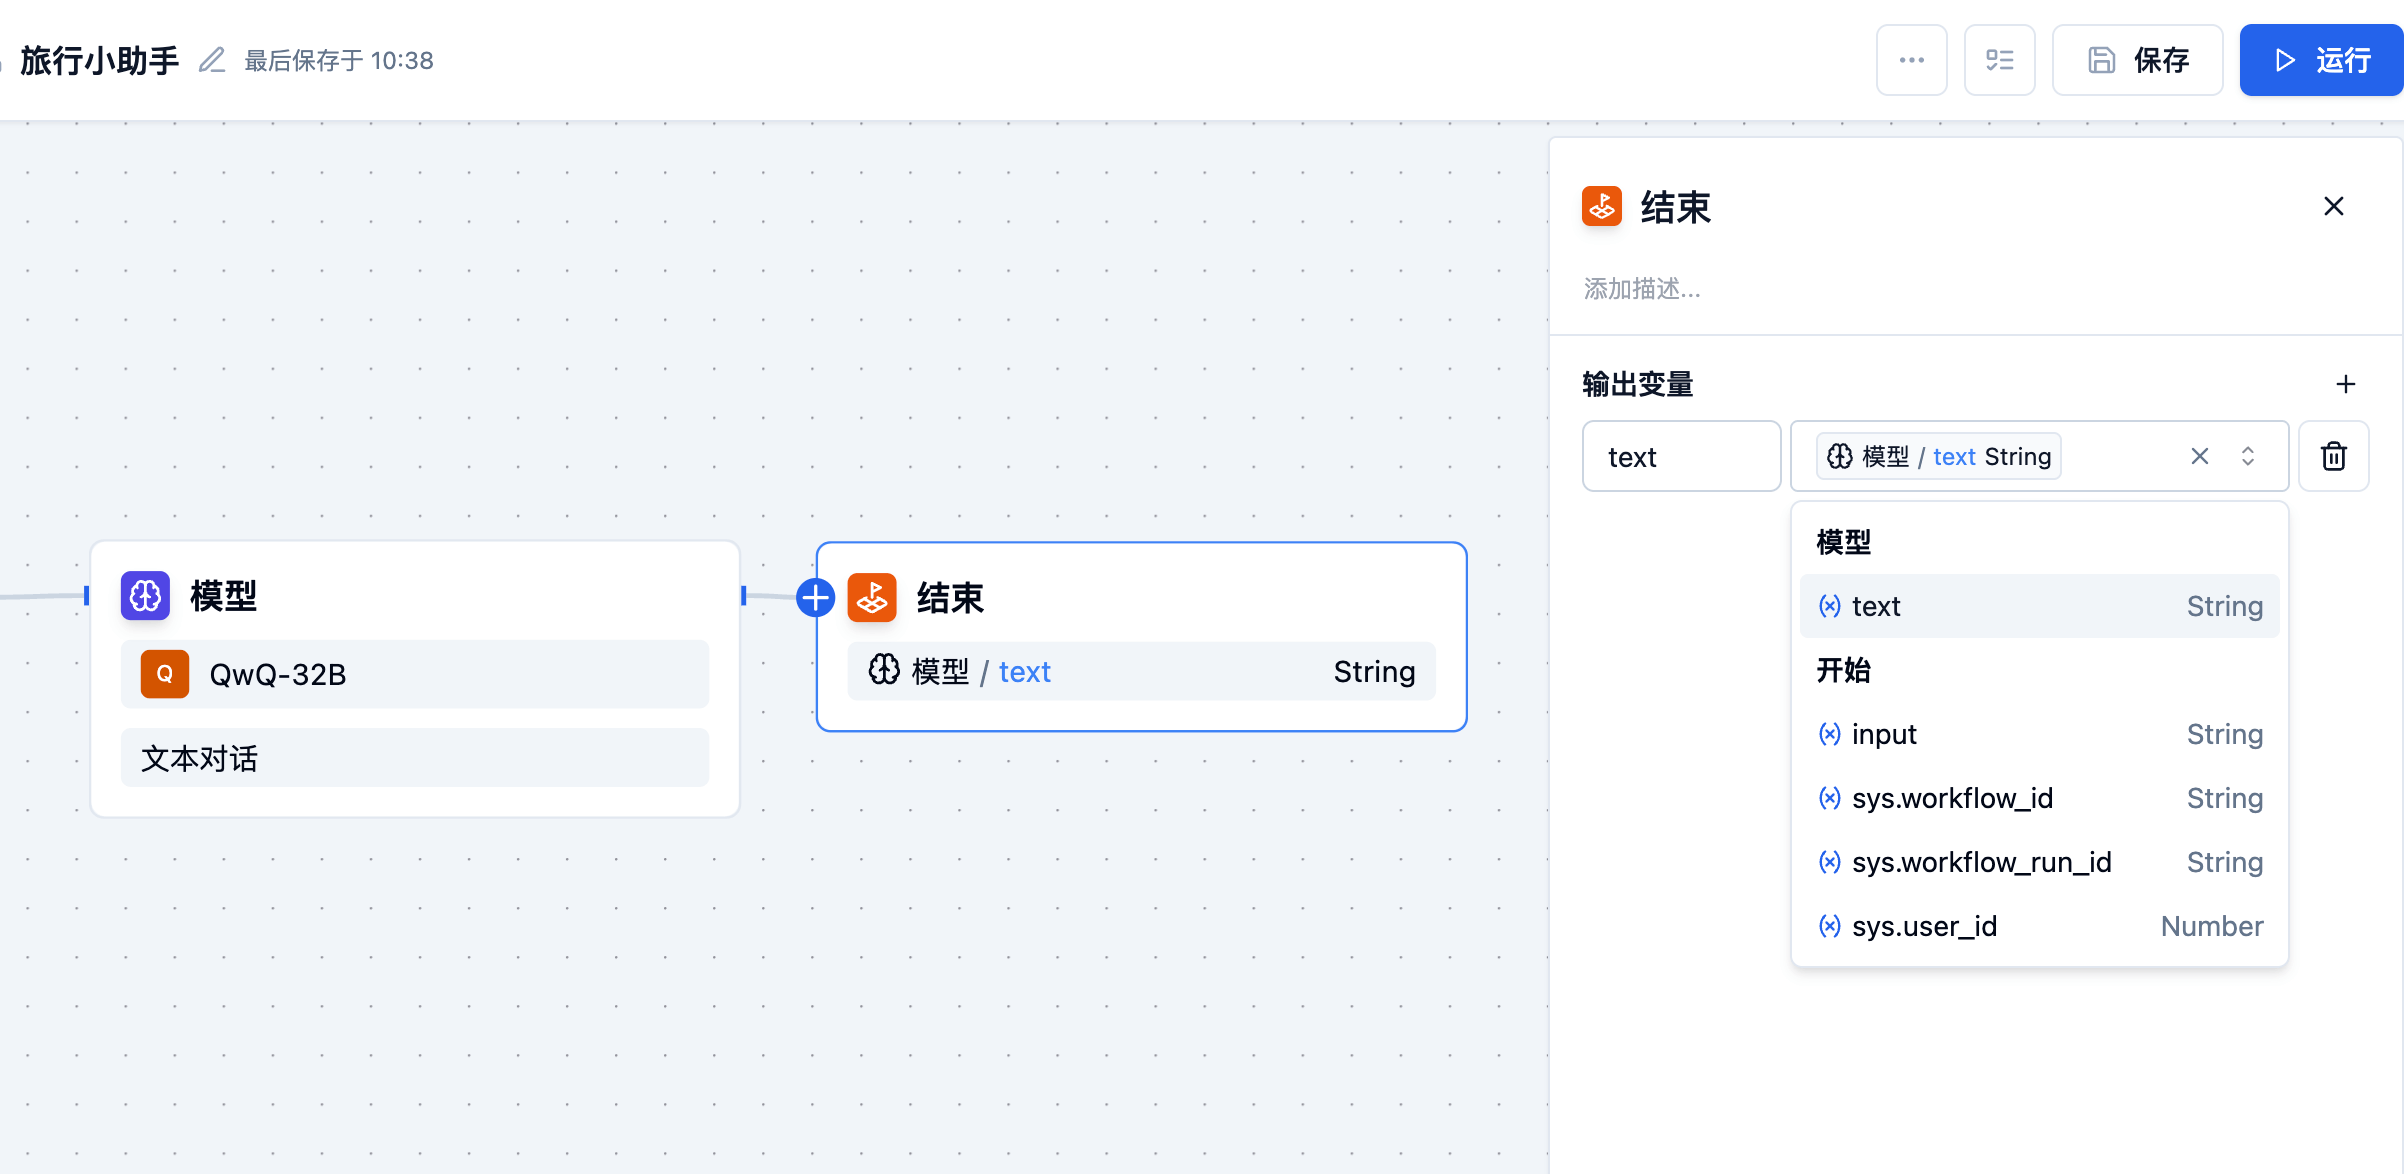
End Node
Each API pipeline must contain at least one end node as the endpoint of its execution, which is responsible for outputting the final result of the process. The end node marks the termination of the process, and no nodes can be connected after it.
In the API pipeline, the execution result will only be output when the process reaches the end node. If there are branches in the process (such as conditional judgment), multiple end nodes may need to be defined (one for each branch path). On the end node, you need to define its output variables, which can be set based on the output values of any upstream nodes before this node.